
Last updated November 17, 2026
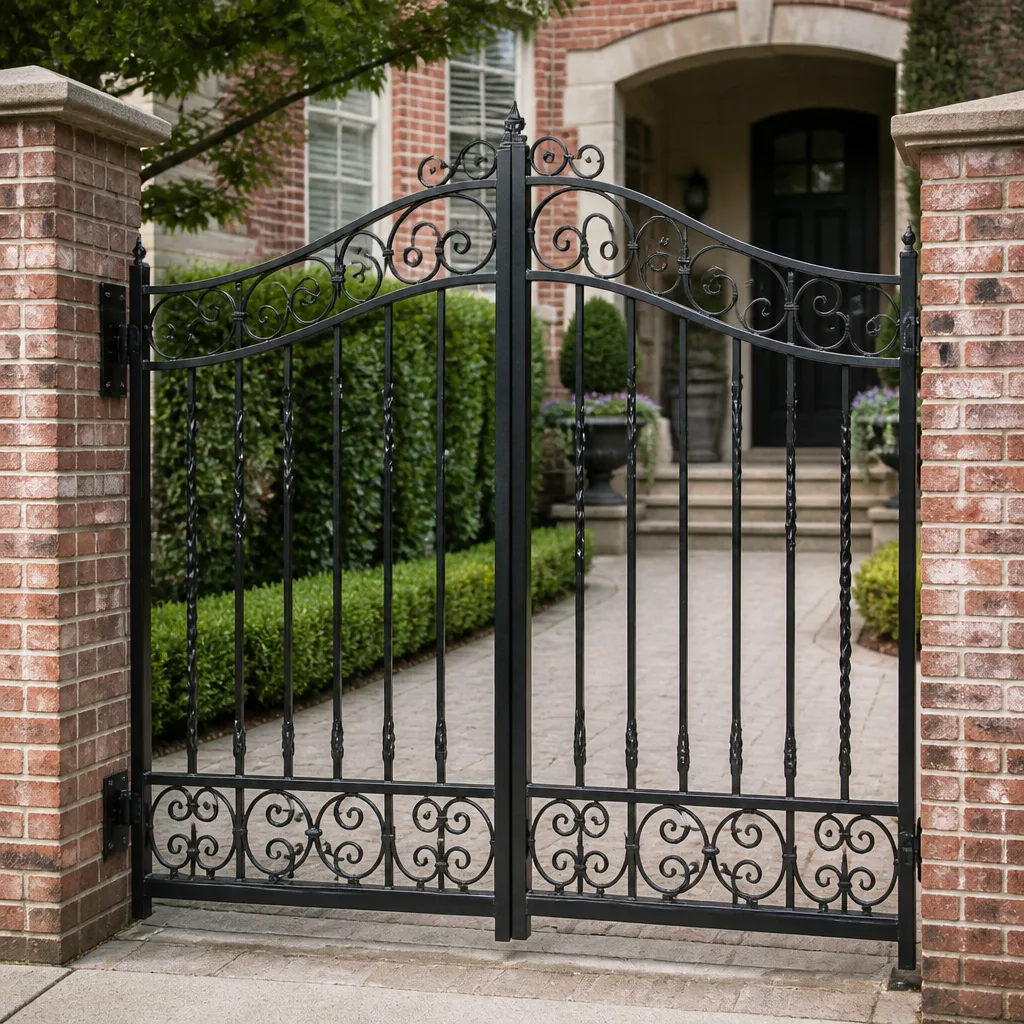 Wrought iron
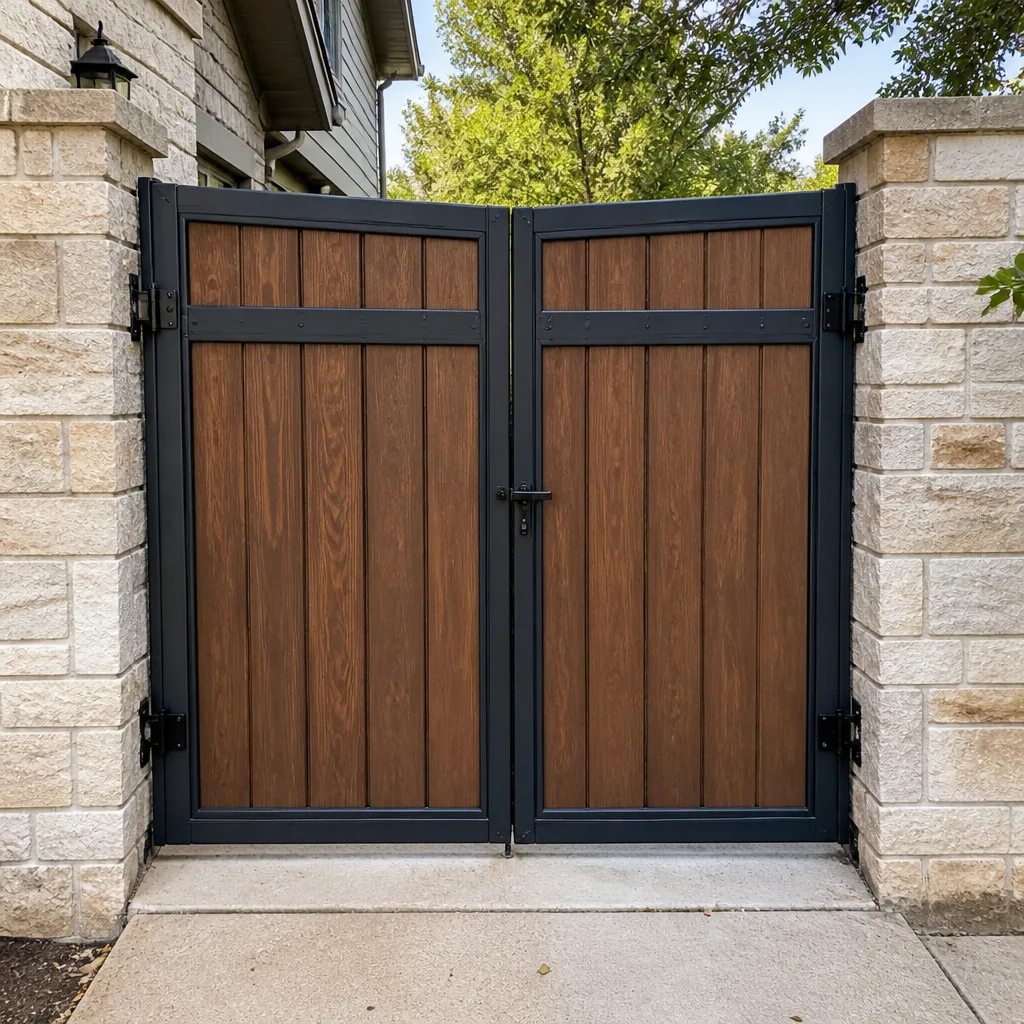 Wood & steel frame
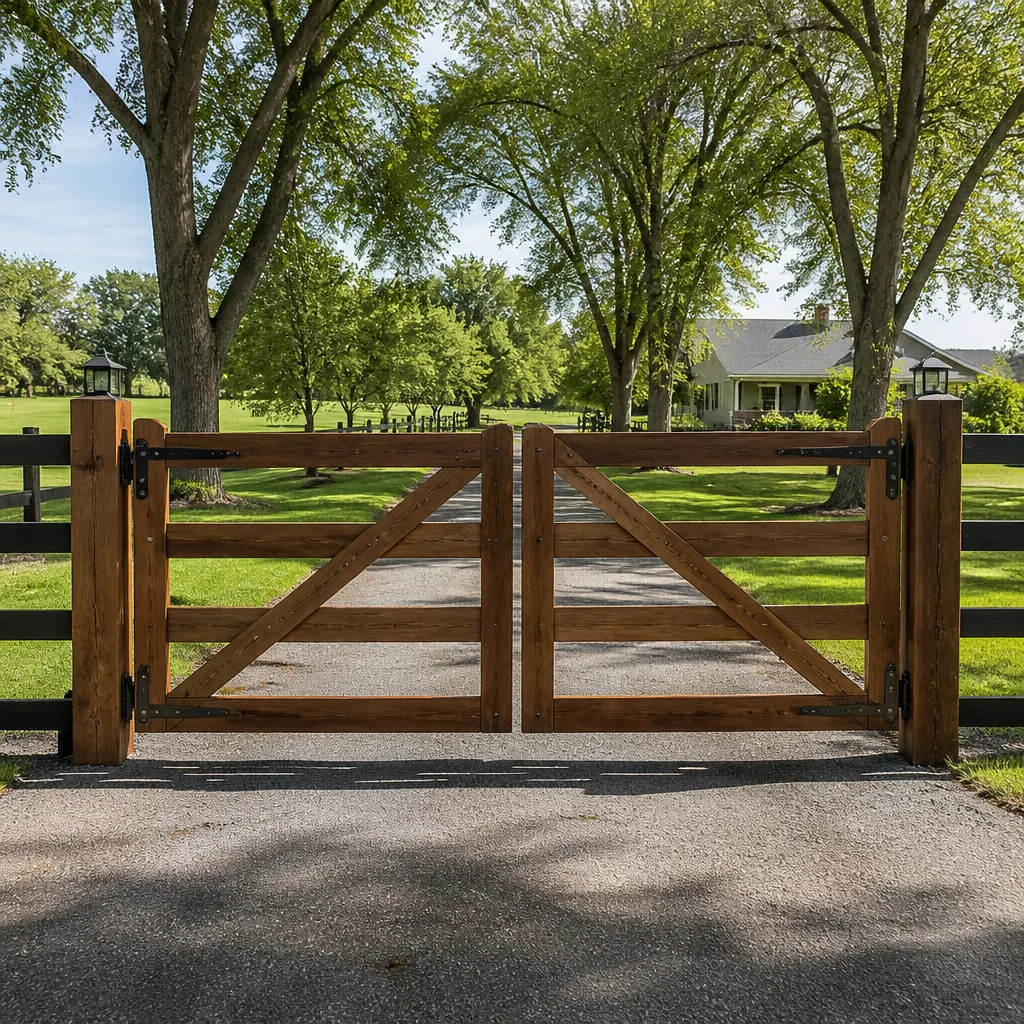 Farm & ranch
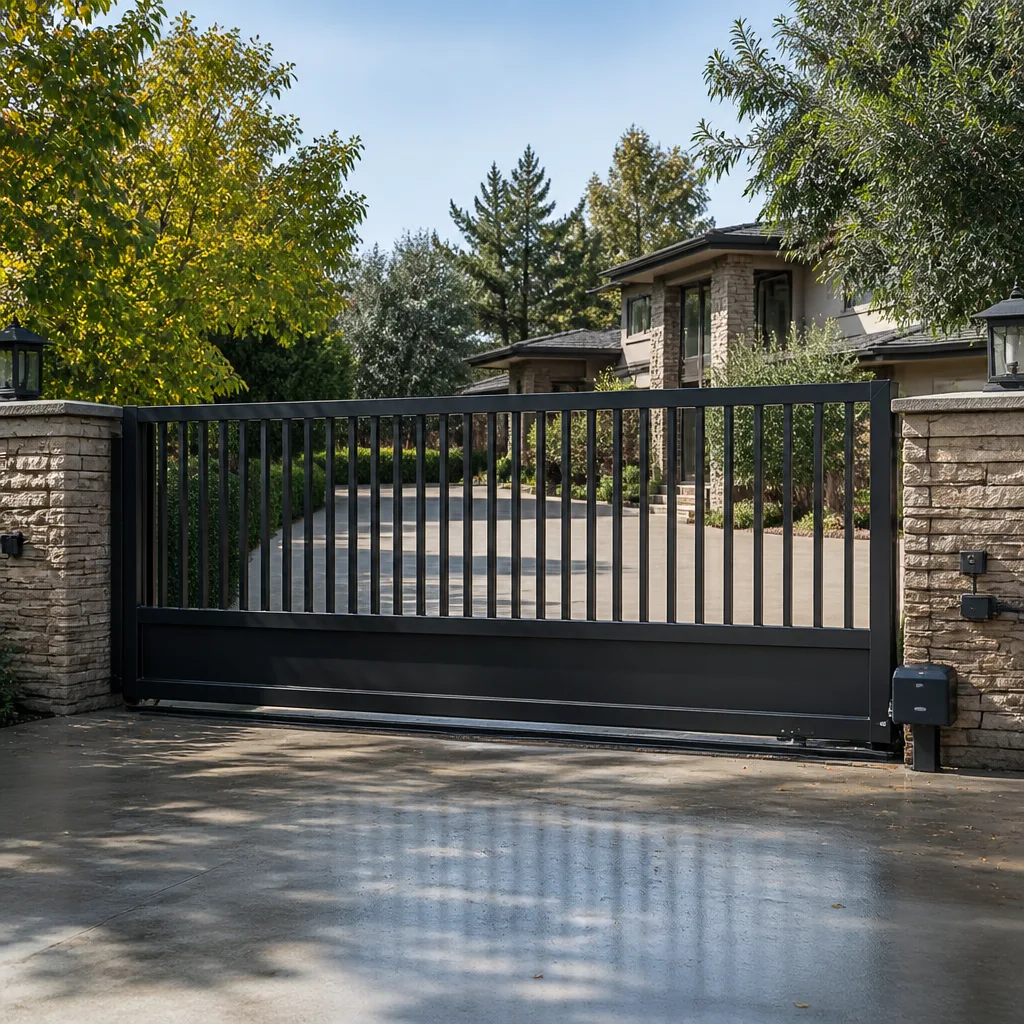 Sliding driveway gates
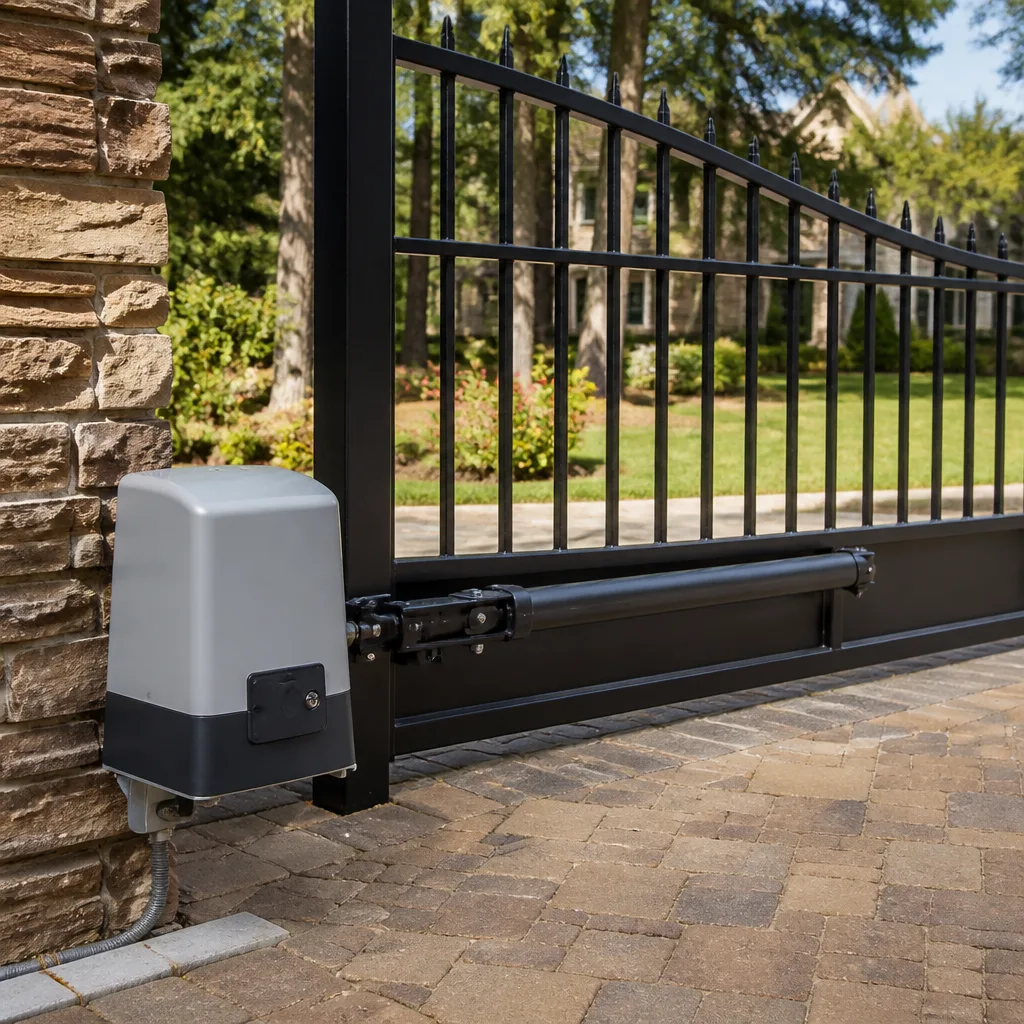 LiftMaster operators
Free on-site gate assessment - hinges, posts, and your LiftMaster or Nice gate operator checked before anything is quoted
The assessment is free and the quote is the invoice.
Get your free estimateGate Motor & Opener Warning Signs Every Homeowner Should Know
A gate motor that takes two seconds longer to open than it did six months ago is telling you something specific. That extra two seconds is the motor compensating for increased mechanical resistance or a voltage drop, and either one is a diagnosable problem. Most homeowners miss it because they never recorded the baseline. In our experience across Summerlin driveways, the warning arrives 60 to 90 days before the gate quits entirely. This guide covers what those warnings sound like, look like on the control board, and how the access-control side of the system signals trouble before the gate stops moving.
Quick Answer
Gate motor warning signs fall into five groups: new or changed sounds (grinding, clicking, humming without movement), slower open and close times, intermittent failures that seem to fix themselves, LED blink codes on the control board, and degraded access-control performance (keypads, fobs, intercom). Any one of these, noticed early, usually means a repair in the low hundreds of dollars instead of a full motor replacement.
Styles & brands we work with
- Wrought iron
- Wood & steel frame
- Farm & ranch
- Sliding driveway gates
- LiftMaster operators
Table of Contents
- Why Gate Motors Give Notice Before They Fail
- The Five Sounds That Mean Something Specific
- Timing Drift: The Warning Sign You Have to Measure
- Intermittent Failures Are Worse Than Consistent Ones
- Reading LED Codes on the Control Board
- Access-Control Warnings That Are Really Motor Warnings
- What We See on Summerlin Gates Specifically
- How to Establish Your Baseline This Weekend
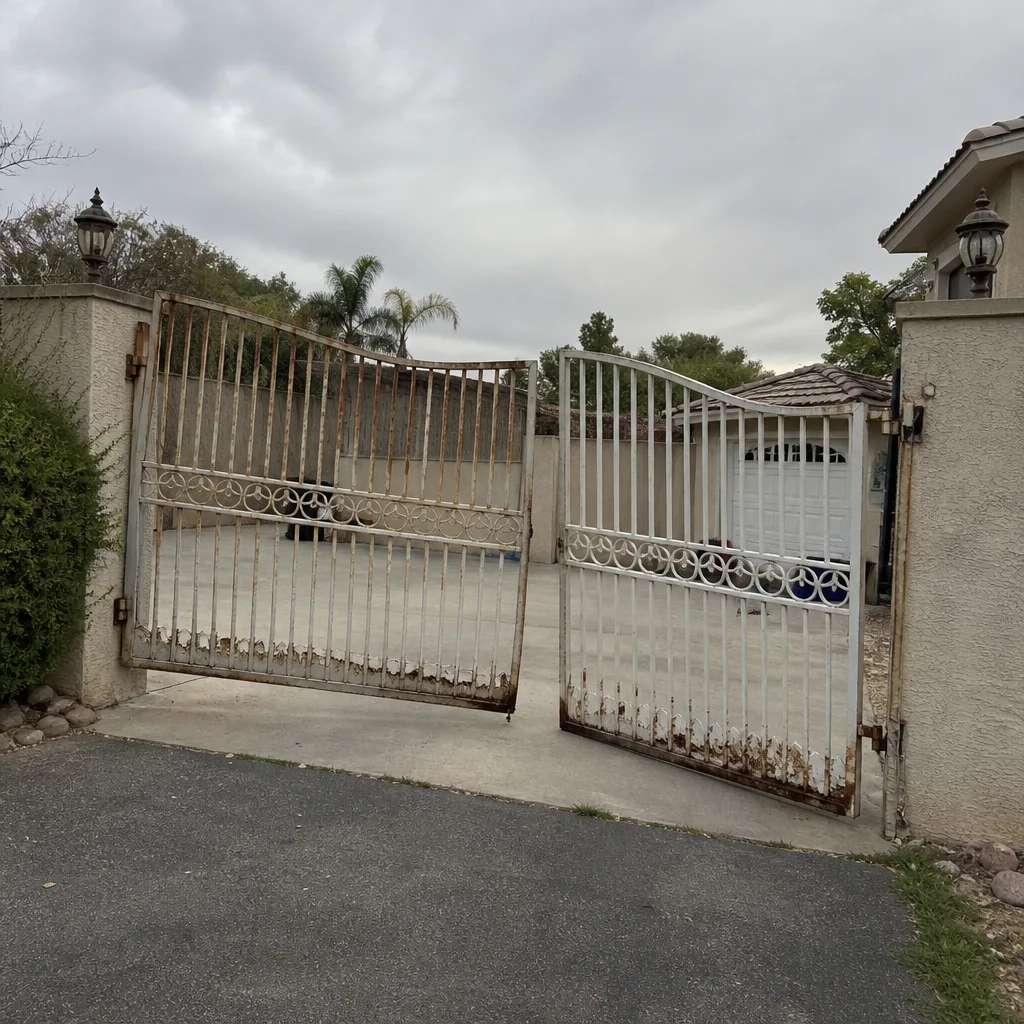 Before
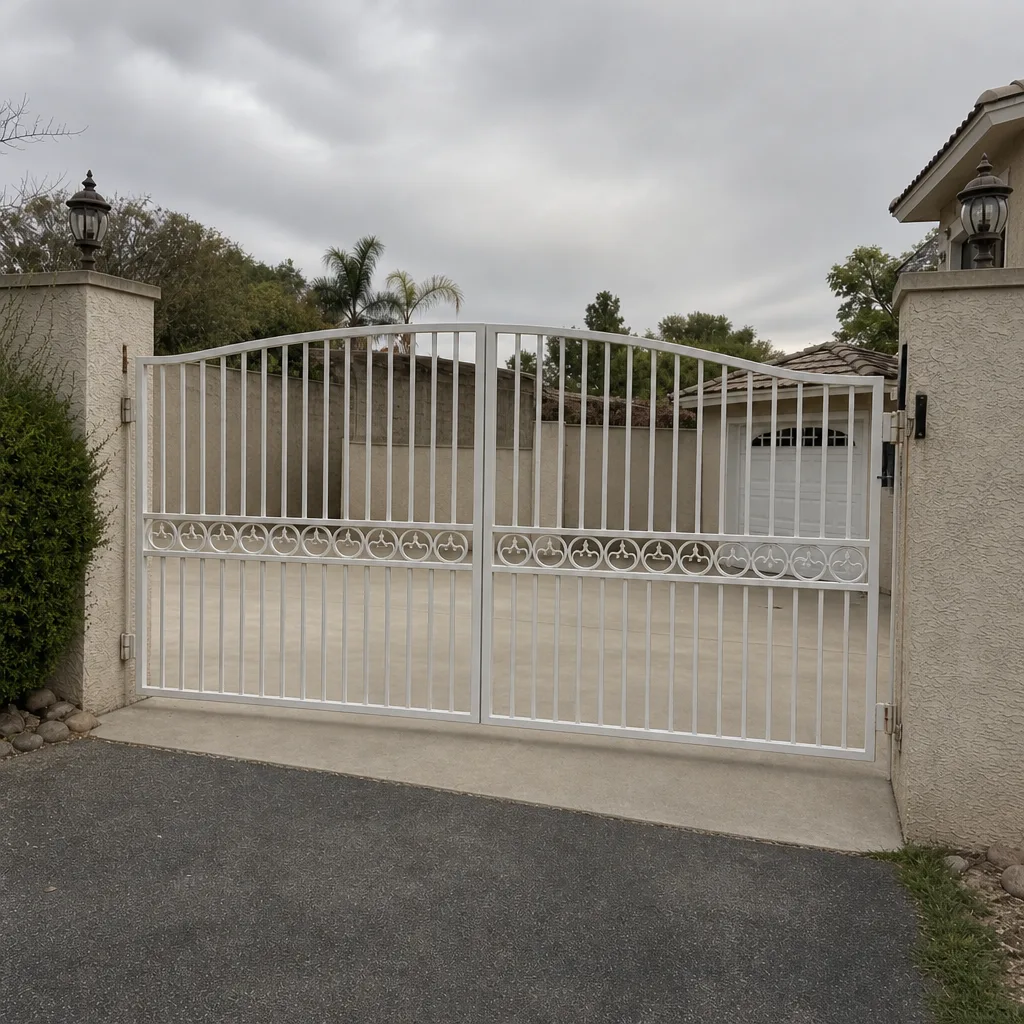 After
Why Gate Motors Give Notice Before They Fail
Gate operators are mechanical systems under constant load, and mechanical wear is gradual. A bearing degrades over months. A capacitor loses capacitance slowly. A hinge starts binding a fraction of an inch at a time. None of these produce a sudden failure; they produce a slow decline that the motor compensates for by drawing more current, running longer, or hesitating at the start of travel.
That compensation is what you can observe. The motor is already working harder. What it cannot do is tell you in words. So it tells you in sound, in timing, and in the diagnostic LEDs on the control board.
The reason this matters: a worn capacitor is a $150 to $300 repair. A motor that runs against mechanical bind for three months burns out the gearbox, and that runs $600 to $1,200 or more depending on the brand and whether the arm bracket survived. Diagnosing early is the difference between a service call and a replacement.
We work on nine major automation brands, including LiftMaster, DoorKing, and Mighty Mule, and the failure sequence is remarkably consistent across all of them. The brand changes the part numbers, not the physics.
The Five Sounds That Mean Something Specific
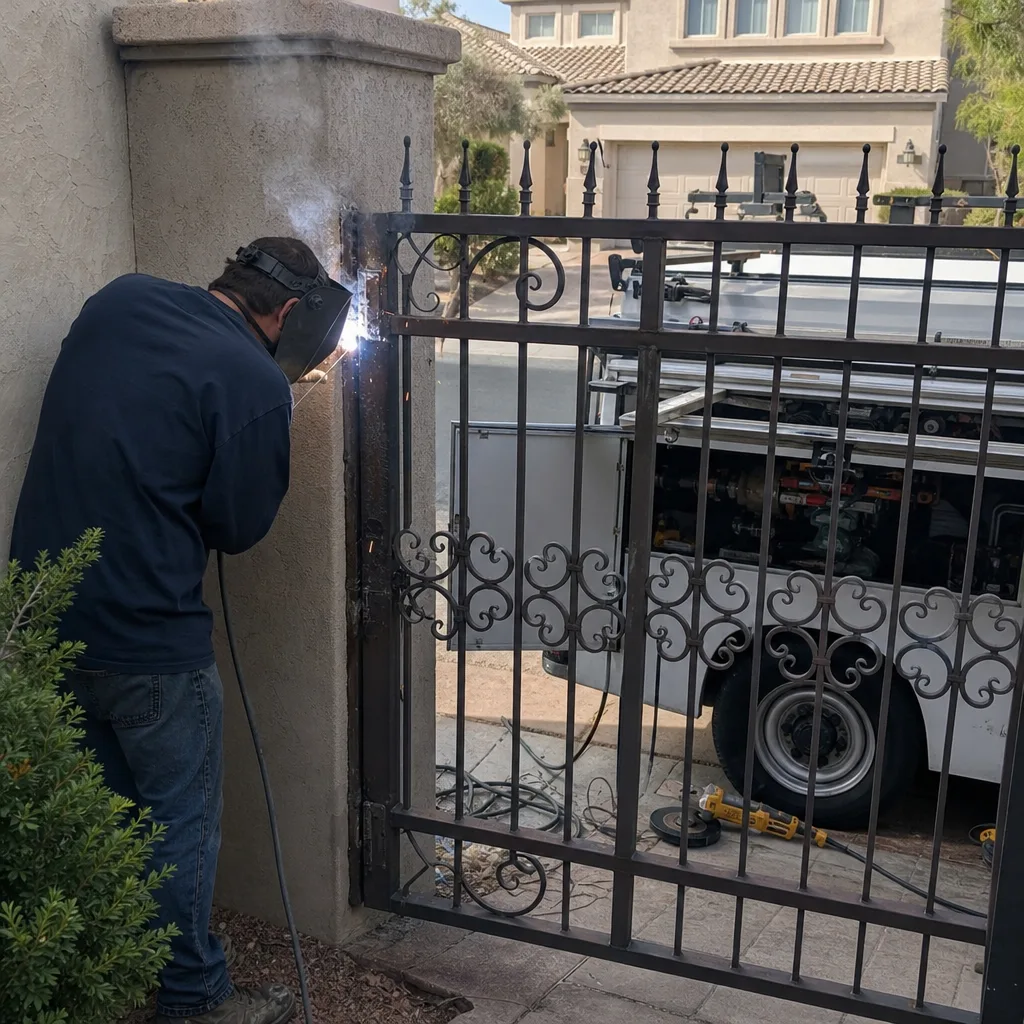
Not every noise is a problem. A gate that has always clicked once at the start of travel is fine. What matters is a new sound or a sound that has changed character. Here are the five we ask homeowners about, described precisely enough to act on.
- Grinding or scraping under load. This is the sound of a motor working against mechanical bind. The pitch is low and constant, usually loudest mid-travel when resistance peaks. Common causes: a hinge that has dropped, a track with debris, a roller that has flat-spotted. This is the one to address fastest, because every cycle wears the gearbox.
- Rapid clicking at the start of travel, then normal operation. Clicking that resolves once the gate moves points to a failing start capacitor or a relay that is chattering. The motor is struggling to get moving but runs fine once it does. Left alone, the capacitor fails completely and the gate stops mid-cycle.
- A hum with no movement. The motor is receiving power but the arm or screw is not turning. This can be a seized bearing, a stripped gear, or a control board that has lost its limit reference. Stop cycling the gate; running a stalled motor overheats the windings.
- Rhythmic squealing that tracks gate speed. This is almost always a dry or worn bearing, or a roller that needs lubrication. It is the least urgent of the five but the easiest to fix and the cheapest to ignore wrongly.
- A whine that gets louder over several weeks. A motor with worn brushes produces a rising electrical whine as the brushes thin. It is subtle at first. By the time you notice it without trying, you are usually within a few weeks of the motor failing to start at all.
If you hear any of these on a Summerlin gate, write down when it started and which part of the cycle it happens in. That note is worth more to a technician than a description from memory.
Timing Drift: The Warning Sign You Have to Measure
This is the sign almost nobody catches, and it is the most reliable early indicator we know of. A healthy gate opens in a consistent number of seconds, every time. When that number starts to climb, the motor is telling you something changed.
Here is how to establish a baseline in about five minutes:
- With the gate closed and the motor idle, start a stopwatch the moment you trigger an open cycle.
- Stop the watch the moment the gate reaches full open and the motor stops.
- Record the time. Do the same for a close cycle.
- Repeat three times and average each direction.
- Write the numbers on a note and stick it inside the control-box cover. That is your baseline.
Now the useful part. A 10 percent increase over your baseline is the point to schedule a service call. A gate that used to open in 12 seconds and now takes 13.5 is drifting. At 20 percent or more, you are likely days or weeks from a failure and should not wait.
What causes timing drift? Increased mechanical resistance from worn hinges, a voltage drop from a failing power supply or corroded connections, a limit switch that has moved, or a control board compensating for a sensor it can no longer read reliably. Each has a different fix. The measurement is what tells a technician which one to look for first, and it saves diagnostic time on the visit.
Intermittent Failures Are Worse Than Consistent Ones
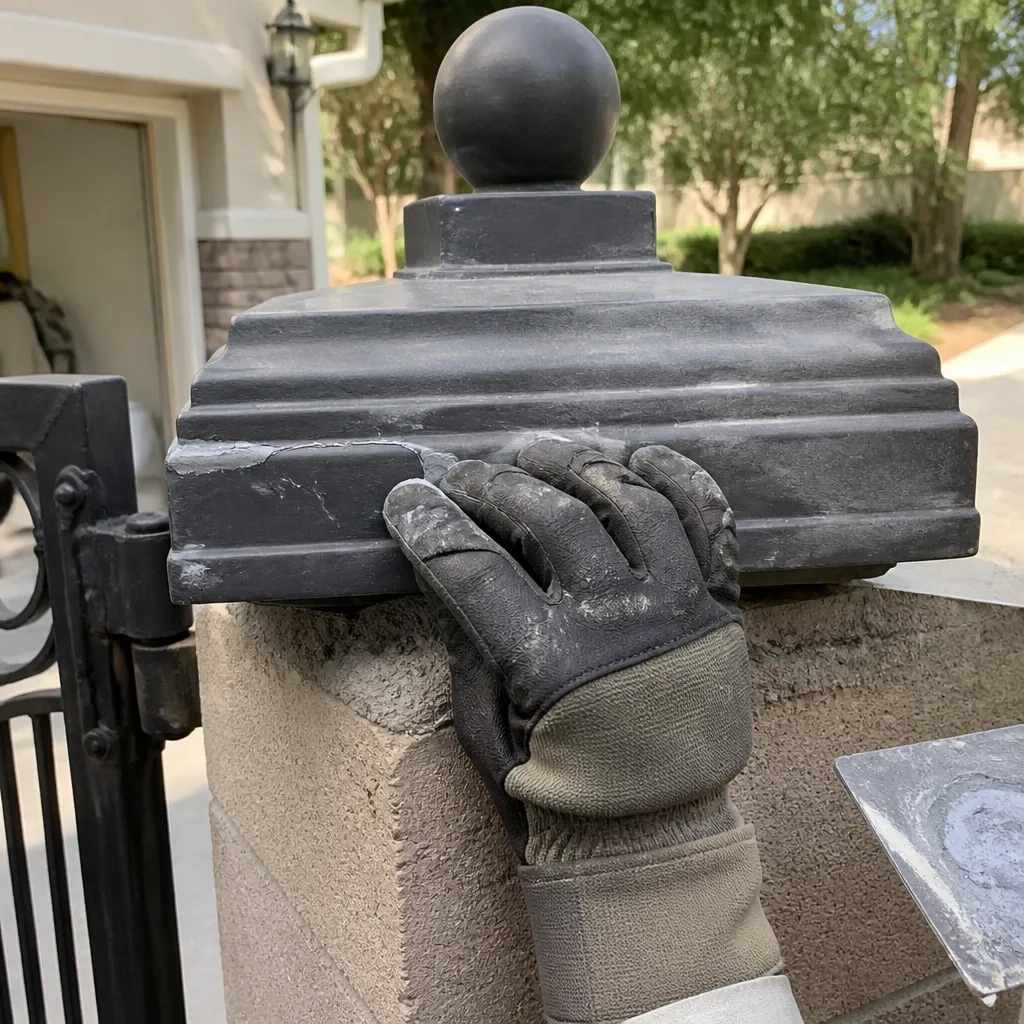
Homeowners tend to relax when a gate “usually works fine.” The opposite instinct is correct. A gate that fails every single time has a broken part, and broken parts are usually obvious and cheap to replace. A gate that fails once a week has a marginal part, and marginal parts are the ones that cause expensive secondary damage.
The pattern matters more than the failure itself. Here is what different intermittent patterns usually indicate:
- Fails in cold or damp weather but works in dry heat. Almost always a control board with a failing solder joint, or a limit switch with moisture ingress. The thermal expansion changes whether the connection holds.
- Fails after sitting idle for a day, works after being cycled twice. A capacitor losing capacitance or a battery in the operator that is no longer holding charge. Common on solar and battery-backup operators.
- Fails at the same point in travel every time, then resumes. A limit switch or an obstruction sensor with a dead spot. The gate is passing a position it can no longer read cleanly.
- Fails randomly, no pattern. Usually a loose connection at the control board or in the power run. These are the hardest to find and the most worth photographing when a technician is on site.
In our experience, intermittent failures on Summerlin gates are more often electrical than mechanical. The desert temperature swing between day and night is hard on marginal solder joints and battery-backed operators. A part that is 90 percent healthy in a mild climate is often 60 percent healthy here.
Reading LED Codes on the Control Board
Every modern gate operator has diagnostic LEDs on the control board, and those LEDs are the closest thing the motor has to a voice. A steady blink pattern is the board reporting a specific condition: an obstruction, a limit error, a power fault, a failed self-test.
You do not need to call a technician to decode them. Here is the process:
- Open the control-box cover. The board is the circuit board with the LEDs, usually near the transformer.
- Note the color and count of the blinks. A pattern of “two short, one long” means something different from “three short.”
- Find the brand and model printed on the operator housing or inside the cover.
- Look up the blink-code legend in the manufacturer’s installation manual. You can usually find the manual free on the brand’s website by model number.
For LiftMaster and Elite operators, the diagnostic LEDs are labeled and the manual has a clean blink-code table. DoorKing boards are slightly different, with fault codes shown on a small display on some models rather than via blink patterns. Mighty Mule is the simplest of the bunch, often just a power and status LED.
Once you know what the code says, you know whether it is something you can wait on or something to fix now. A “low battery” code on a backup operator is patient. A “limit fault” code that repeats is not, because the gate is running blind and will eventually stop somewhere it cannot recover from.
Access-Control Warnings That Are Really Motor Warnings
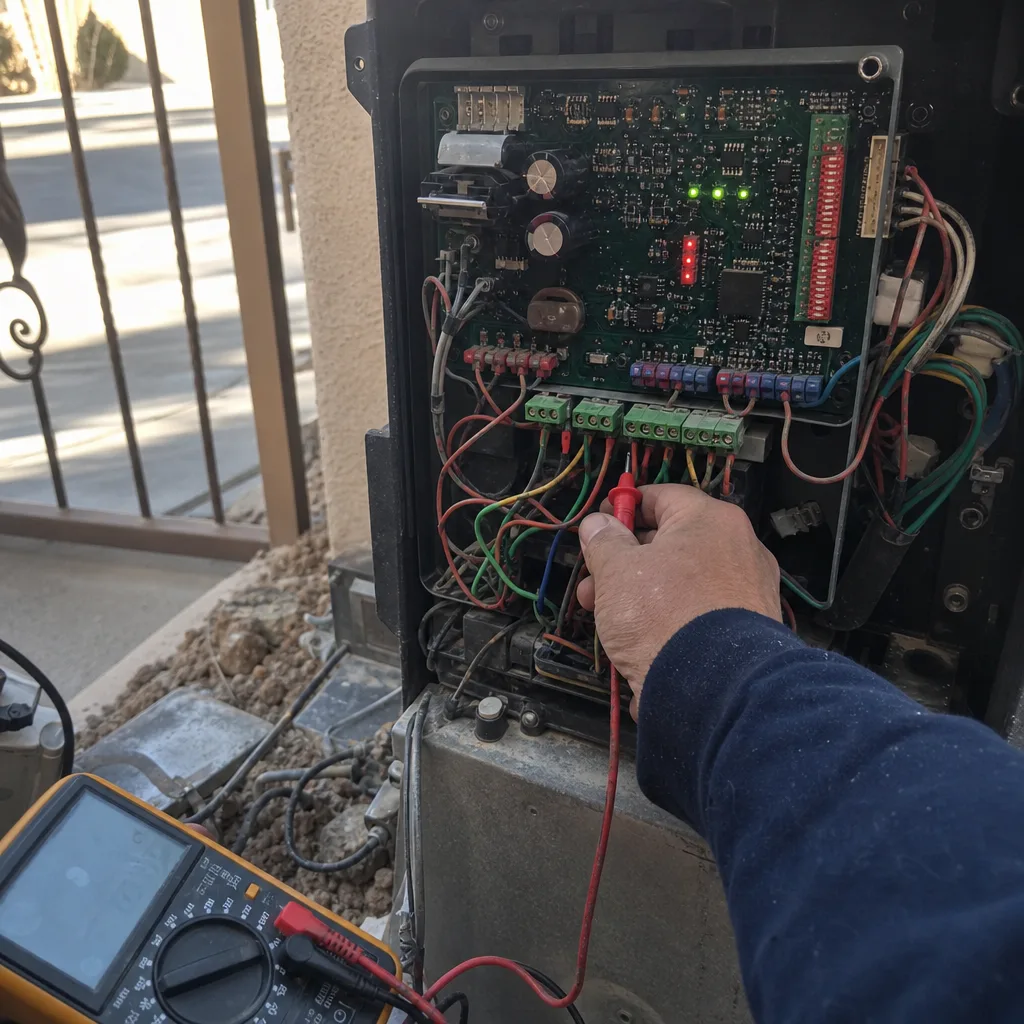
The keypad, the fobs, and the intercom are wired into the same control board as the motor. When those components start behaving oddly, the problem is often not the access-control hardware. It is the low-voltage supply, the common ground, or the control board itself, all of which the motor depends on too.
What to watch for:
- Keypad entries that work only sometimes. If a code that used to work now needs two or three tries, the keypad is usually fine. The likely culprit is a low-voltage supply sagging under load, or a common ground that has corroded. That same voltage sag is affecting the motor’s start reliability.
- Fob range that has decreased noticeably. A gradual drop in range means the receiver is getting a weaker signal, often because the antenna wire has been disturbed or the board’s power supply is drifting. Range that used to reach from the end of a Summerlin driveway and now only reaches the gate is a specific, measurable warning.
- Intercom audio that has degraded. His and hum on the intercom usually points to a ground loop or a failing power supply shared with the gate operator. Fix the supply and the intercom improves with the motor’s reliability.
These are easy to write off as annoyances. They are not. An access-control symptom plus a timing change is a strong combination, and we have seen both precede a motor failure by weeks. When the motor is serviced under the gate motor & opener service, we test the access-control circuit on the same visit for this reason.
What We See on Summerlin Gates Specifically
The local climate shapes which failures show up first. Summerlin sits at elevation with large day-to-night temperature swings, intense UV, and very low humidity. Each of those has a predictable effect on gate motors.
Temperature swing is hard on marginal electrical connections. We regularly see control boards with failing solder joints on Summerlin gates that would run for years in a mild coastal climate. UV exposure dries out rubber seals and plastic control-box gaskets, and once a gasket fails, dust and occasional monsoon moisture get in. After a monsoon, we get a predictable run of “gate is dead” calls where the actual problem is a control board that took on water and has been degrading for months.
Low humidity means dust is everywhere and it gets into tracks, rollers, and limit-switch mechanisms. A track that accumulates fine desert dust binds the gate slightly, and the motor compensates without complaint until it cannot. Homes on the western edge of Summerlin, closer to open desert, see this faster than homes with more landscaping between the gate and the prevailing wind.
If you are documenting a repair or planning one, the same baseline habit works whether you are on a gate repair call or looking ahead to a gate installation. The brand does not change the physics, and the season does not change the symptom list. It changes the timeline.
How to Establish Your Baseline This Weekend
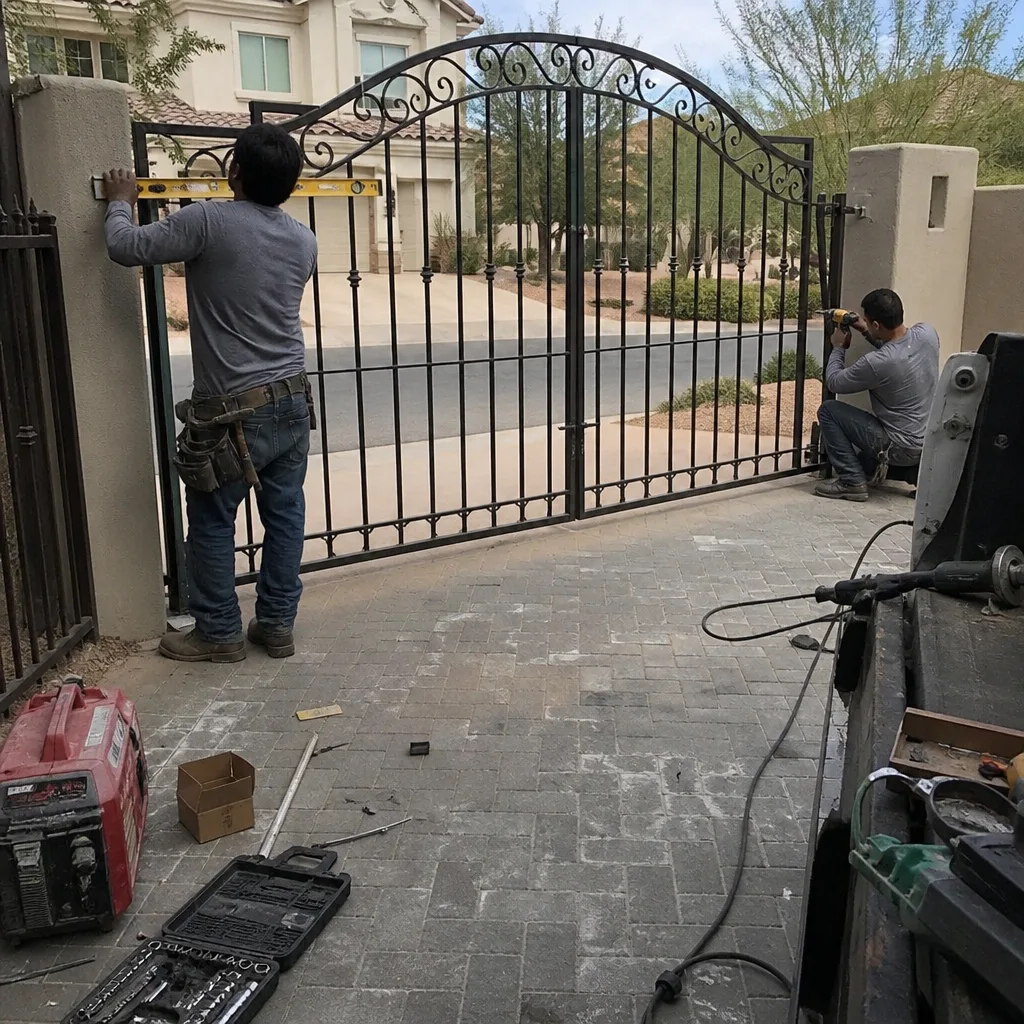
You do not need any tools for this. You need a stopwatch and a note.
- Walk the gate manually with the motor disengaged and listen for scraping or grinding. If it does not move smoothly by hand, the resistance is mechanical and you have found the problem before it costs you a motor.
- Engage the motor and time three open cycles and three close cycles. Average each direction.
- Listen during each cycle and note any sound that is new or has changed.
- Open the control-box cover and photograph the board with the LEDs visible. Take a second photo after a cycle while the gate is moving.
- Write the average times and today’s date on a card and keep it with the control box.
That card is your reference for the next year. When a technician arrives, you can say “it used to open in 12 seconds and now it takes 14,” and the diagnostic work has already started.
Common Mistakes to Avoid
- Ignoring a small timing change because the gate still works. A two-second increase is exactly the moment to act, before the gearbox wears. Waiting for a full failure turns a capacitor replacement into a motor replacement.
- Cycling a gate that hums without moving. Running a stalled motor overheats the windings and can burn out a motor that was only a limit-switch fix away from working. Stop and call.
- Lubricating everything that squeaks. Grease in the wrong place, especially on limit-switch contacts or sensor lenses, causes more problems than it solves. Ask what to lubricate and where before you reach for the can.
- Clearing a fault code without knowing what it was. A blink pattern you reset today will come back as a failure in six weeks if you never decoded it. Photograph the board first, then reset.
- Treating access-control glitches as separate from the motor. A keypad that works only sometimes and a gate that hesitates at start are usually the same voltage problem. Fixing one without the other wastes the visit.
- Letting desert dust collect in the track because “it still opens.” In Summerlin, that dust is the number one slow cause of mechanical bind. A monthly sweep of the track is the cheapest preventive maintenance available.
- Accepting a verbal estimate on a motor repair. Ask for the written price before any work starts, with the part number and the adjustment recorded. You should never be surprised by the invoice.
See the difference
BeforeAfter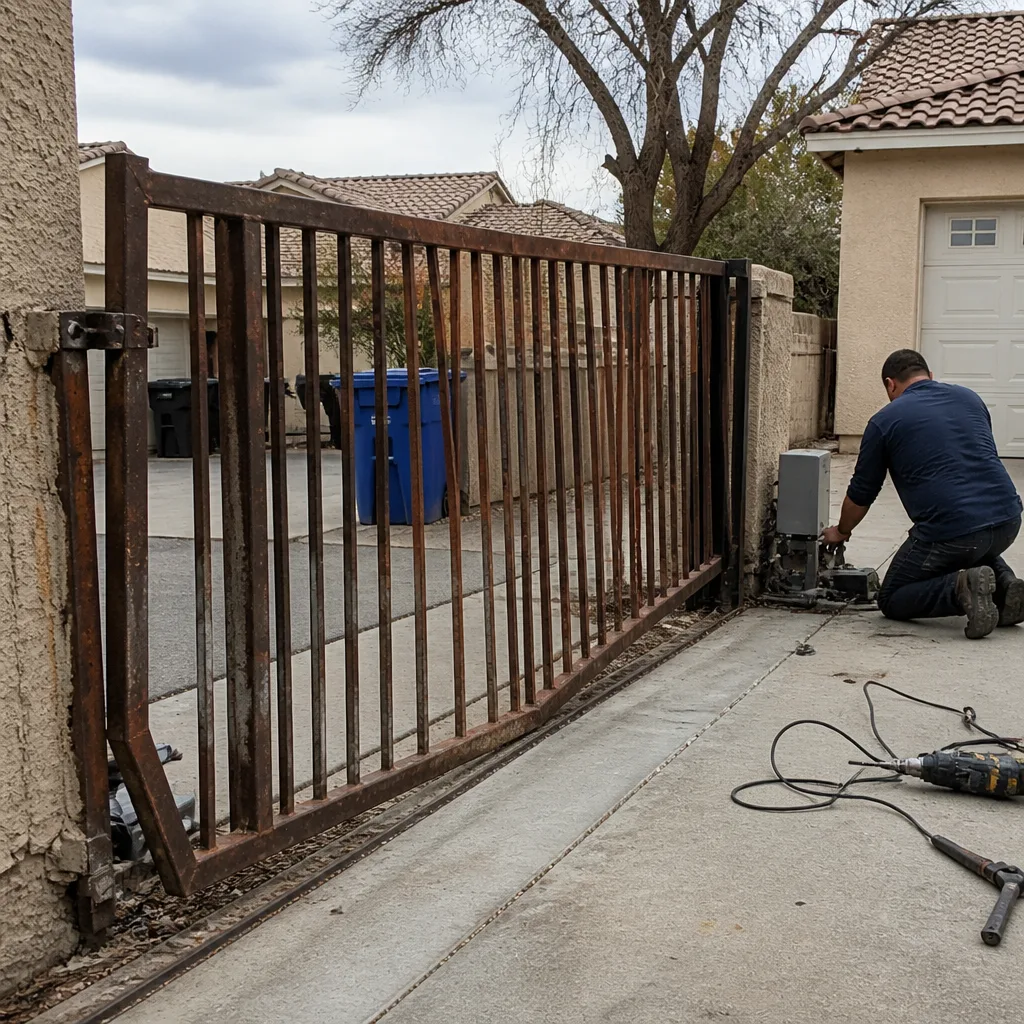 Before
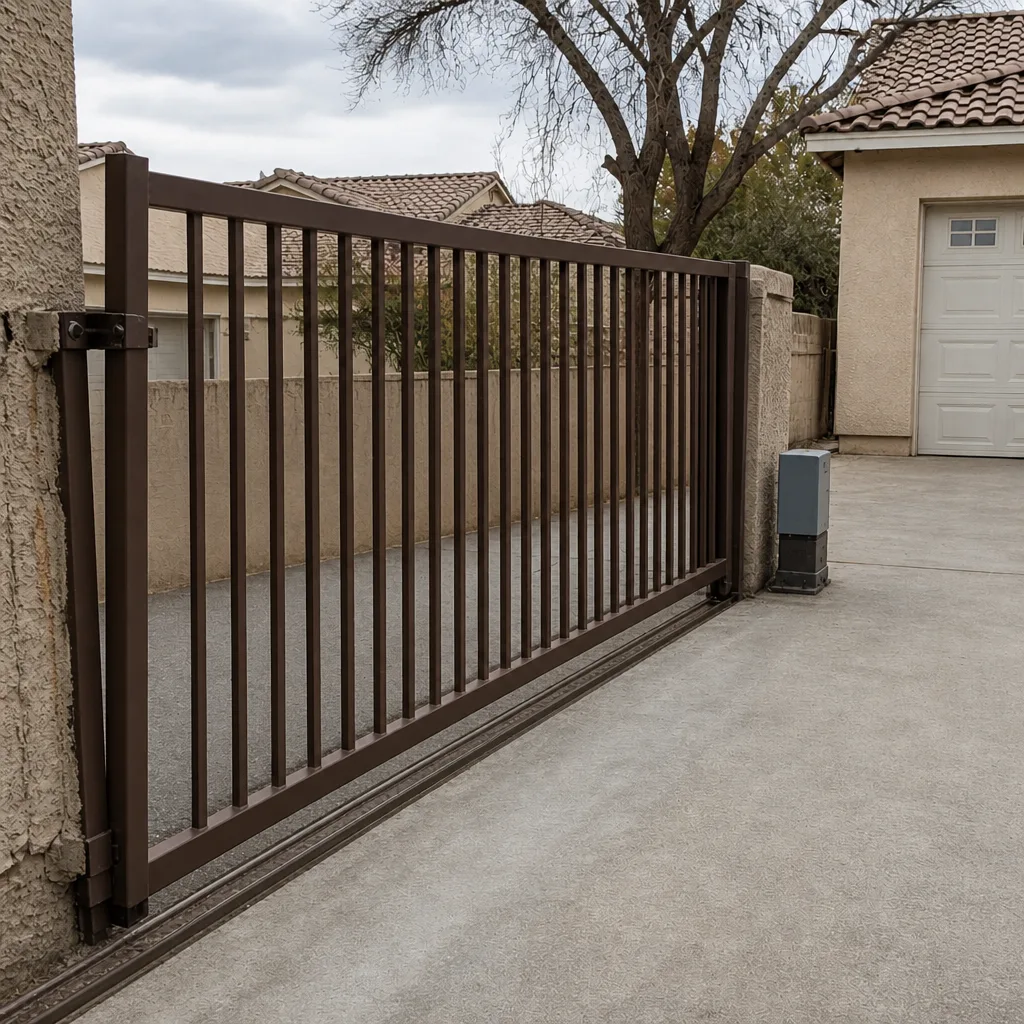 After
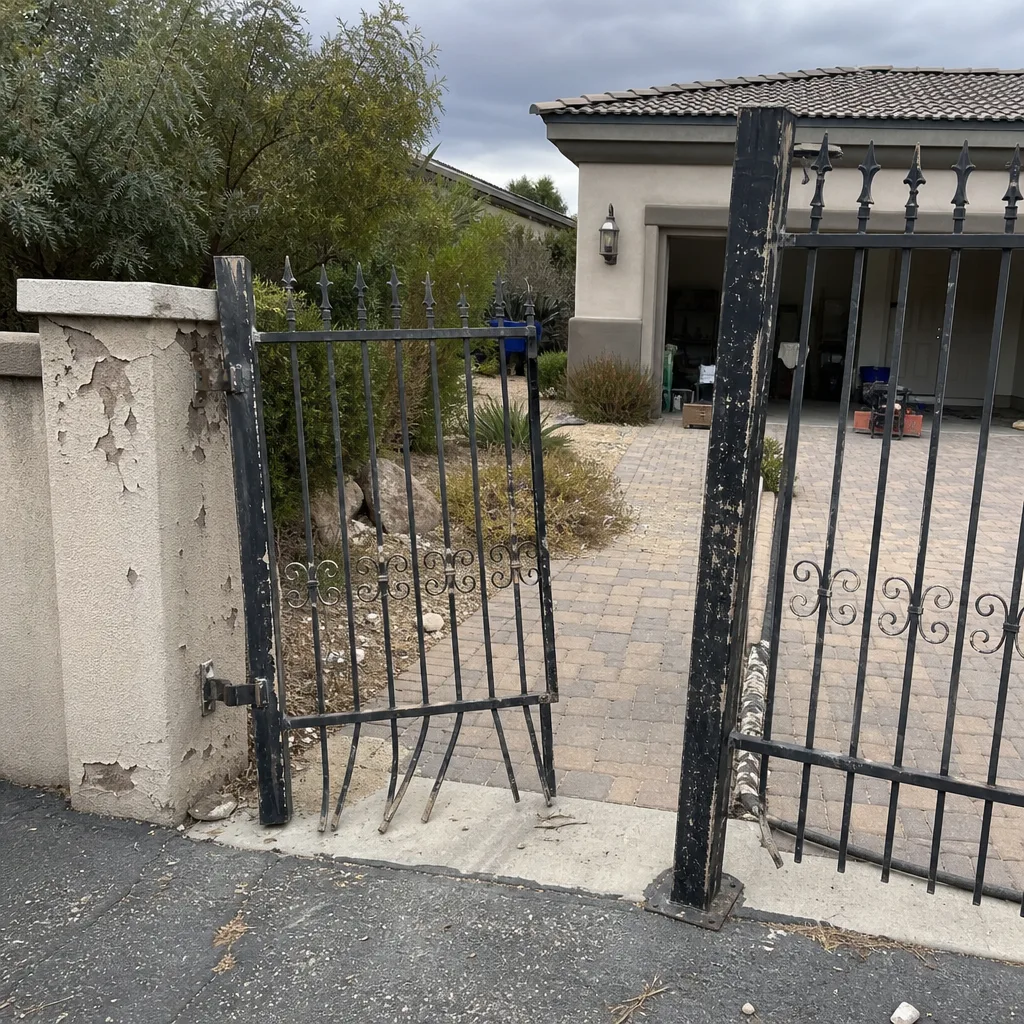 Before
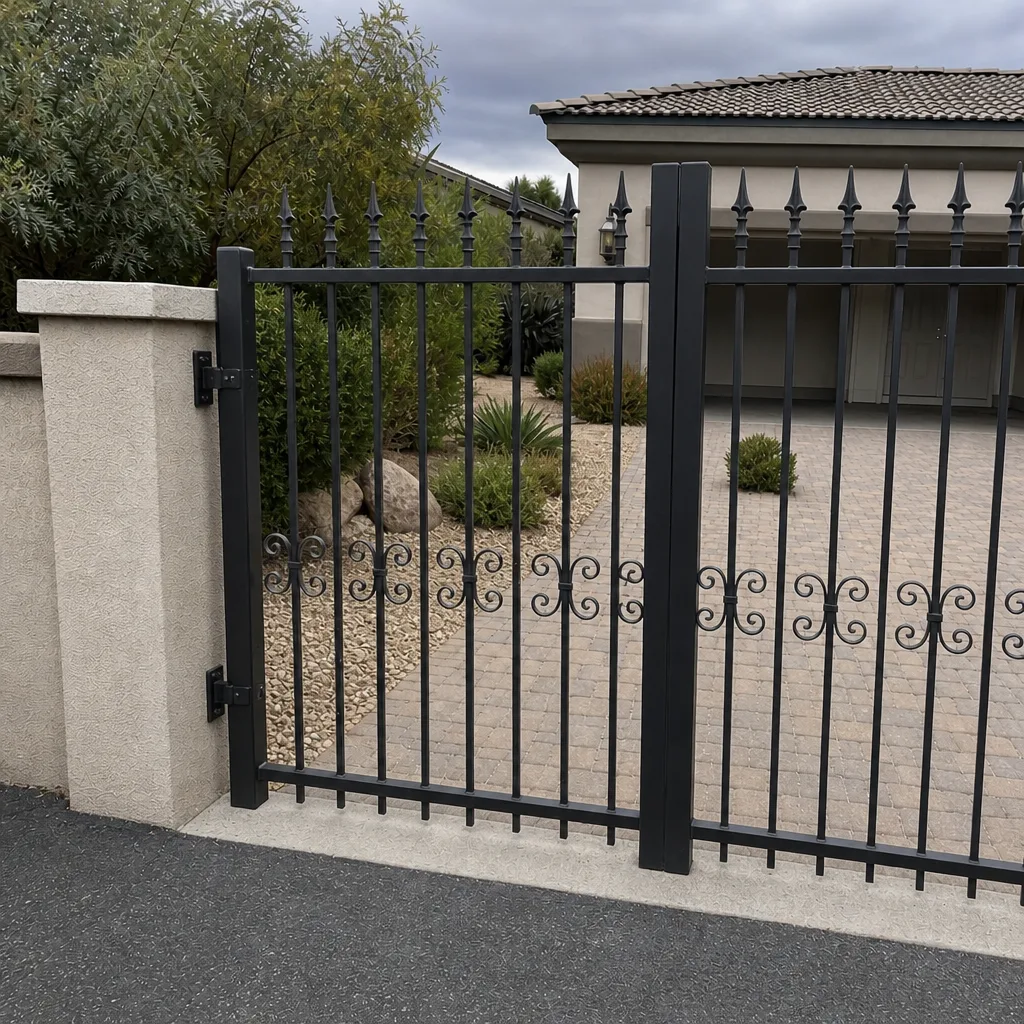 After
When to Call a Professional
Call a professional if the gate makes any of the five sounds above, if your measured open time has increased by 10 percent or more, if the gate fails intermittently in any pattern, if a blink code repeats after a reset, or if the keypad, fobs, or intercom have degraded. Call immediately if the gate hums without moving, if it stops mid-travel and will not resume, or if the board shows signs of moisture or burning.
Gate motors carry mains voltage, and a motor under load can move a heavy gate with enough force to injure. Do not open the motor housing or attempt to service the windings or capacitor yourself. That is trained-professional work.
Vance Gate Repair Summerlin offers free estimates in Summerlin. Every estimate is written before work starts, and every visit includes a photo record of what we found, what we set, and what we installed. Call (844) 797-2809 for a free estimate, any hour.
Frequently Asked Questions
Typically 60 to 90 days. The most reliable early signal is timing drift, followed by new sounds and intermittent failures. A motor that has started clicking at the start of travel or taking two extra seconds has usually been warning you for two to three months before the gate stops moving altogether.
Yes. Note the blink pattern and count, find the brand and model on the operator, and look up the blink-code legend in the manufacturer’s free manual online. LiftMaster and Elite boards have clear labeled diagnostics; DoorKing boards use fault codes or a small display on some models. Once you know the code, you will know whether to call. Call (844) 797-2809 if you want the code interpreted before you decide.
It means a part is marginal, not broken, and marginal parts are the most dangerous kind for a gate motor. Intermittent failures usually indicate a failing capacitor, a control-board solder joint affected by temperature, a limit switch with a dead spot, or a loose connection. These can cause secondary damage if left, and they are usually cheaper to fix early than late.
Almost always a low-voltage supply or a corroded common ground, not the keypad itself. The same voltage problem affects the gate motor’s start reliability, so a keypad that needs two tries is worth a service call. It is often a $150 to $300 fix at the supply that prevents a much larger motor repair.
Most diagnostic and repair visits run between $150 and $350 depending on the part and the brand. Capacitor and limit-switch repairs sit at the low end; control-board replacements and gearbox work sit higher. The price is written and handed to you before any work starts, so you know the number before the technician picks up a tool. Call (844) 797-2809 for a free estimate.
Yes. We service nine major automation brands, including LiftMaster, DoorKing, and Mighty Mule, so we work with the motor already on your property rather than steering you toward a replacement. Call (844) 797-2809 for a free estimate and we will tell you what we found on the visit.
The Bottom Line
Gate motors give notice. The five sounds, timing drift, intermittent failures, blink codes, and access-control degradation all show up 60 to 90 days before the gate stops moving. The reason homeowners miss them is simple: nobody recorded what normal looked like. A stopwatch and a note card inside the control box give you that reference, and a 10 percent timing change is the line to call on. Catch these signs early and the repair stays in the low hundreds. Ignore them and the same failure becomes a motor replacement. The habit is five minutes a year.
Contact
If your gate is showing any of the warning signs in this guide, call Vance Gate Repair Summerlin at (844) 797-2809 for a free estimate. A live person answers every hour of the day. The price is written before any work starts, and every visit leaves you with a photographed record of the repair. Estimates in Summerlin are free.
Written by the team at Vance Gate Repair Summerlin.