
Last updated November 17, 2026
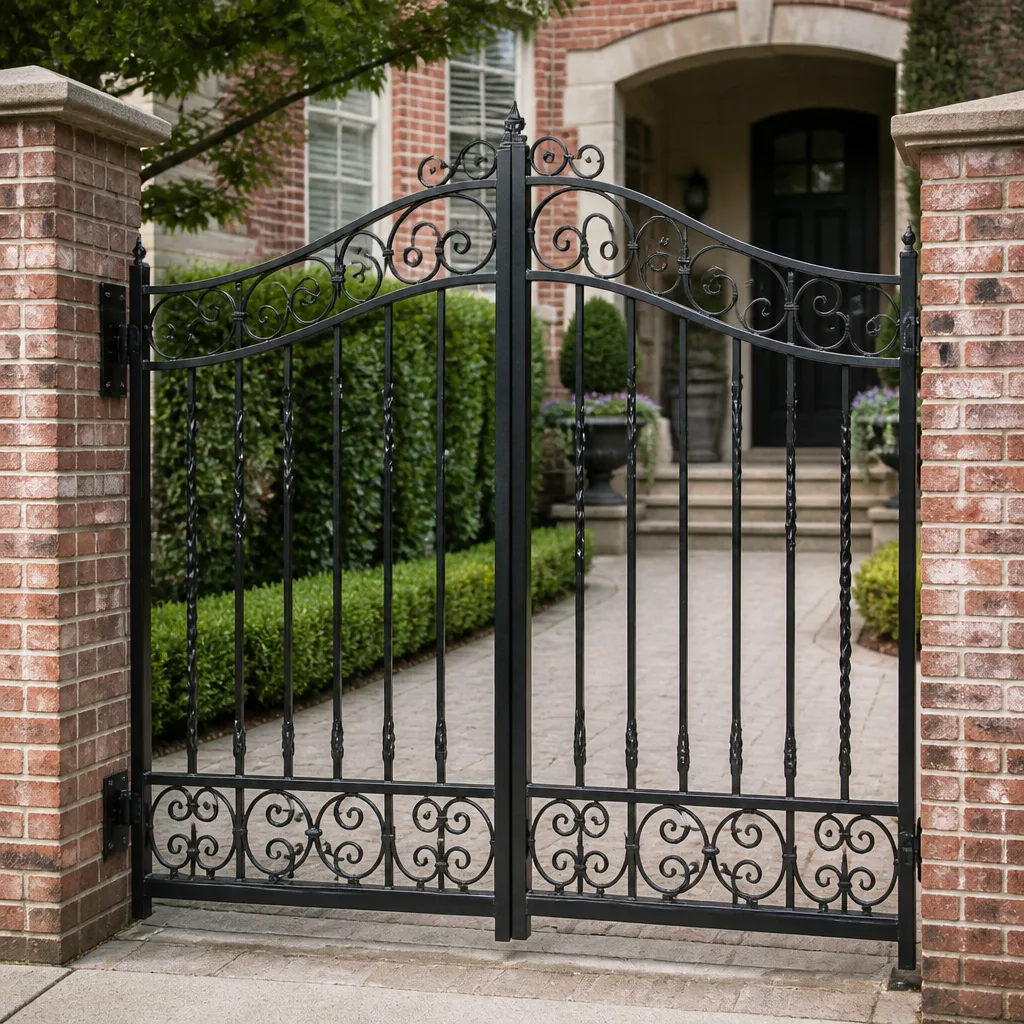 Wrought iron
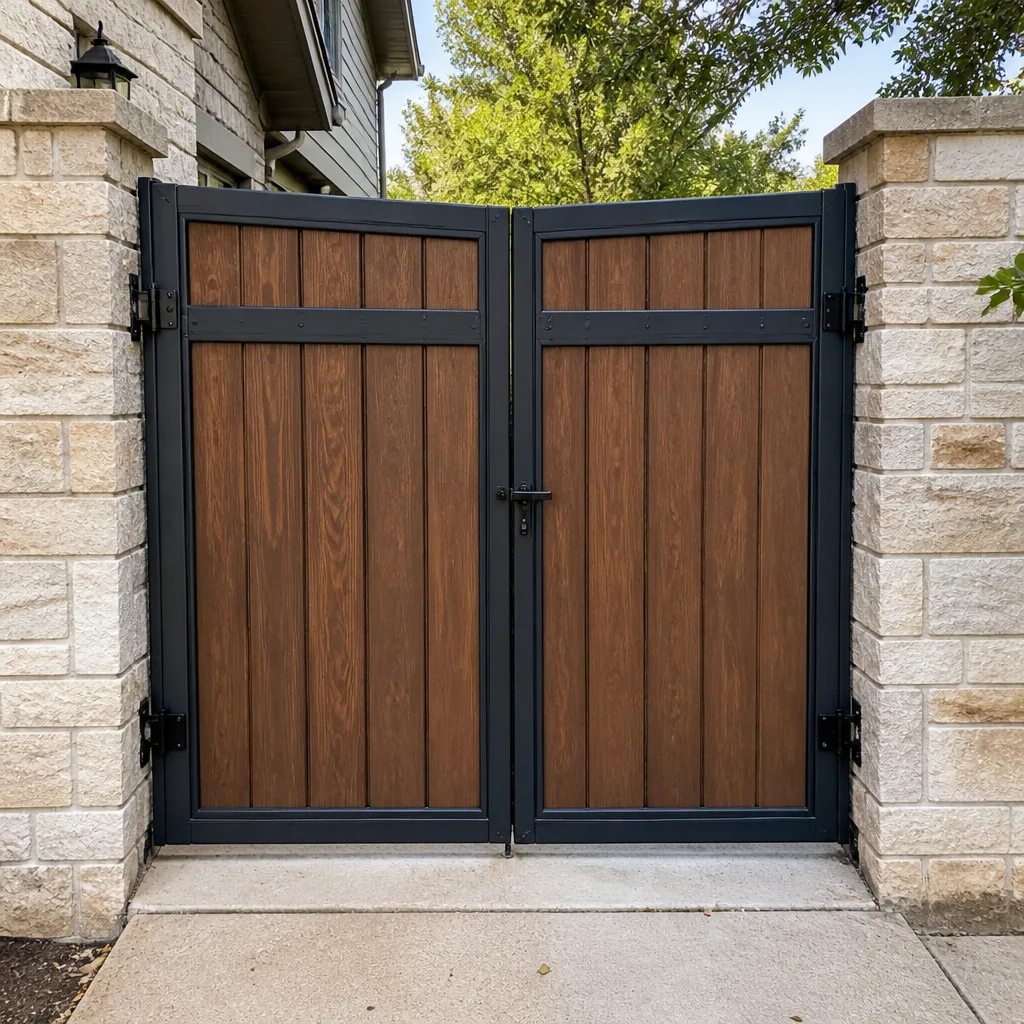 Wood & steel frame
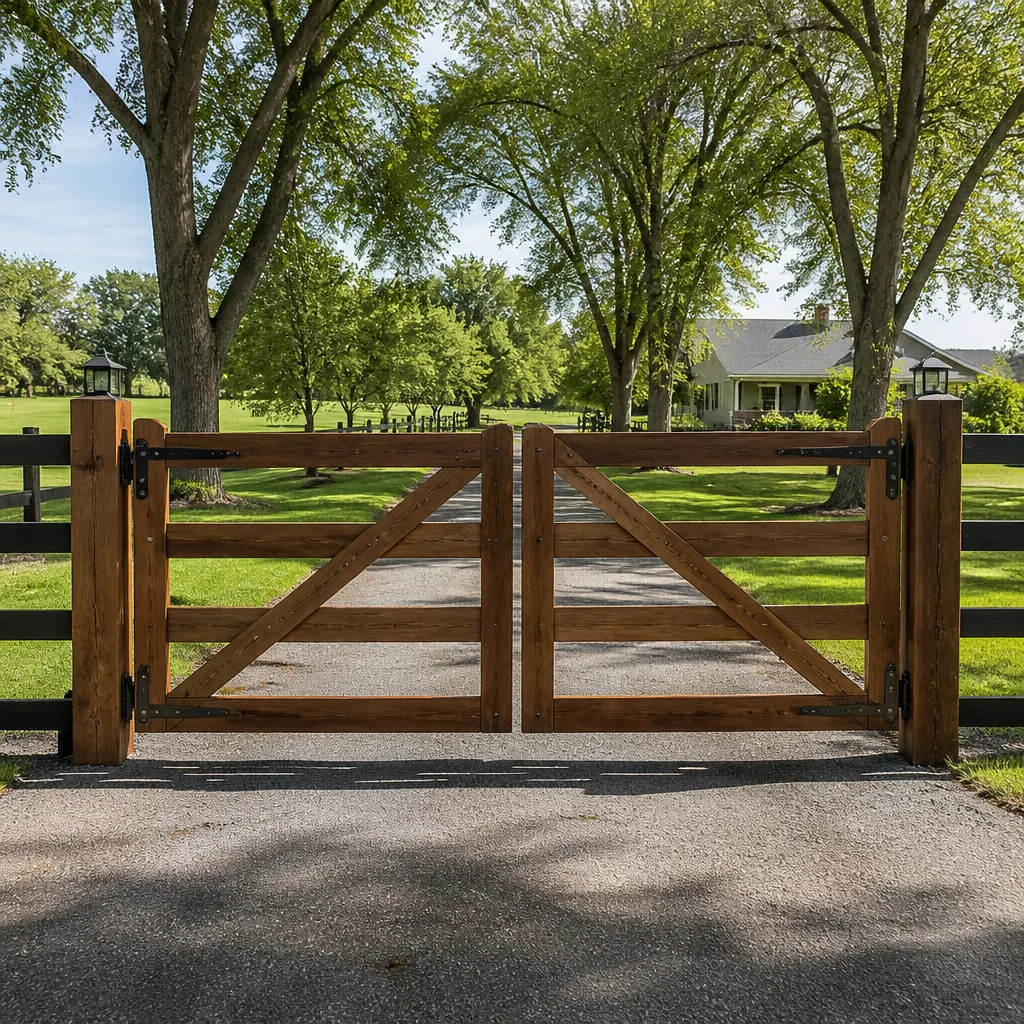 Farm & ranch
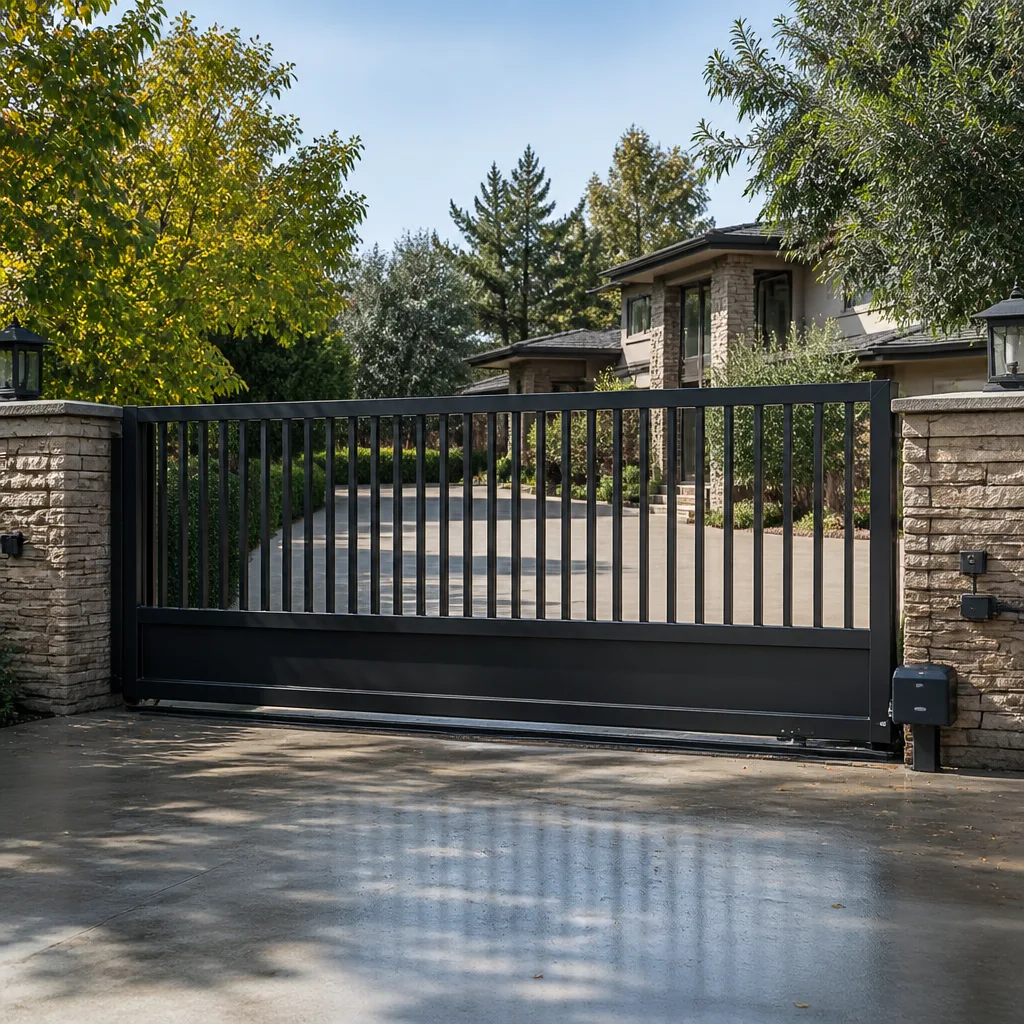 Sliding driveway gates
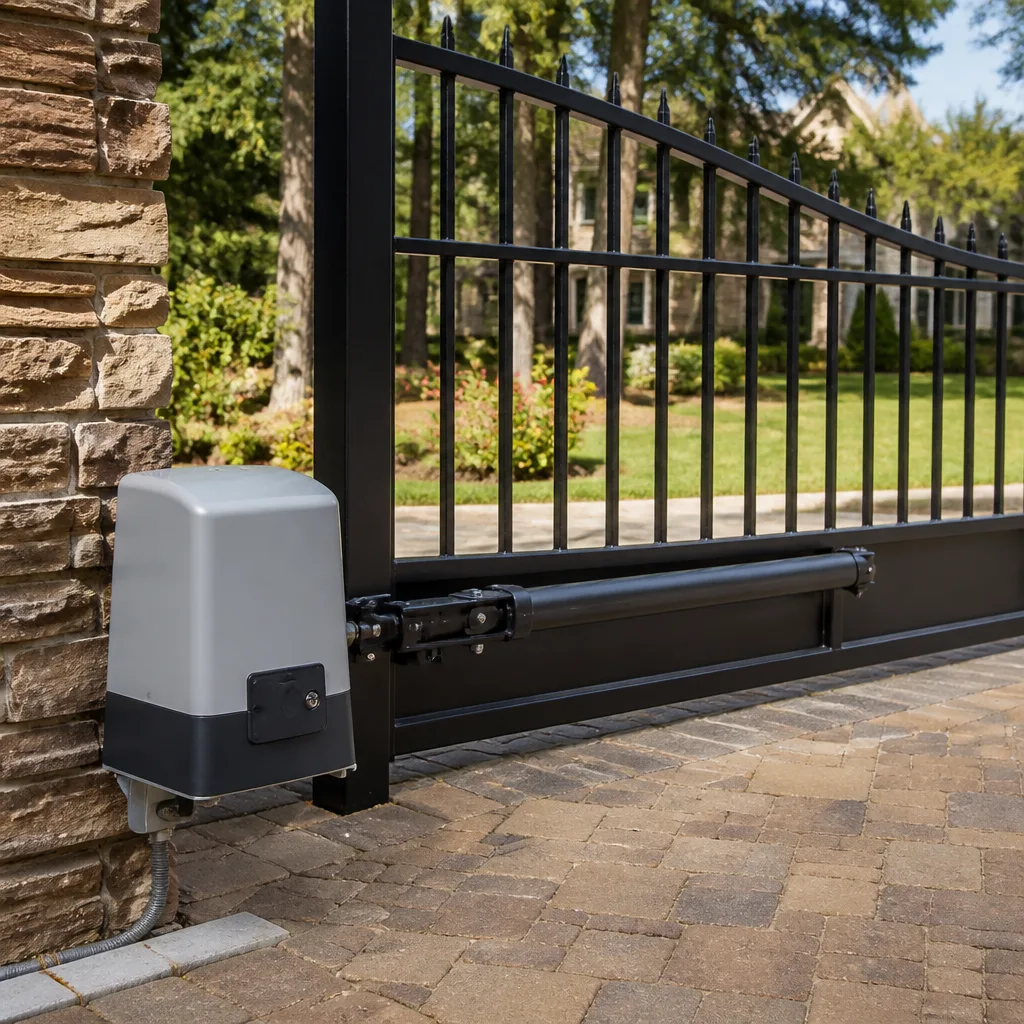 LiftMaster operators
Free on-site gate assessment - hinges, posts, and your LiftMaster or Nice gate operator checked before anything is quoted
The assessment is free and the quote is the invoice.
Get your free estimateGate Parts & Welding Warning Signs Every Homeowner Should Know
A gate that sticks slightly when it rains but works fine otherwise isn’t weather-sensitive. It’s telling you the frame is racked and the post is moving. Most structural gate failures we get called out to in Summerlin announce themselves for months first – a hinge that’s a quarter-inch off, a weld that’s grown a hairline shadow, a latch that needs a shoulder to close. None of it looks like much. All of it is data. This guide is about reading those millimeter-scale changes instead of wiping them off with a rag, so you catch a $200 repair before it turns into a $4,000 fence-line rebuild.
Quick Answer
The warning signs that matter most are a gate that drags seasonally, gaps at weld joints that widen over six months, rust that pits or flakes rather than dusting the surface, and hinges or posts that lean even slightly out of plumb. Surface rust and structural corrosion look similar but cost very differently to fix. Catching these early means a repair; ignoring them means a replacement.
Styles & brands we work with
- Wrought iron
- Wood & steel frame
- Farm & ranch
- Sliding driveway gates
- LiftMaster operators
Table of Contents
- Surface Rust vs. Structural Corrosion: How to Tell Them Apart
- Weld Fatigue, Hinge Wear, and Post Anchor Failure: Three Different Problems
- Why a Gate That “Works Fine” Still Needs Gap Documentation
- How to Photograph and Measure a Warning Sign Before We Arrive
- Which Warning Signs Are Time-Sensitive in Summerlin’s Climate
- Small Hardware That Fails First: Hinges, Latches, Stops and Plates
- What Good Documentation Looks Like on a Gate Job
- Common Mistakes to Avoid
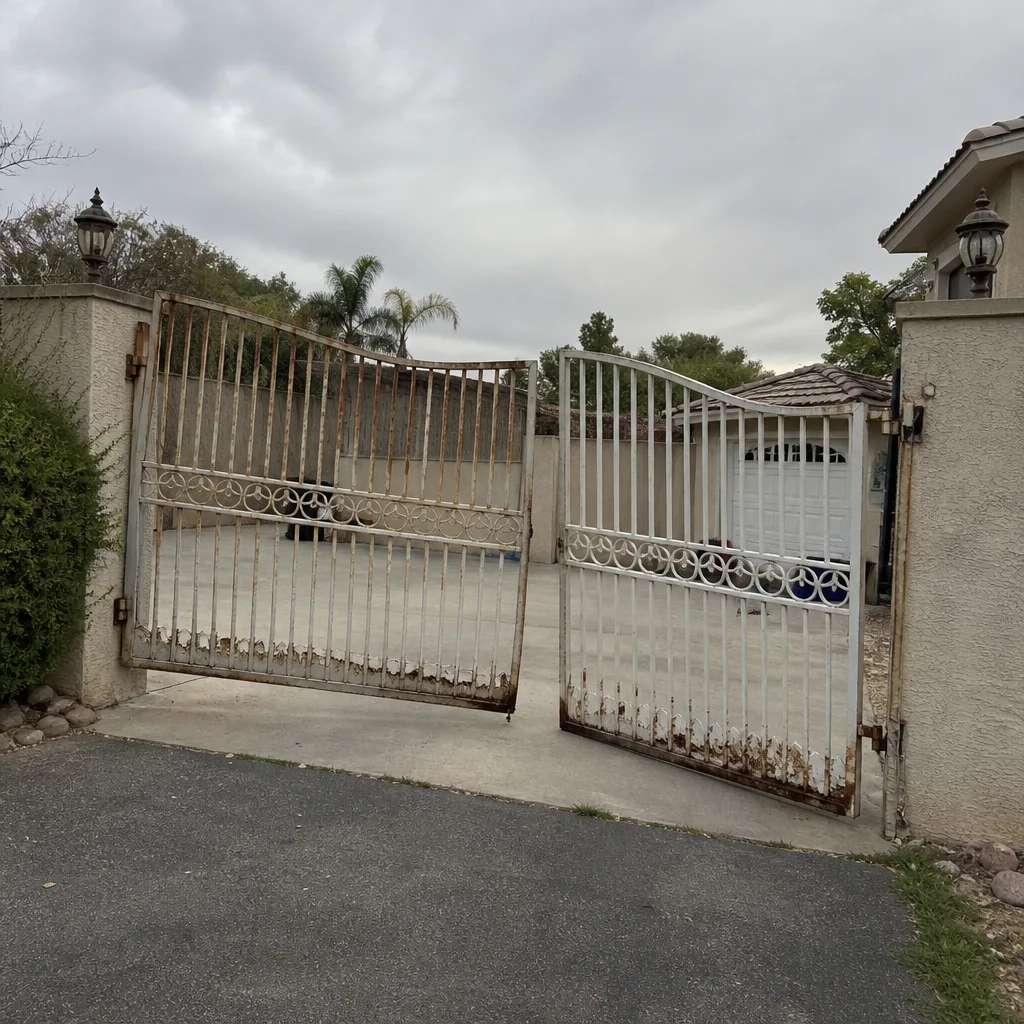 Before
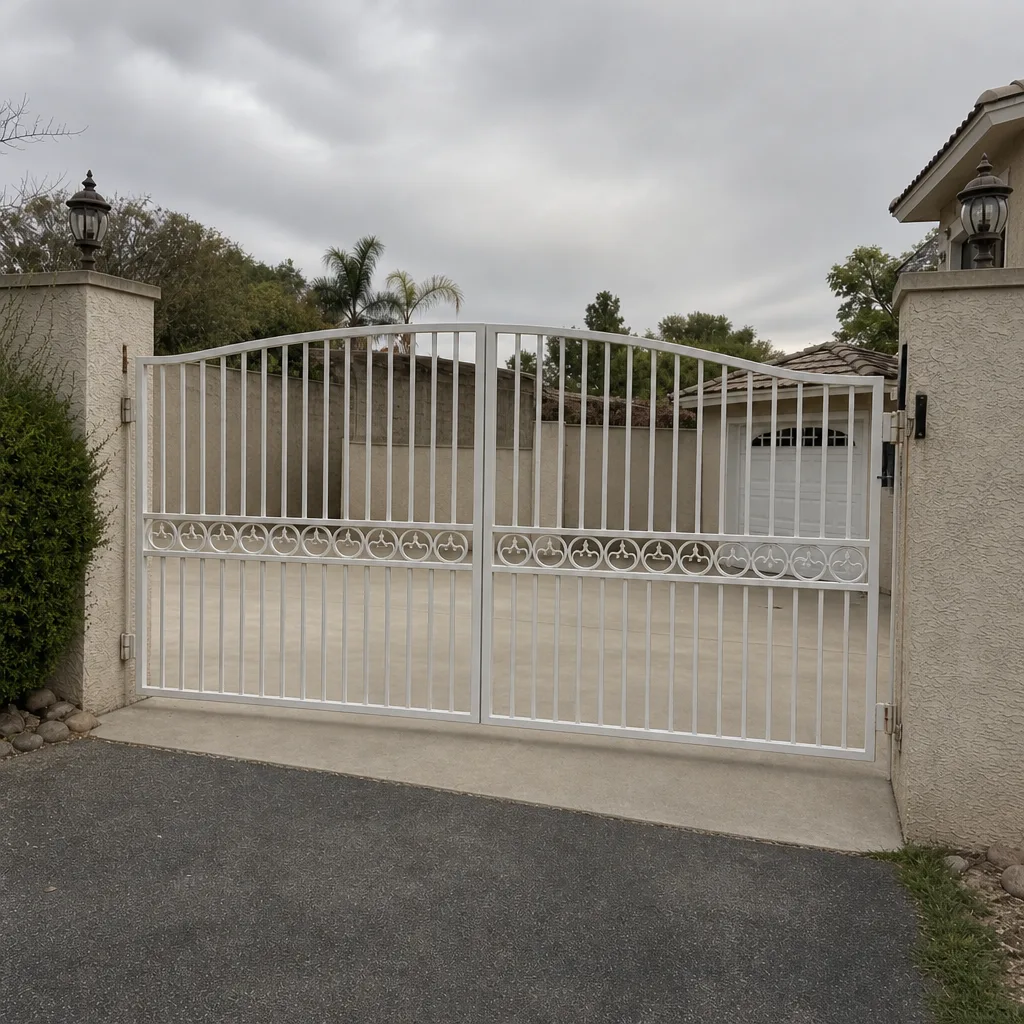 After
Surface Rust vs. Structural Corrosion: How to Tell Them Apart
Two gates can both look “rusty” from the curb and need completely different work. Surface rust is a thin orange film sitting on top of the steel. Structural corrosion is metal that has lost thickness, and once thickness is gone you’re no longer painting a gate – you’re cutting and re-welding it.
Here’s how to separate them without a magnifier. Run a fingernail or a plastic scraper across the rusted area. If the rust sits on the surface and the steel underneath feels solid, that’s cosmetic. If the scraper catches on a pit or flakes away in layers, you’ve got pitting, and pitting means the surrounding steel is already thinner than it should be.
A short test you can do in two minutes:
- Look for color changes at the edge. Surface rust is uniform orange-brown. Structural corrosion usually darkens to near-black at the base of the pit, especially where water pooled.
- Knock it lightly with a screwdriver handle. A dull, hollow sound means the metal has thinned. A sharp ring means it’s still solid.
- Check the low points. Water always finds the lowest weld or the base plate. If the rust is concentrated at the bottom rail or the anchor plate, that’s a structural signal.
- Look for paint lifting in bubbles. Rust under intact paint pushes it up in small domes. Those domes are where metal is already dying.
In Summerlin, we see structural corrosion most often on the west-facing sides of iron gates and on any gate with a bottom rail that sits within six inches of hardscape. Drawn water, sun-baked paint, and monsoon-season splash-back do the damage over a few winters, not decades. When a homeowner calls about staining on a west-facing iron gate near the east-facing slope, we ask for a close-up photo before we schedule, because the surface-versus-structural call decides whether the job is a paint-and-seal or a cut-and-weld. If your gate borders a masonry wall, it’s also worth booking a repair assessment once before assuming it’s only cosmetic.
Weld Fatigue, Hinge Wear, and Post Anchor Failure: Three Different Problems
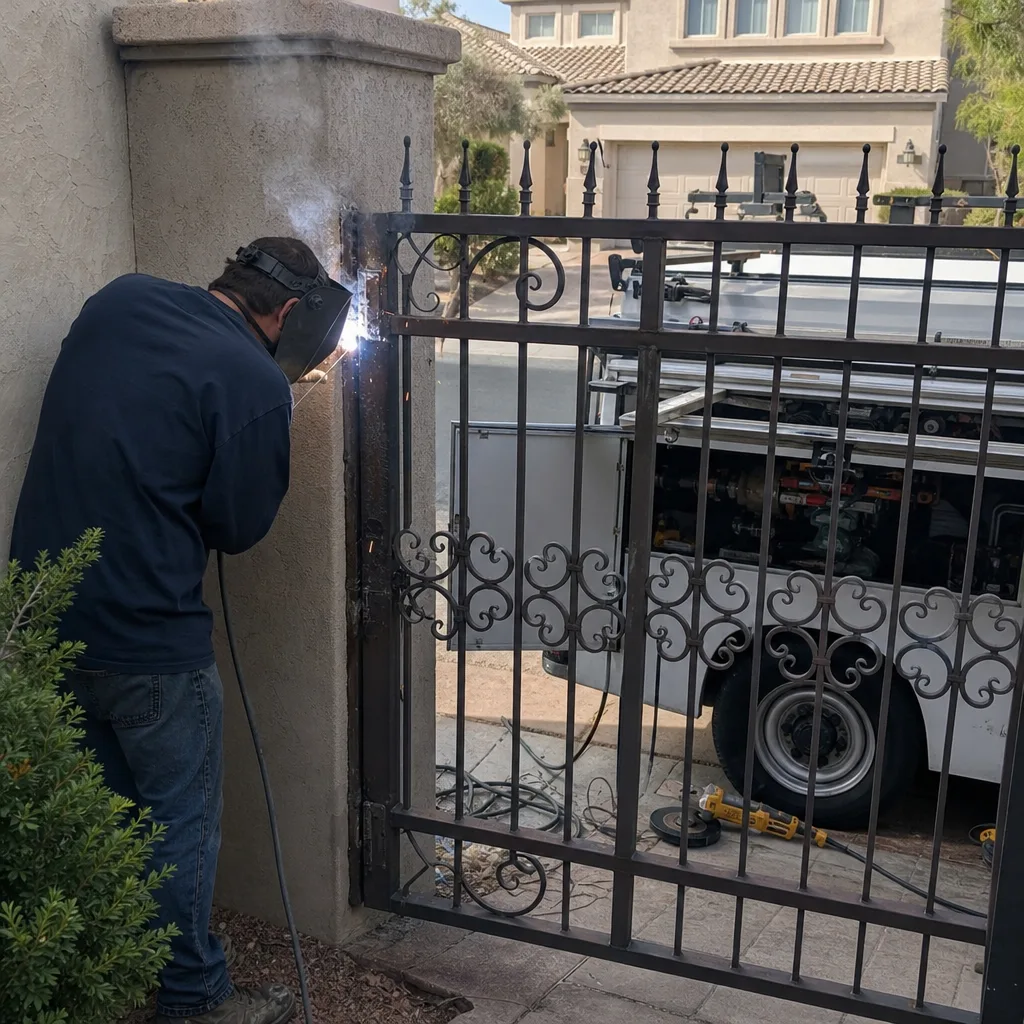
The mistake most homeowners make is treating every sag and stick as “the gate is old.” Three different failure modes cause almost all sagging gates, and each one gets fixed a different way. Misdiagnosing them is how people end up paying for a hinge replacement when the actual problem was the post anchor.
Weld joint fatigue shows up as a hairline crack in the weld bead, usually at the corner where the vertical stile meets the horizontal rail. Look closely with a flashlight across the joint at an angle – the light catches the crack before your eye does. Fatigue welds often develop a faint rust line even when the paint is intact, because moisture gets into the micro-gap and starts working.
Hinge wear looks different. The hinge itself shows play – you can rock the gate by hand and feel slop in the knuckle. The gate sits lower than it used to because the pin has worn inside the barrel. Loose hinges often produce a slight metallic click when you push the gate, and you’ll see polished metal where the paint has worn off at the barrel.
Post anchor failure is the one most homeowners miss, and it’s the most serious. The post looks vertical, but the ground around it has settled. Push on the post with your body weight – if it moves even a fraction of an inch, the anchor plate or the concrete footing is compromised. Over time, a post that has rotated two degrees at the base translates to a half-inch drop at the gate’s free edge.
On a swing gate we serviced in Summerlin last spring, the homeowner wanted two new hinges. We photographed the post and found the anchor had shifted about three degrees after a wet winter. Installing hinges would have hidden the problem for six months and then failed the same way. That’s the kind of call that needs eyes on the ground, not a verbal description – a trained technician reads the difference fast, and that’s why we encourage a professional eyes-on diagnosis rather than buying parts on a guess.
Why a Gate That “Works Fine” Still Needs Gap Documentation
A gate that closes smoothly today can still be moving. The slow, quiet failures – the ones that don’t announce a problem – are exactly the ones worth writing down. Here’s the concept: measure one gap on your gate today, write the number here, and check it again in three months. If it changed, something moved.
What to measure:
- Gate-to-post gap at both the top and the hinge side.
- Bottom clearance from the gate’s lowest point to the ground or hardscape.
- Hinge-to-stile distance at the top and bottom of each hinge barrel.
- Latch-to-strike gap with the gate fully closed.
Write each number in inches or millimeters, date it, and snap a photo of the tape measure against the gap. That record becomes the baseline. From that point, you’re not guessing about whether the gate “feels different lately” – you’re comparing numbers. A change of more than about three millimeters on any of those gaps over a season means the frame or the post is moving, and that is a call to schedule a look.
Why is this worth the two minutes? Because gate failures are almost never sudden. They’re the cumulative effect of small shifts that nobody measured. If you already have a photo log going and you’ve been meaning to think about replacement long-term, this is also a good moment to look at planning a new installation so you have a sense of scope if a repair stops making financial sense.
How to Photograph and Measure a Warning Sign Before We Arrive
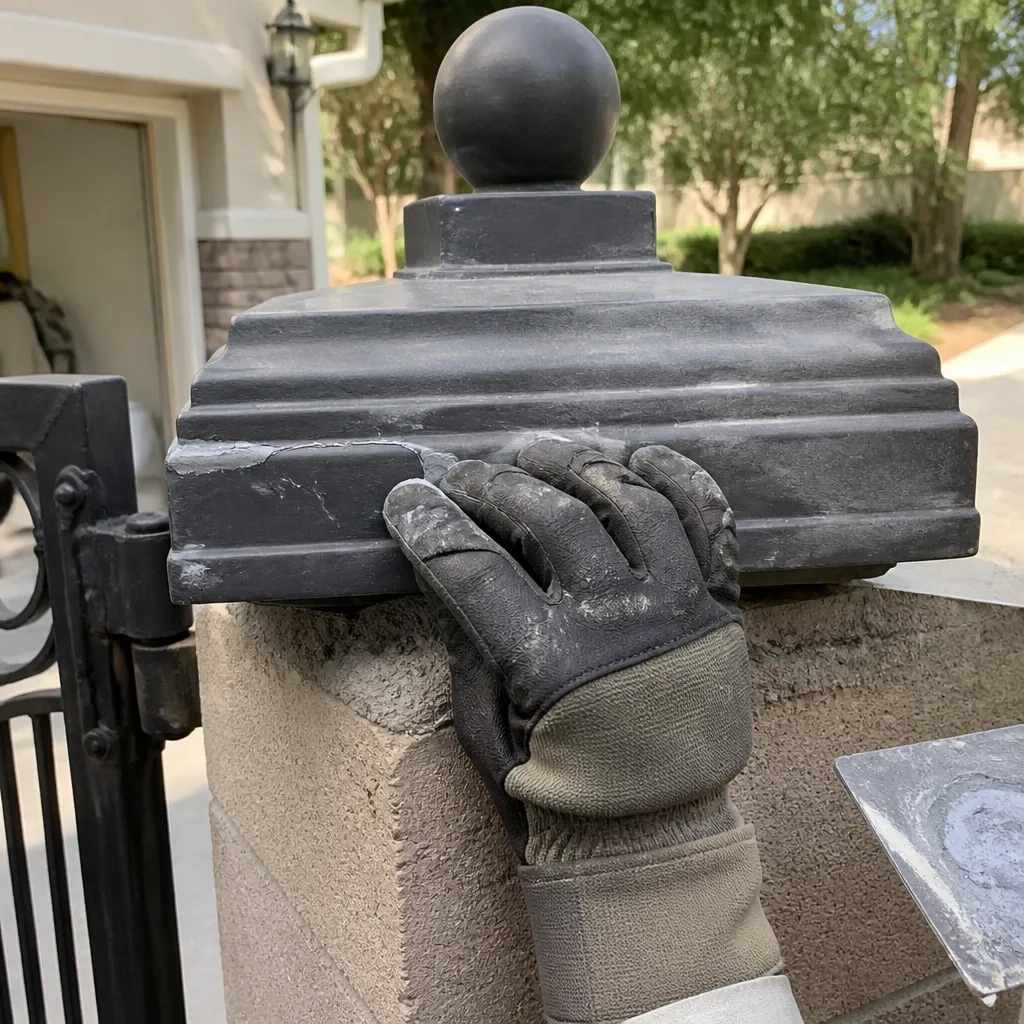
Most gate calls can be triaged before anyone drives out. A good photo set lets us tell you whether a visit is likely to be a $180 hinge swap, a $600 weld repair, or something that needs a same-day look. That’s not just convenience – it’s how a technician shows up with the right parts, which is the difference between one visit and two.
Here’s exactly what to send:
- Four overalls: both faces of the gate from about 8 feet back, plus one from each side so we can see the driveway approach.
- Three close-ups: the upper hinge, the lower hinge, and the latch side.
- One close-up of each weld joint on the sagging corner, taken with a flashlight held at an angle to the joint so cracks show.
- One photo of the post base with the ground visible at all four sides.
- One photo of the tape measure held against the widest visible gap, with the number readable.
- A short note: your gate’s model or brand if you know it (Linear, Viking, Ghost Controls and DoorKing are all common in Summerlin driveways), and one sentence about what changed.
Don’t zoom in on the phone – get closer to the gate instead. Photos taken with the phone’s digital zoom lose the fine detail that matters, especially at a weld joint. If your gate has an operator, take one photo of the motor’s label too, because a stuck gate can be a gate problem or an automation problem, and the label tells us which brand we’re working with before we arrive. Every one of our visits ends with the same kind of record – a photographed set of findings, the readings at each adjustment, and the part numbers installed – so you’ll get back a professional version of the photos you send us. See how that fits our gate motor and opener work when automation is involved.
Which Warning Signs Are Time-Sensitive in Summerlin’s Climate
Not every warning sign is an emergency, and treating them all with the same urgency leads to bad decisions – overpaying for a cosmetic fix, or worse, sitting on a structural one. In Summerlin, the climate splits these fairly cleanly.
Time-sensitive (schedule within a few days, or same day if the gate won’t close):
- A post that has shifted and is holding a heavy swing gate – the load is now on the welds, and welds fail faster than posts.
- Any visible crack at a weld joint on a gate that opens automatically. The operator keeps running even as the frame moves, which accelerates the damage.
- Rust visibly flaking at a base plate or bottom rail within six inches of the ground.
- A gate that has started scraping the driveway. Once it drags, the geometry has changed enough that hinges and welds are both under load they were not designed for.
Allows a scheduled response (next few weeks):
- Surface rust with no pitting, especially on decorative elements.
- A single hinge with minor play, as long as the gate still opens and closes without dragging.
- Cosmetic paint flaking with no rust visible underneath.
- A latch that needs a small push to close, if the gate otherwise moves freely.
Summerlin adds two climate factors to the calculus. First, monsoon season puts water on gates hard and fast, and any gate with a compromised seal or paint film will show new rust within weeks of the first rain. Second, the summer heat uses thermal expansion to move gate frames a few millimeters between morning and afternoon – so a gap you measure at 7 am is not the same gap at 3 pm. Measure at the same time of day each time and note the temperature, or you’ll chase phantoms. If your gate sits on a slope facing the Spring Mountains and takes runoff, treat every rust signal as time-sensitive by default.
Small Hardware That Fails First: Hinges, Latches, Stops and Plates
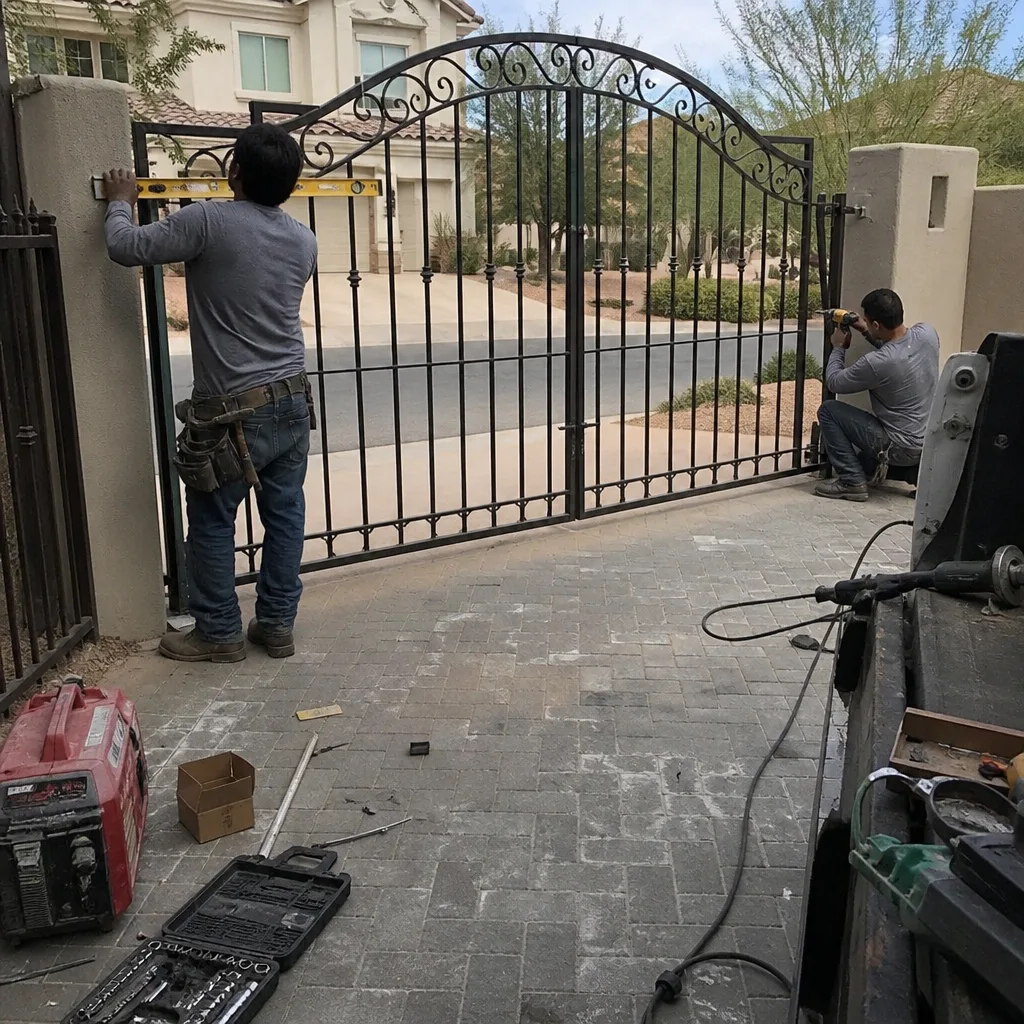
The gate’s structure gets blamed for failures that actually start at the hardware. These small parts cost less than a hundred dollars in most cases, but only if you catch them before they take the frame with them.
- Hinges are the most common fail point on a swing gate. A worn hinge forces the frame to work harder at the corner weld, so a $60 hinge problem turns into an $800 weld repair if you leave it alone.
- Latches and strikes wear fast on automatic gates because the operator keeps driving the gate into the strike until the gap closes. A strike plate that has moved half an inch is a warning that the gate’s geometry is off.
- Gate stops absorb impact every time the gate reaches full travel. A missing or bent stop on an operated gate is a direct path to a warped frame.
- Anchor plates are invisible until they fail. Check that the bolts are snug and the concrete around the base is intact every six months – a loose plate is a two-minute fix early and a masonry job if it isn’t caught.
- Welded hardware brackets often crack before the gate itself does, because they take concentrated point loads. Look at the bracket-metal transition, not just the weld.
A note on the operator side: some gate failures are automation failures wearing a structural costume. If the gate itself looks sound but the operator keeps reversing, hesitating, or stalling, the problem may be a limit switch or a photo-eye rather than the frame. A trained technician handles the diagnosis with a meter, and we don’t recommend homeowners doing their own electrical work inside a 120-volt operator enclosure. That’s a shock and fire risk, and it voids more than it fixes. If you want to understand the operator side of that equation, our Vance Gate Repair Summerlin home page lays out what we work on across every major brand.
What Good Documentation Looks Like on a Gate Job
Documentation sounds like paperwork. In practice it’s the difference between a repair that lasts and a repair that has to be rediscovered by the next technician. The Haven Standard exists because we got tired of finding the same problem on the same gate twice – once without a record and once with one.
Here’s what good documentation includes:
- A written price before any work starts. Every number named, in dollars, in writing, handed over before a tool comes out. Under Haven Standard Clause 1, that’s non-negotiable on every visit.
- A photo record of what we found. Every crack, gap, rusted section and shifted anchor photographed before we touch it.
- Readings at every adjustment. When we reset a limit switch on a DoorKing, a Linear, or any other operator, we record the degree reading before and after.
- An installed part number written into the record so the next technician doesn’t have to guess what’s on your gate.
- What was left untouched. Photographing the areas we did not work on is how we protect both you and us from later confusion.
That record is why the 365-Day Done Right Promise works. If a repair isn’t right inside the first year, we make it right at no additional charge, and the record tells us exactly what we found and what we did. If you’ve been handed a written estimate by another company and want a second set of eyes before you sign, we’ll review it at no cost. Documentation on every visit and a written price before the first wrench is turned is the whole reason this company exists.
Common Mistakes to Avoid
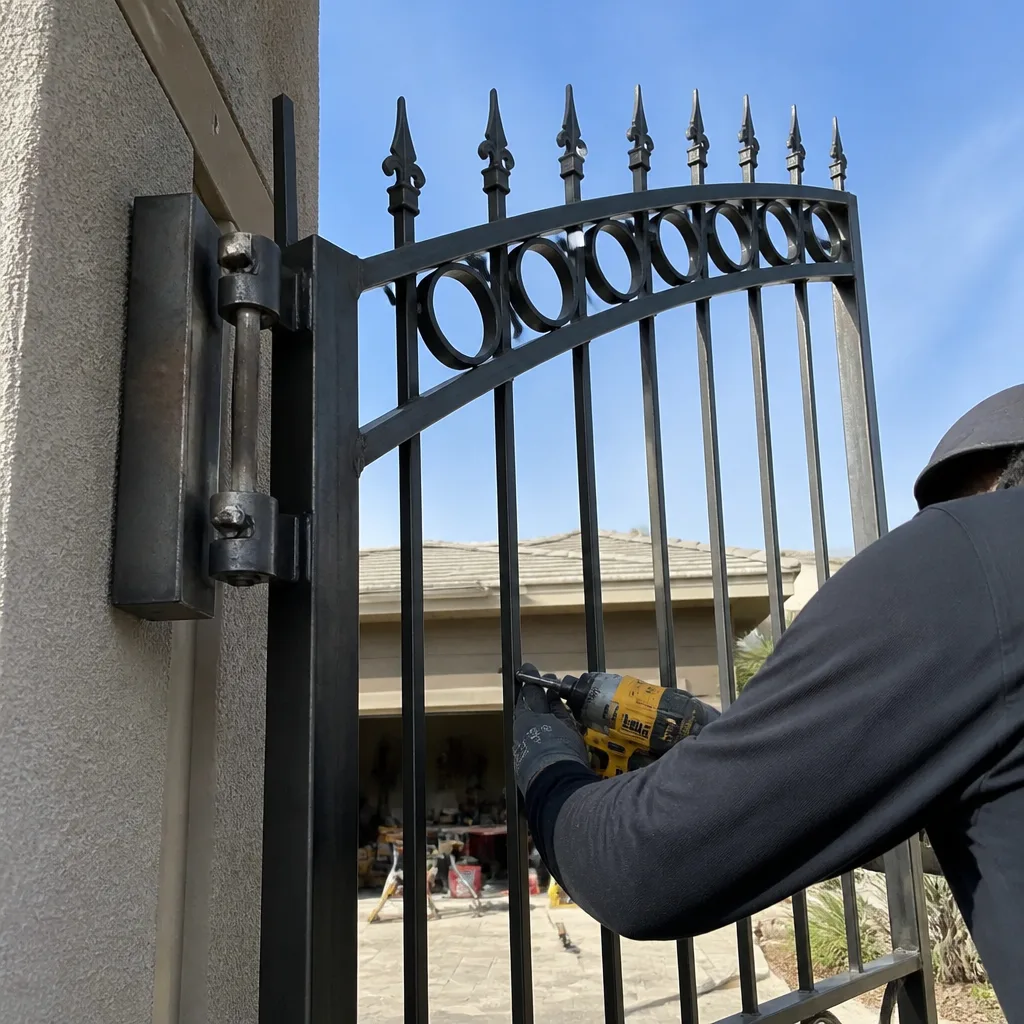
- Treating surface rust and structural rust as the same thing. They look similar from ten feet and cost hundreds of dollars apart to fix. Test the metal with a scraper before deciding which one you have.
- Replacing hinges when the post has shifted. New hinges on a moving post hide the problem for a season and then fail on the same schedule. Check the post anchor first.
- Painting over an active crack. Paint will bridge a weld crack for a few months and then lift in a line above the crack. If you see a straight paint line at a weld, scrape it back and look.
- Writing off a Summerlin gate’s seasonal stickiness as weather. A gate that binds after rain is a frame that has racked. That’s a data point, not a personality trait.
- Measuring gaps at different times of day. Summerlin heat swings gate geometry by a few millimeters between morning and afternoon. Compare like with like or you’ll misdiagnose.
- Sending a phone-zoomed photo instead of a close-up. Digital zoom loses the detail at the exact joint we need to see. Walk closer and shoot closer.
- Tightening an anchor bolt without checking the concrete. A loose bolt on crumbled concrete just cracks the slab further. The anchor plate holds only as well as the material around it.
See the difference
BeforeAfter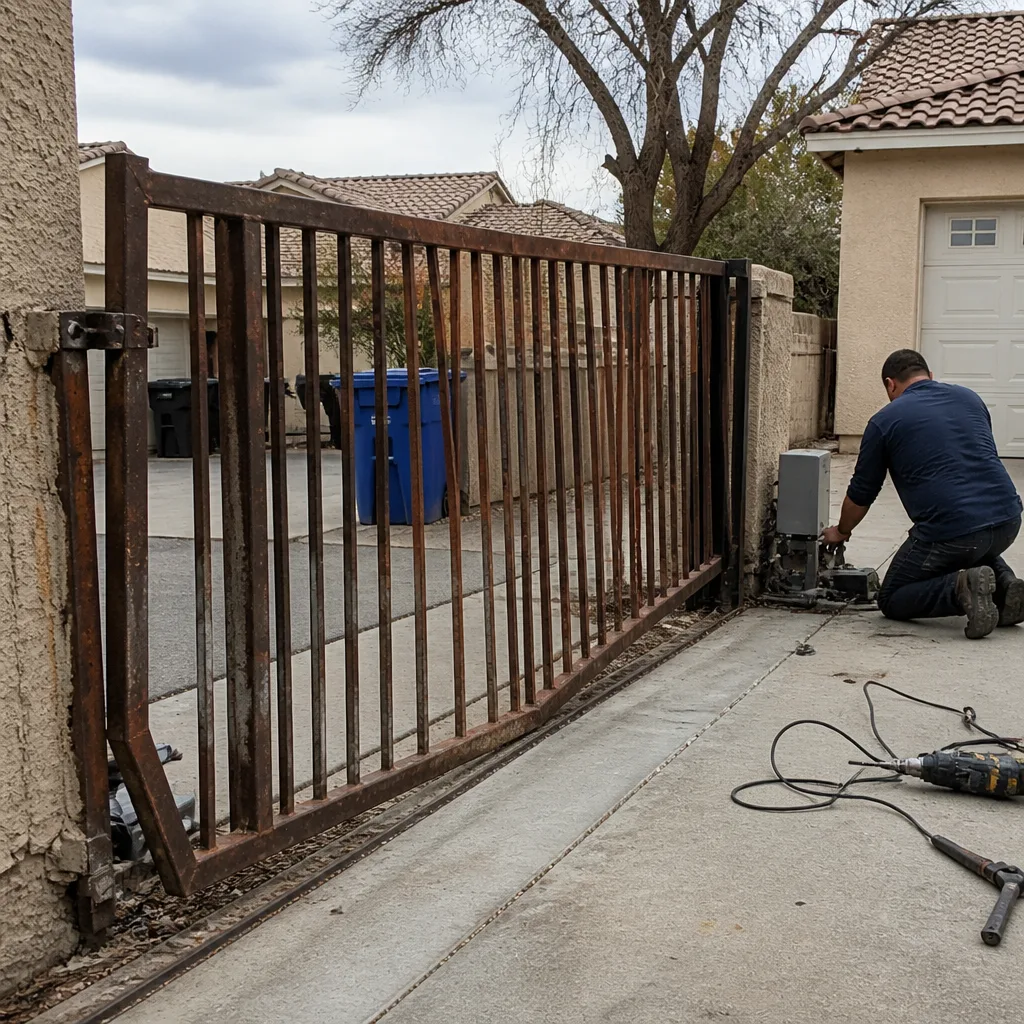 Before
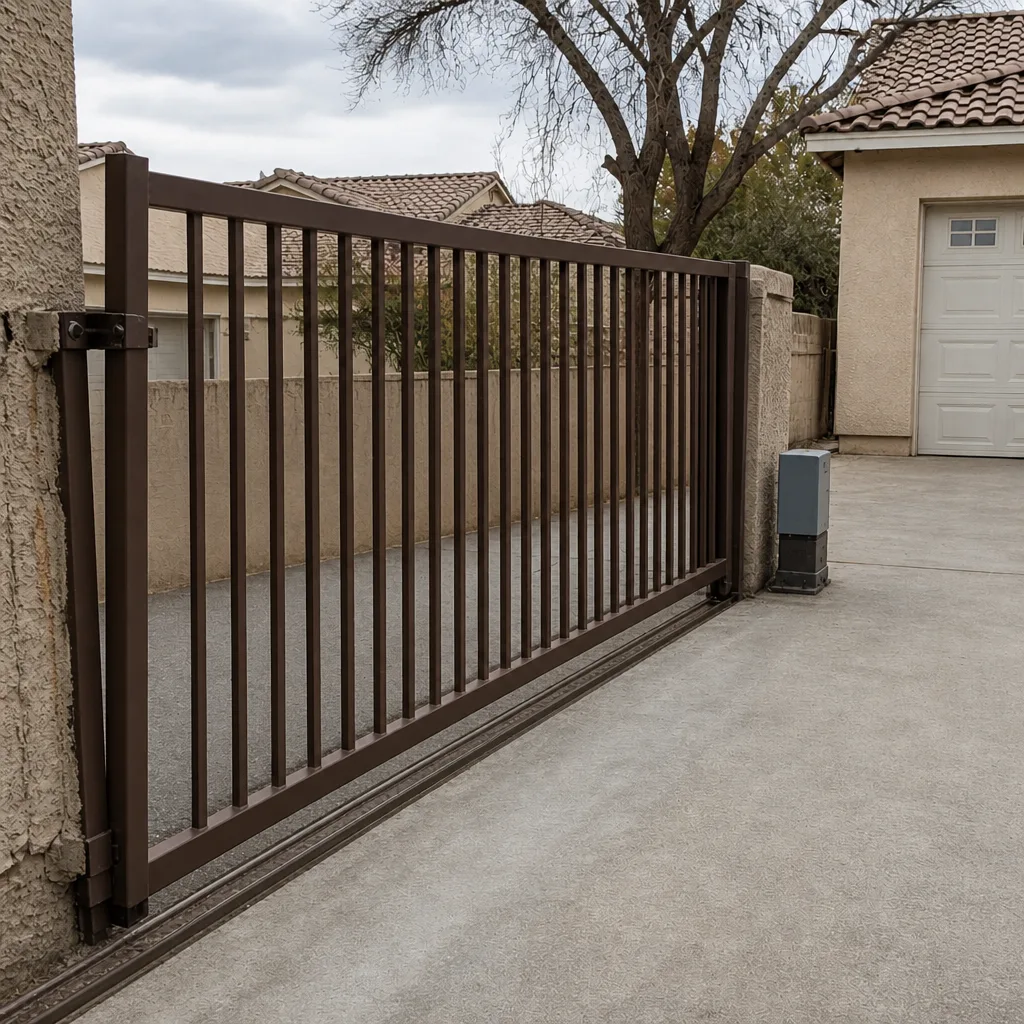 After
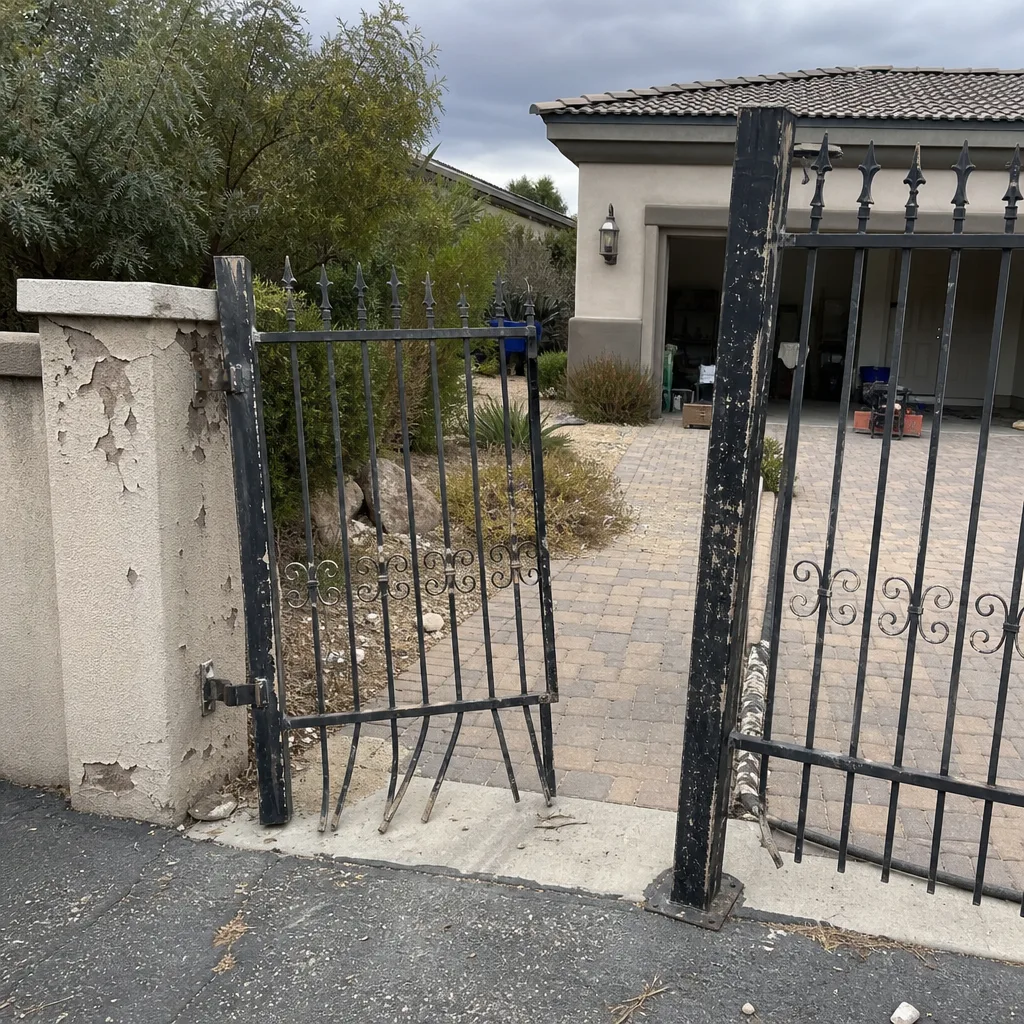 Before
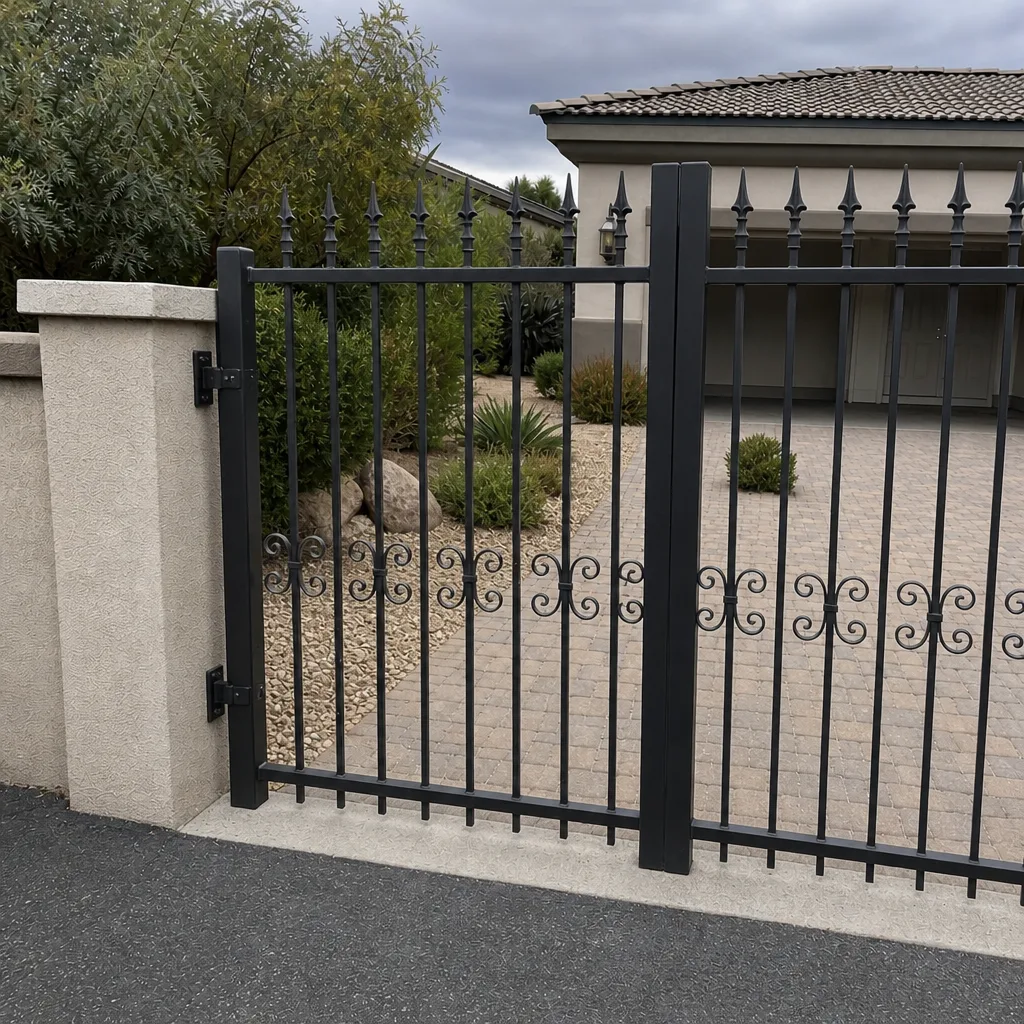 After
When to Call a Professional
Call us when any of these apply: a weld joint shows a visible crack, a post moves under hand pressure, a gate has started dragging on the driveway, rust is flaking at a base plate or bottom rail, or an automated gate keeps reversing at the same point in its travel. Those are the six signals that end up being repairs if we see them early and replacements if we don’t. For anything involving the inside of an operator enclosure, gas or utility lines near the post, or a gate mounted on masonry that has started to tilt, don’t attempt the work yourself – each of those carries a real risk that a trained technician is equipped to handle. Vance Gate Repair Summerlin offers free estimates in Summerlin – call (844) 797-2809, and a live person answers at any hour.
Frequently Asked Questions
Test the metal, not the color. Scrape a plastic tool or a fingernail across the rusted area. If it sits on the surface and the steel underneath feels solid, it’s cosmetic; if it pits, flakes in layers, or darkens to near-black at the base, the metal has thinned and that’s structural. When it’s close, run a close-up photo past us before assuming – call (844) 797-2809 and estimates are free.
Yes, if it’s changing more than about three millimeters over a season. A gap that moves on a fixed gate means the frame or the post is shifting, and that movement almost always shows up as a stuck latch or a dragging gate within a year. Document the gap with a photo of a tape measure against it, and schedule a repair assessment before the shift turns into a weld failure.
Cracks at a weld joint on an operated gate, a post that moves under hand pressure, and flaking rust at a base plate are urgent – call the same day if the gate can’t close safely. Surface rust, minor hinge play, and cosmetic paint flaking can be scheduled over the next few weeks. Call (844) 797-2809 and we’ll tell you which category you’re in before we schedule.
Often, yes. A clear set of photos – both faces, three hinge close-ups, joint close-ups, the post base, and one tape-measure shot – lets us prepare with the right parts and the right brand in the truck, whether it’s a Linear, Ghost Controls, Viking or DoorKing unit. We work on all nine major automation brands. Send the photos and call (844) 797-2809 for a written estimate.
Yes, at no cost. Bring the paperwork, and we’ll read it against what we’d recommend for your gate. If the estimate names parts that don’t match your frame or misses a post anchor problem, you’ll hear that before you sign. Call (844) 797-2809 to set up the review.
Ask three things: do you get a written price before work starts, will you document what you find with photos, and what happens if the repair fails? If a company can’t answer all three in the affirmative, keep calling. Our 365-Day Done Right Promise covers every completed repair, and every visit includes a photo record at no charge – call (844) 797-2809 for a free estimate in Summerlin.
The Bottom Line
Structural gate failure is slow and quiet, and that’s exactly why it catches homeowners out. The five signals to watch are: rust that pits or flakes rather than sits on the surface, a weld crack with a faint line at the joint, a post that moves under hand pressure, a gap that changes by more than three millimeters over a season, and any dragging or binding that shows up after rain in Summerlin. Measure, photograph, date, and compare. The difference between a repair and a replacement is usually whether someone noticed the millimeter change in month two or missed it until month twenty. If you’re seeing any of these on your gate, that’s not weather and it’s not cosmetic – it’s a data point worth acting on.
Book a repair assessment in Summerlin, or try our gate motor and opener service if the issue is on the automation side. If a post has shifted or the gate has been dragging, an installation review will put a number on replacement so you can make an informed call.
When you’re ready, call (844) 797-2809 for a free estimate. A live person answers 24 hours a day, and every visit starts with a written price and ends with a photo record. That’s the Haven Standard, and it’s the same on every gate in Summerlin.
Written by the team at Vance Gate Repair Summerlin.