
Last updated November 17, 2026
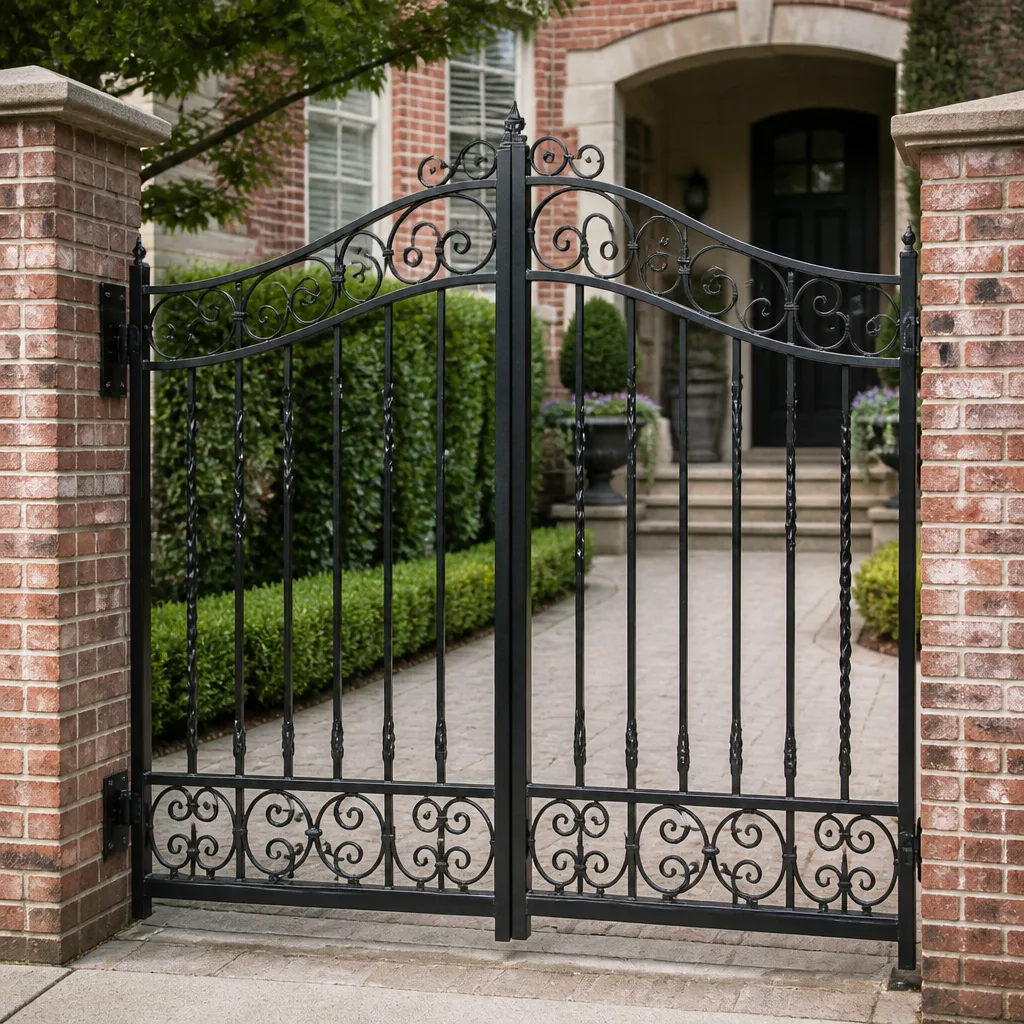 Wrought iron
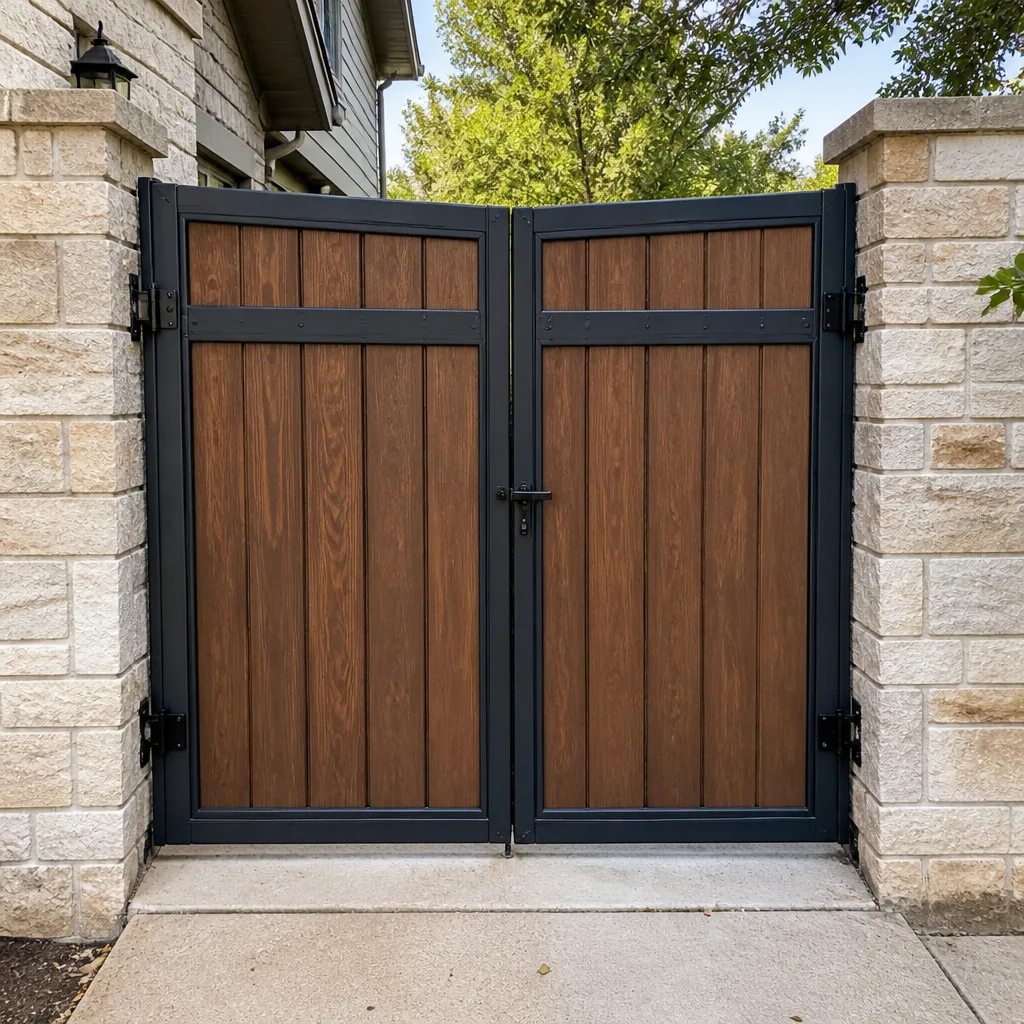 Wood & steel frame
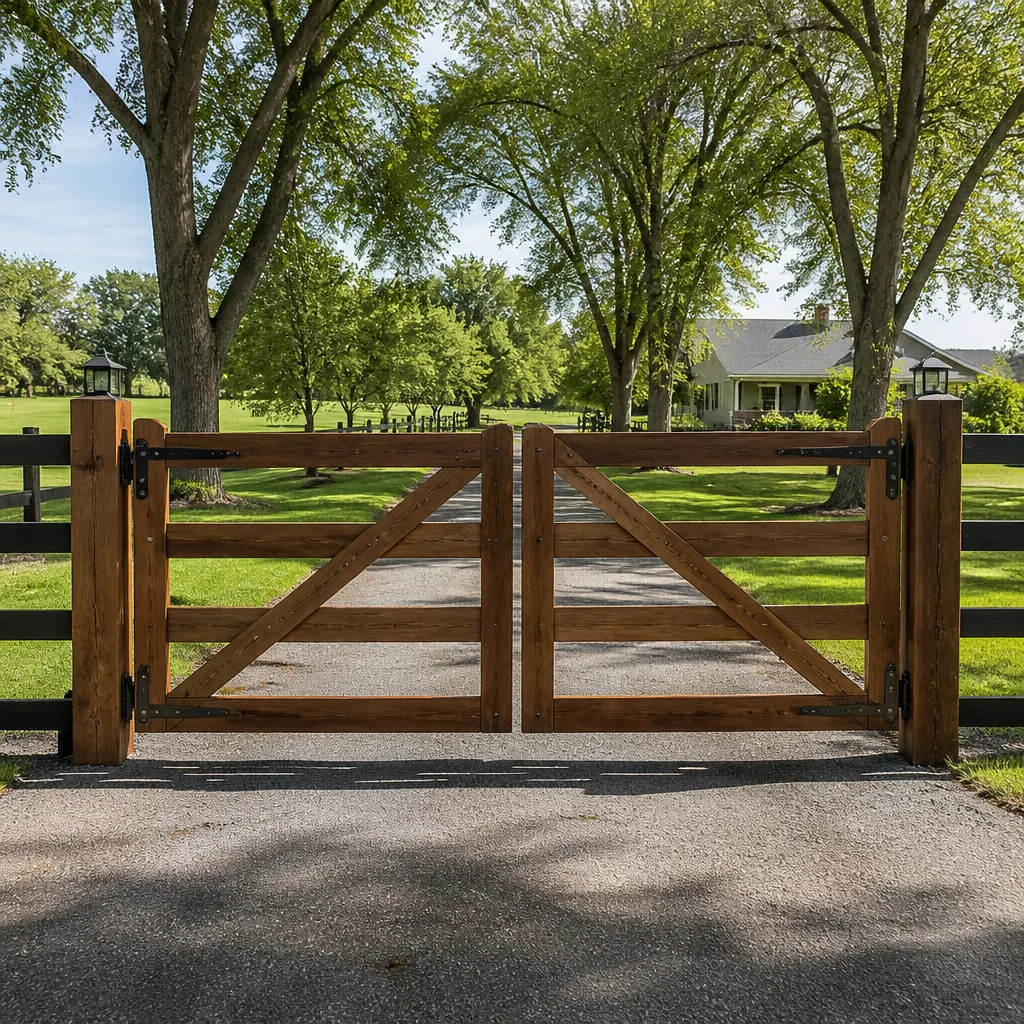 Farm & ranch
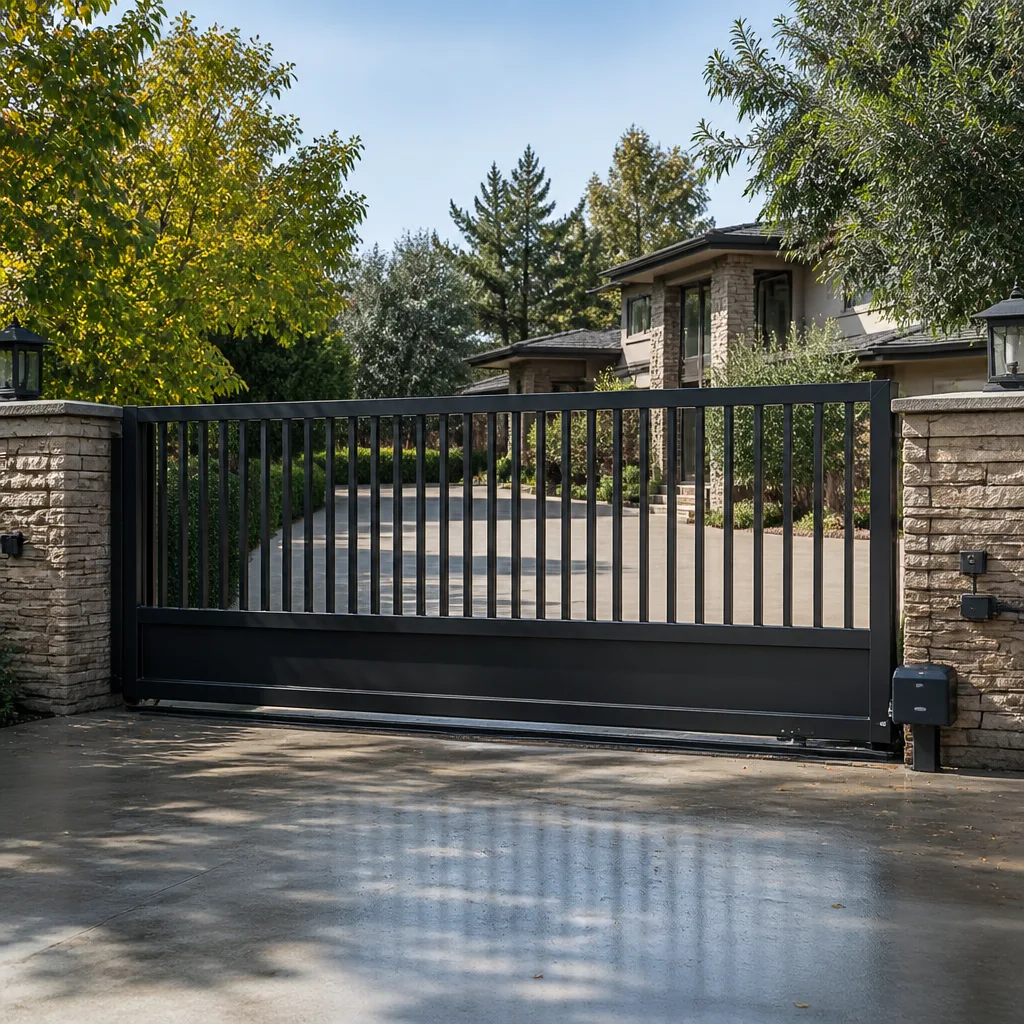 Sliding driveway gates
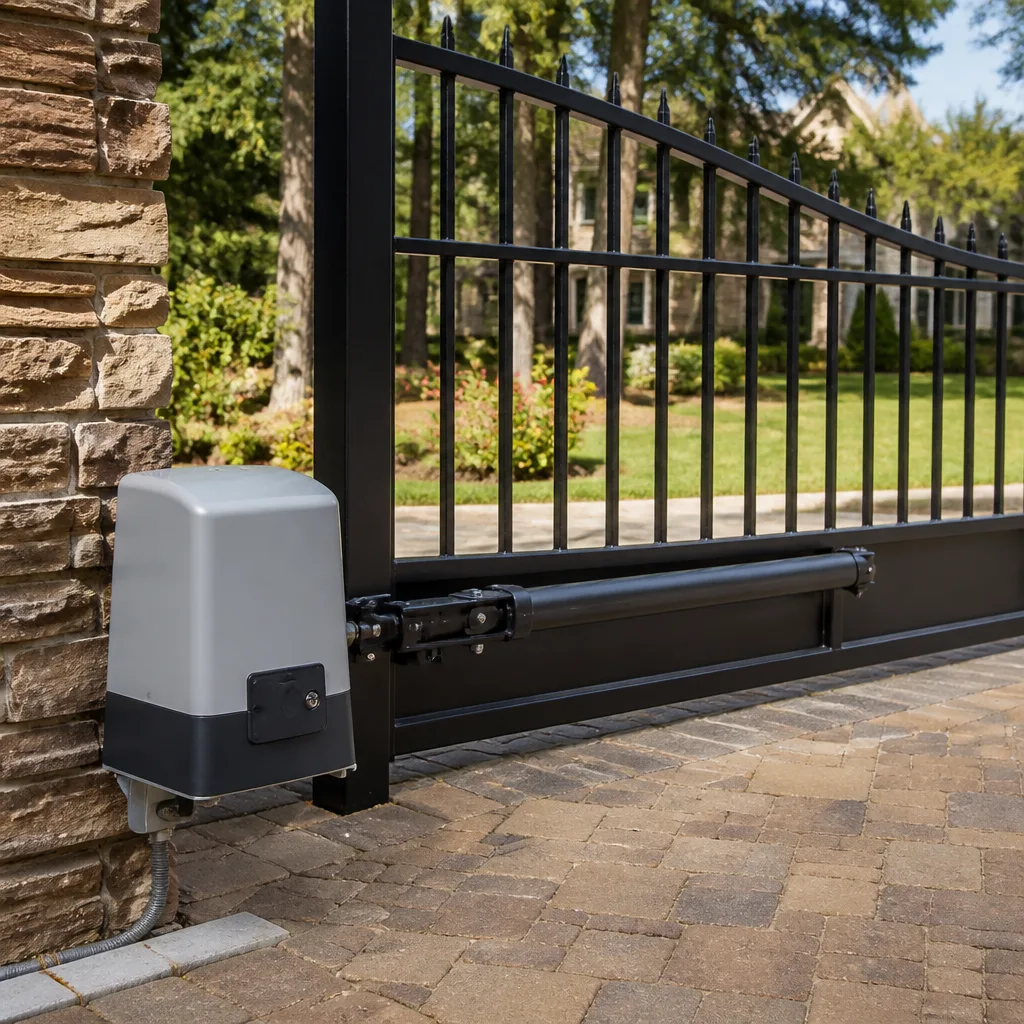 LiftMaster operators
Free on-site gate assessment - hinges, posts, and your LiftMaster or Nice gate operator checked before anything is quoted
The assessment is free and the quote is the invoice.
Get your free estimateGate Parts & Welding Troubleshooting: Common Problems and How to Fix Them
If the same gate part has been replaced twice in three years, the part probably isn’t the problem. In our experience, most repeated gate failures trace back to a root cause nobody named: a post that has moved, a weld that fatigued along a seam, a hinge set that never matched the frame weight in the first place. Replacing the symptom is easy. Finding the cause takes a framework. This guide gives you that framework, what to look for at each step, and how Summerlin conditions speed up certain failures. You’ll also learn how to photograph a problem so a technician starts diagnosis at the gate, not on the phone.
Quick Answer
Most gate parts and welding problems are structural, not cosmetic. A sagging or dragging gate usually points to a shifted post, a fatigued weld, or mismatched hinge hardware, and the fix is to correct the structural cause before replacing any part. In Summerlin, heat cycling and dry cycles accelerate weld joint failure along seams, which is why gate diagnosis has to start with the post, the frame, and the weld, in that order.
Styles & brands we work with
- Wrought iron
- Wood & steel frame
- Farm & ranch
- Sliding driveway gates
- LiftMaster operators
Table of Contents
- Symptom vs. Structural Cause: The Root-Cause Framework
- How to Diagnose a Gate Problem at Home
- How to Inspect an Old Weld Repair Without Specialized Equipment
- Common Misdiagnoses We See on Summerlin Gates
- How to Document a Problem With Photos Before You Call
- What Summerlin Conditions Do to Weld Joints
- What a Proper Gate Repair Actually Involves
- When to Repair a Part vs. When to Reweld
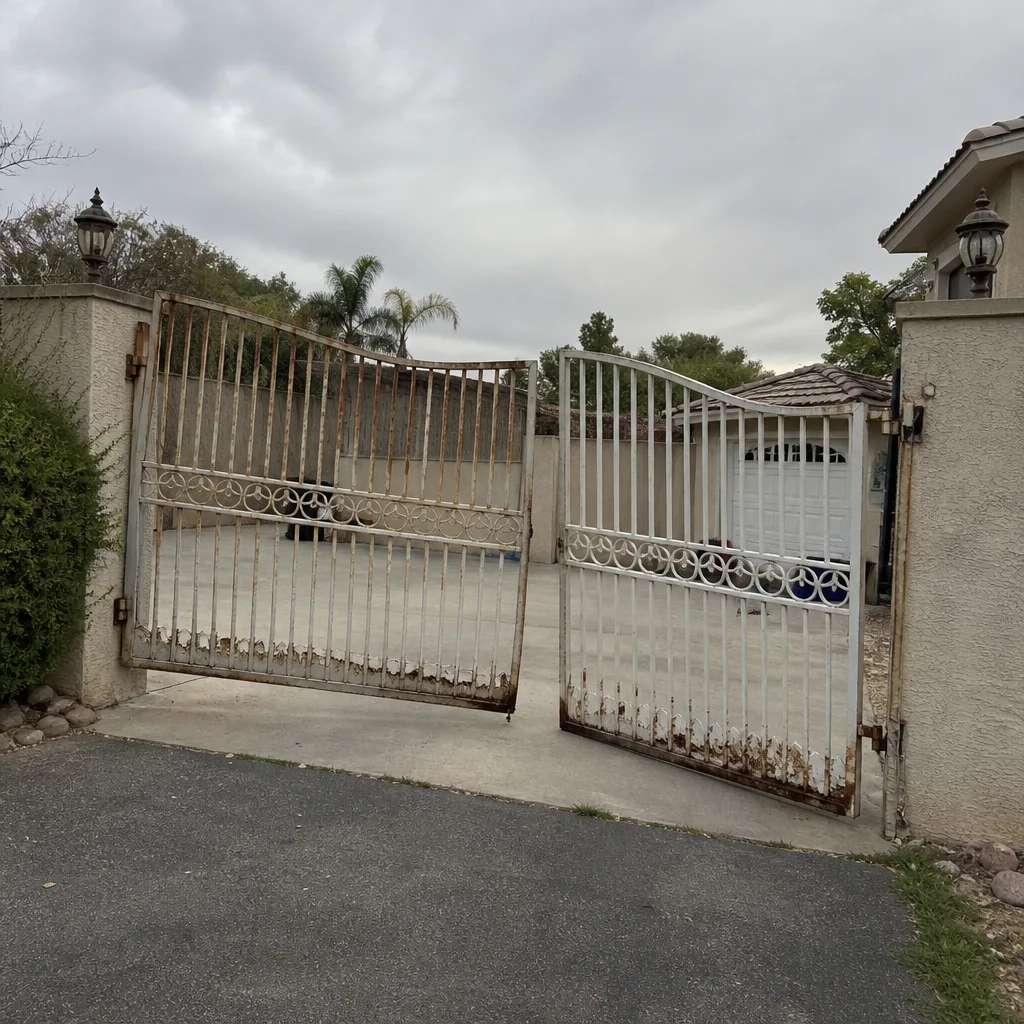 Before
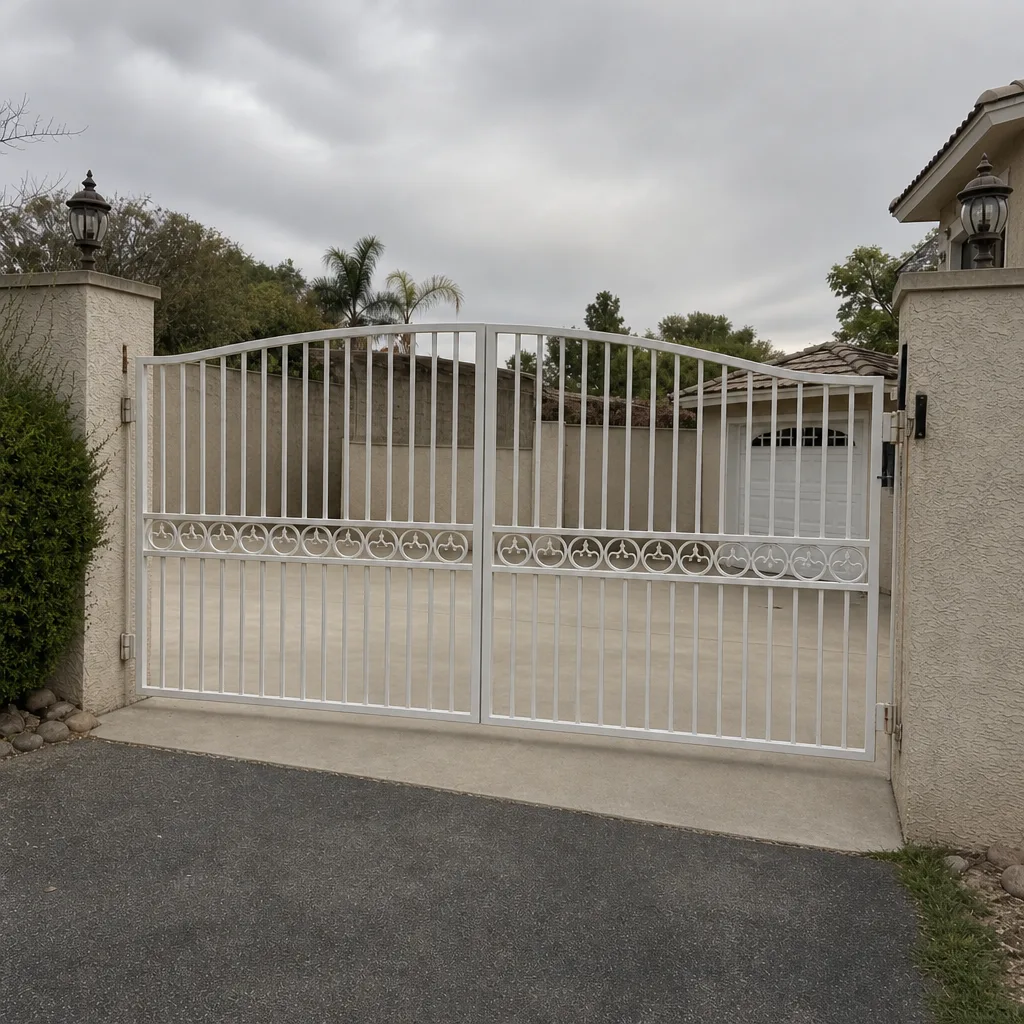 After
Symptom vs. Structural Cause: The Root-Cause Framework
A gate tells you what’s wrong in two layers. The symptom is what you see: sag, drag, a gap at the latch, a hinge that squeaks. The structural cause is what makes the symptom happen, and it lives a level deeper: post movement, weld fatigue, hinge mismatch. Homeowners and even some technicians fix the symptom, and then the same failure returns because the cause was never touched.
Here’s the framework we use on every visit to a Summerlin property. Work down the list in order and don’t skip steps.
- Test the post first. A gate is only as solid as the post it hangs from. If the post has moved, tilted, or settled, every hinge and latch on the gate will drift out of alignment over time.
- Check the frame for racking. A racked frame is out of square. When a frame is racked, latch hardware gets blamed for a gap that the frame created.
- Inspect every weld seam. Not just the failed one. Weld fatigue usually shows up on multiple seams before a single one fails.
- Match hinge to load. Hinges are rated. A hinge set that’s undersized for a heavy wood or ornamental metal gate will fail in load, not in use.
- Only then replace parts. If the post, frame, weld, and hinge load are correct, part replacement is the answer. If they aren’t, part replacement buys eighteen months.
The order matters because each layer affects the next. A loose post will look like a hinge problem. A racked frame will look like a latch problem. A fatigued weld will look like a sag problem. Name the cause and the fix holds. This same logic applies whether we’re sorting a parts issue or handling full Gate Repair in Summerlin calls after a wind event or a hard seasonal swing.
How to Diagnose a Gate Problem at Home
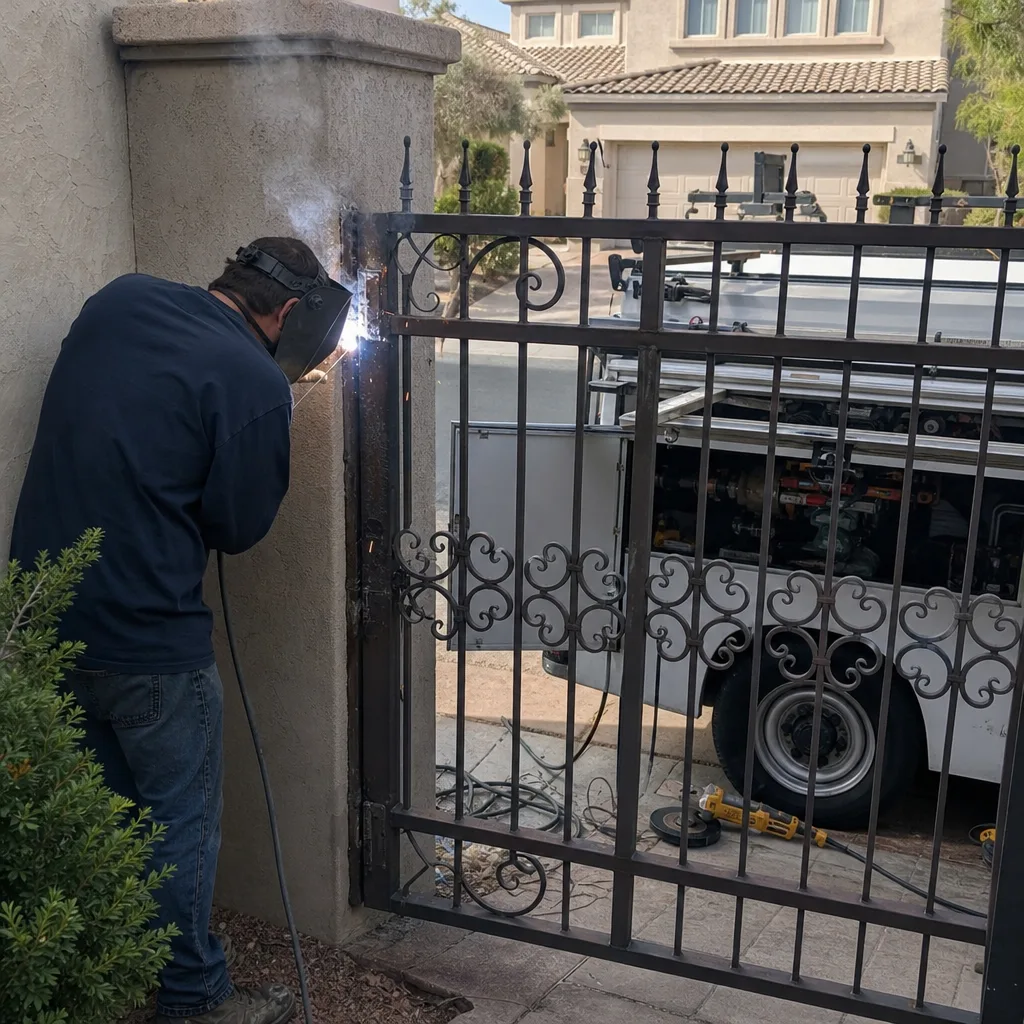
You don’t need special tools to figure out roughly where a gate is failing. You need ten minutes, a level, and a willingness to look past the part that’s visibly broken. Our technicians have up to 12 years of experience and they start every diagnosis with the same basic checks. Here’s what they’re looking for.
- Post plumb. Hold a two-foot level against the post in two directions. Any visible bubble deviation means the post has moved, and that movement is usually the root cause.
- Frame square. Measure diagonally from corner to corner across the gate frame. If the two diagonals aren’t equal (within about 1/8 inch on a residential gate), the frame is racked.
- Gap consistency. Walk the full swing of the gate and watch the gap between the gate edge and the post. A gap that changes width from top to bottom points to post tilt or racking, not a bad latch.
- Hinge play. Grab the gate at the free edge and try to lift it. Lateral movement you can feel by hand usually means the hinge barrel or pin has worn, and it might also mean the top hinge is carrying too much load.
- Weld soundness. Tap lightly along the seam with the handle of a screwdriver. A dull, dead thud compared to a ringing tap elsewhere can mean a weld has lost adhesion underneath the paint.
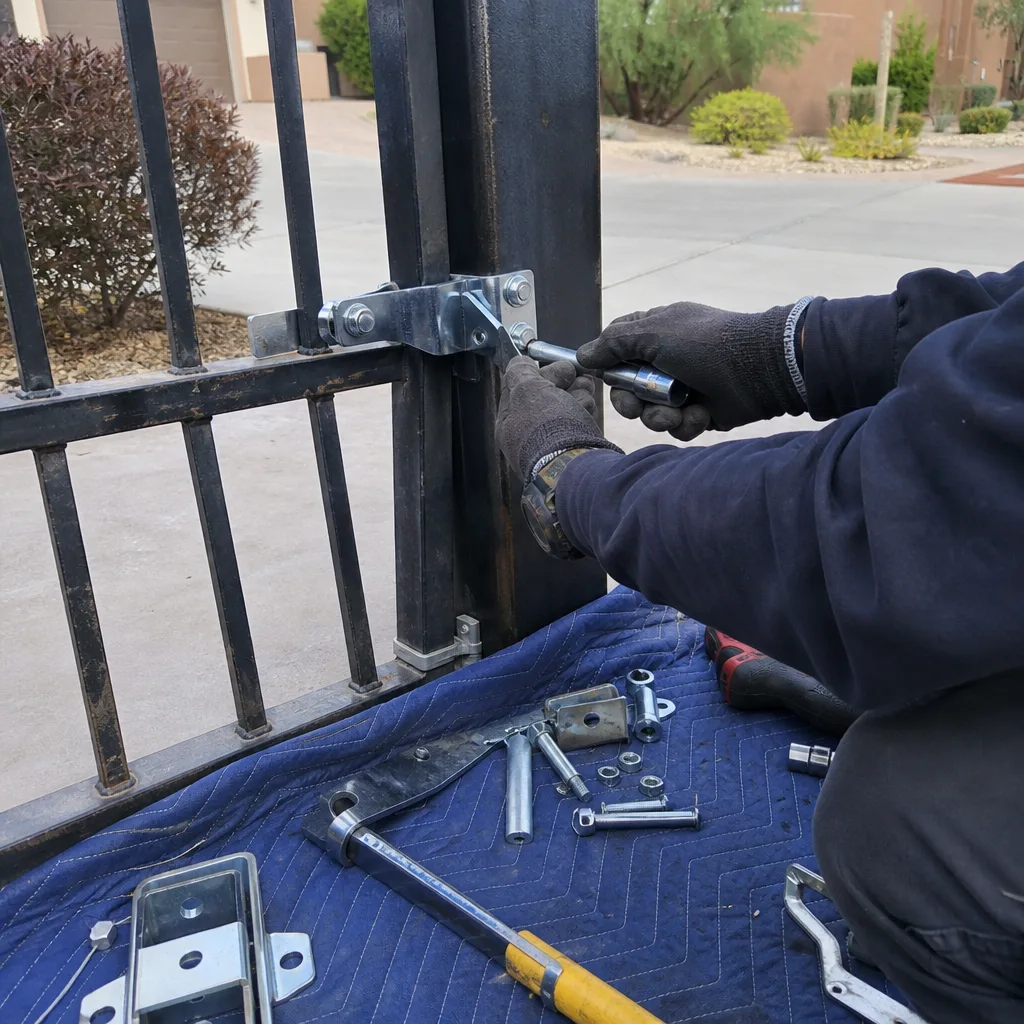
If a check points to the post, the frame, or a weld, don’t apply a parts fix yet. Those are structural, and structural problems have to be solved before any hardware gets replaced. If all five checks come back clean and one specific part is broken, you’re in parts territory. That’s also where a Gate Motor & Opener in Summerlin call can start making sense, because motors and operators interact with structural problems in ways that are easy to miss.
How to Inspect an Old Weld Repair Without Specialized Equipment
You can inspect a previous weld repair with nothing but your eyes and a flashlight, and you should if a gate has been repaired before. Three visual signals tell you most of what a technician needs to know at the site visit.
- Look for a “cold lap.” A cold lap is a weld that sat on top of the metal without melting into it. It looks like a smooth mound that stops short where it meets the base metal. On a good weld, the toe of the bead blends into the parent metal in a visible, even line. On a cold lap, that line disappears and the bead edge has a hard, rounded shoulder.
- Check the color band on the paint. Heat-affected paint around a weld will show a fading “halo.” If a seam has that halo on one side and a crisp paint edge on the other, the repair may have been done unevenly or in a single pass that didn’t fuse deeply into both pieces.
- Look for rust lines at the seam. A hairline crack under fresh paint often shows rust streaks bleeding outward within weeks. If you see a thin brown line running from a weld seam, that weld is probably cracked and cycling open and closed with each gate swing.
Why this matters to the repair itself: a weld repair gone wrong will fail in one of two ways. Either it cracks again along the original seam, or it pulls the surrounding metal and creates a new weak point a few inches away. When we see a cold lap or a rust line at a seam, we don’t weld over it. We cut back to clean metal and start fresh, because welding over a bad weld has the same effect as replacing a part without fixing the cause. It buys time instead of solving the problem.
Common Misdiagnoses We See on Summerlin Gates
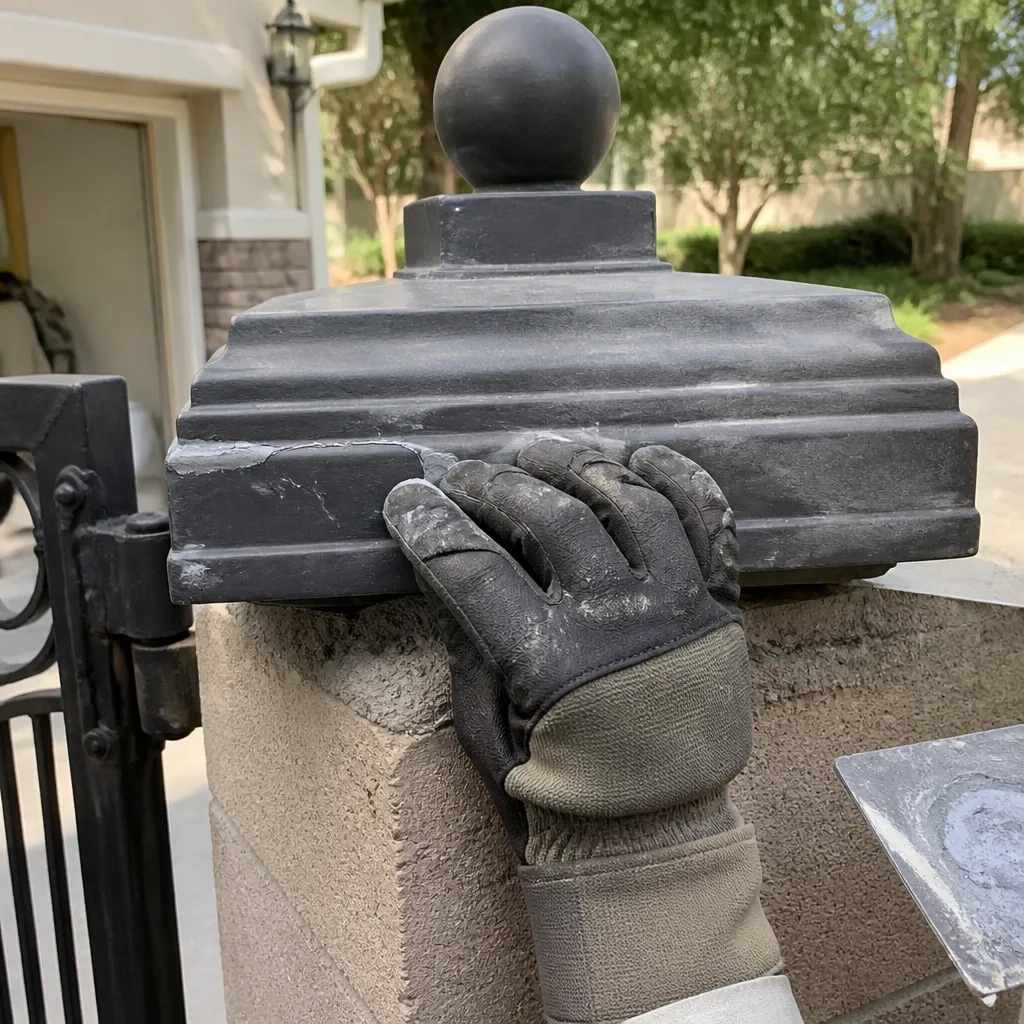
The pattern we see most in Summerlin is a homeowner who paid once for a symptom-level repair and is now calling after the same problem returned. Three misdiagnoses show up again and again.
- Replacing latch hardware when the frame is racked. A racked frame will create a gap at the latch that no latch on the market can close. Replacing the latch introduces a new part into an old misalignment, and the new latch grinds too.
- Shimming a hinge when the post anchor has shifted. Shims are a temporary fix. If the post anchor has settled or the post has tilted, the shim takes up the gap for a while and then the movement reintroduces the problem. Anchors get reset, not shimmed.
- Replacing the entire gate when one weld has failed. A failed weld on a frame member is repairable by a qualified welder. Replacement is usually not needed, and it is often the wrong answer when the frame is otherwise sound.
- Blaming the motor for a dragging gate. A gate that drags mechanically will overwork any motor and eventually burn it out. Replacing the motor without fixing the drag just burns out a new motor. This is common on FAAC and BFT operators installed on older gates whose posts have since moved.
- Adding grease to a hinge that needs replacement. Grease on a worn hinge barrel masks the play for a few weeks. Worn hinge load capacity is a hardware issue, not a lubrication issue.
Each one of these is a symptom fix that buys eighteen months to three years. The way to break the cycle is to name the structural cause in writing, describe it clearly, and fix it fully. That’s the difference between a maintenance loop and a repair. If your gate has failed twice in the same spot, the next call should be aimed at the cause, which is exactly what we do on every Gate Installation in Summerlin and repair visit.
How to Document a Problem With Photos Before You Call
Good photos save you money because the diagnosis starts closer to the answer. We ask every homeowner to take four specific photos before calling so we can prepare the right tools and parts before we arrive. Here’s the exact shot list we want.
- Full gate, straight on. Stand back far enough to include the entire gate, the gate posts on both sides, and the ground line. This is the reference photo everything else gets compared to.
- Close-up of the failed part or seam. Fill the frame with the part. If it’s a weld seam, get within six inches and use a flashlight across the seam rather than directly at it. Raking light reveals cracks and cold laps that direct light hides.
- Post base and anchor. Crouch down and photograph where the gate post meets the ground or masonry. This single photo answers the most common structural question: has the post moved?
- Hinge and latch hardware close up. One photo of each hinge, one of the latch. If your gate has an automatic operator, add one photo of the arm mount and one of the control box label so we can confirm the brand.
Send those four photos along with a short note on when the problem started (after a wind event, gradually over months, after a recent repair) and the answer to whether the gate drags by hand. That note plus the photos is enough for us to build a written estimate and arrive with the correct parts for whatever brand is on the property. We work on FAAC, BFT, Linear, Viking, and five more major operator brands, so a photo of the control box is usually enough to identify it.
What Summerlin Conditions Do to Weld Joints
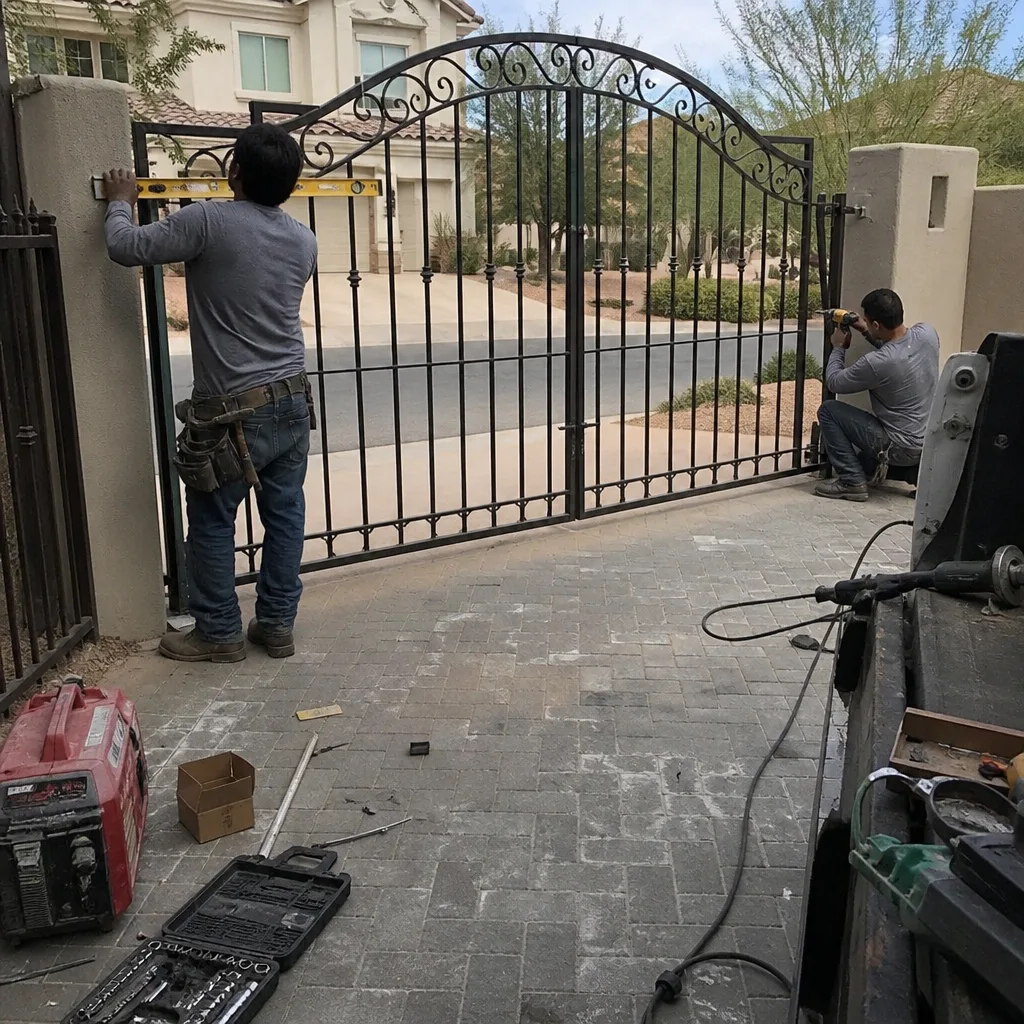
Gate weld joints in Summerlin fail faster than in milder climates, and the reason is a simple mechanic called thermal cycling. Daytime temperatures swing as much as 40 degrees from afternoon to early morning in parts of the year. Every swing makes metal expand slightly and contract. The expansion happens first at the weld seams because they’re the boundary between two pieces of metal with different heat history. Over years, that movement flexes the seam of even a well-made weld until it cracks.
The dry cycle compounds it. Paint protects a weld seam from moisture, but in Summerlin’s low humidity the paint itself cures harder and cracks faster than in wetter climates. Once the paint film gives way, dust and occasional wind-driven moisture reach the seam. That combination of thermal flex and a broken paint film is what drives most of the seam failures we see.
How to spot early failure before it becomes structural:
- Look for thin orange or brown streaks bleeding out from a weld seam. Any rust line means moisture is reaching the seam, and the weld is probably open.
- Watch for paint that has cracked in a neat line along the edge of a weld bead. That “cracked paint” line often tracks a hairline crack in the metal underneath.
- Listen for a rattle or buzz on windy days that wasn’t there last year. Loose seams produce higher-frequency sound than a solid weld.
- Check the seam nearest the ground first. Thermal cycling is more aggressive at lower heights where reflected heat from pavement accumulates.
We’ve seen this pattern repeatedly on gates in Summerlin neighborhoods, so a technician starting from the post, checking the frame, and inspecting seams is the right order for us on every call. Our technicians have up to 12 years of experience with exactly this climate, and the first thing they check on a repaired gate is the paint film on every weld seam, not just the seam that failed.
What a Proper Gate Repair Actually Involves
A repair that holds is a repair that addresses the cause and documents what was done. Here’s the full sequence a proper repair follows from start to finish. Not every job uses every step, but every step is on the list for a reason.
- Confirm the diagnosis with the four checks. Post plumb, frame square, gap consistency, hinge play. This is where the cause gets named, in writing.
- Correct the structural root cause first. Reset a shifted post anchor, correct a racked frame, or cut back a failed weld. Parts don’t get replaced until this step is complete.
- Repair the weld properly. Cut back to clean metal, fit the joint, weld in correct sequence, and grind the bead to prevent a new stress riser. Paint the full heat-affected zone, not just the bead.
- Replace parts only when they are the actual cause. Oversized hinge rated for the gate load, straight latch hardware on a square frame, and hardware matched to the operator’s manual.
- Re-test the full swing. Open and close the gate by hand first, then under motor power if an operator is installed. Check for drag, binding, and correct limit positions.
- Document and hand off. Photos of what was found, what was adjusted, what was replaced, with part numbers. That record goes with the homeowner and into the job file.
The documentation step is the one that keeps you out of the repeat-repair cycle. If a future technician can see the part number, the wiring diagram, and the limit-switch reading from last time, diagnosis doesn’t restart at zero. That’s why every job we run follows a documented process. It’s the same habit that got Vance Gate Repair started doing commercial access-control work in 2014, now applied to every residential driveway gate and Vance Gate Repair Summerlin home visit. Every repair is also covered by the 365-Day Done Right Promise: if the repair isn’t right within the year, we make it right at no additional charge.
When to Repair a Part vs. When to Reweld
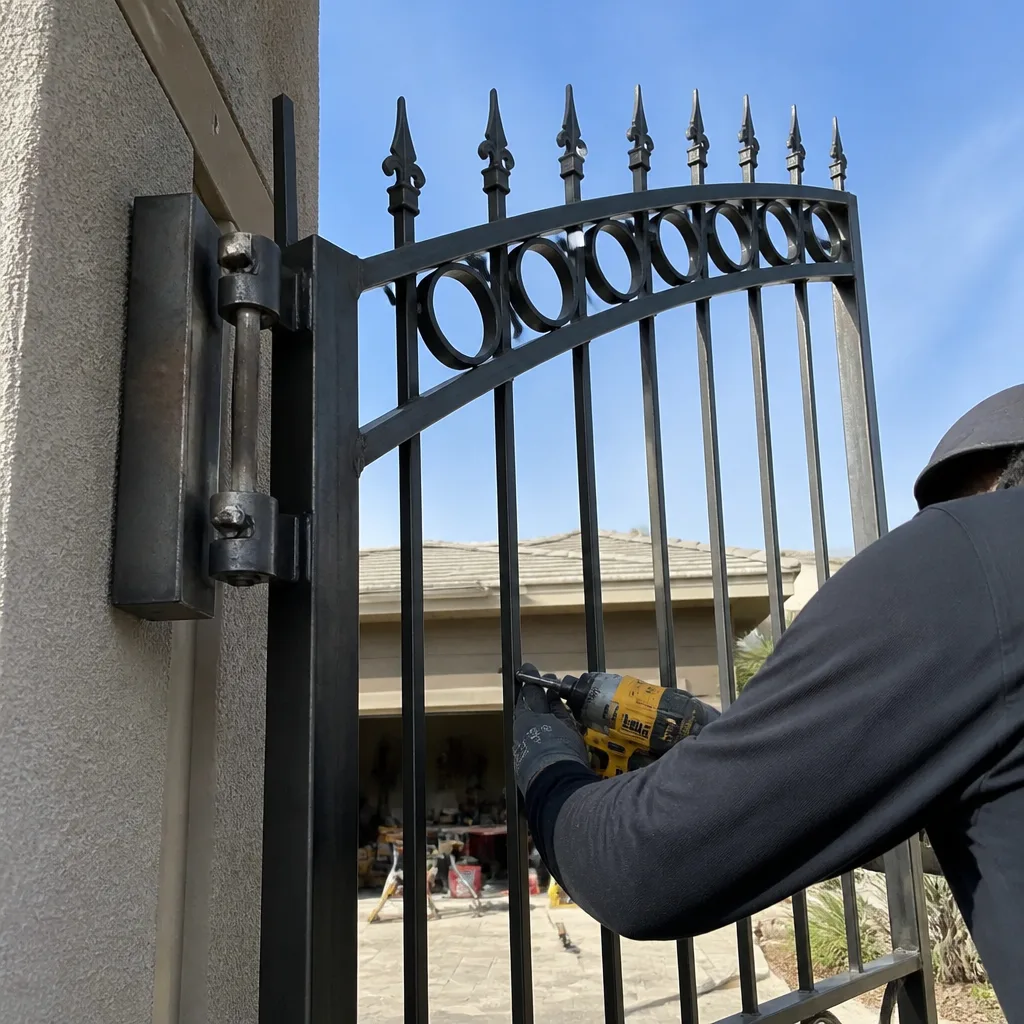
This is the decision that determines whether a repair lasts. The honest answer is that it depends on where the failure is, not on how bad the failure looks. Use this rule of thumb.
- Repair the part when the failure is one broken piece that isn’t holding a structural load: a latch, a catch, a hinge pin, a stop plate. In those cases a proper replacement plus a check of the surrounding structure is the right fix.
- Reweld when the failure is at a seam that carries the gate’s weight or controls its shape. A gate with a failed weld at the top rail or the hinge-side stile will not hold alignment if the weld is treated as a hardware issue.
- Do both when the failure began as a weld crack, caused the gate to shift, and the shift damaged a part in a way that revealed the hidden weld problem. Fixing only the visible part leaves the structural cause in place.
- Replace the gate only when the frame is past repairable damage: multiple failure points along the main rails, a rust-through on the frame tube, or a post that cannot be reset without a full re-footing.
One upgrade worth planning for: if the same weld has failed three or more times, ask for reinforcement plates at the joint rather than another weld-only fix. Reinforcement plates spread the load over a larger area and last longer than any weld repair on a failing seam. We’d rather quote that than quote the seam again eighteen months later.
Common Mistakes to Avoid
- Replacing the visible part without inspecting the post. If a technician’s first move is a part order, ask what they measured on the post. A visible part swap on a moving post is money spent twice.
- Shimming a sagging gate repeatedly. Shims add spacers to hide alignment drift. Each shim buys a few weeks but changes the angle of load on the hinge, causing a slower failure elsewhere. On gates in Summerlin, the seasonal swings will expose the shim every year.
- Applying grease to worn hinges. Grease hides play instead of removing it. If a hinge barrel has visible movement, grease is not going to give back the load capacity.
- Welding over a previous weld without cutting back to clean metal. A repair welded directly on top of a cold lap or surface crack will fail at the original seam, not the new one. Cut back, fit, then weld.
- Ignoring paint film on weld seams. Most of the weld failures we see in Summerlin start with paint film that cracked and let moisture reach the seam. Repainting the seam every few years is far cheaper than a new weld.
- Blaming the operator for a dragging gate. A dragging gate taxes the motor and eventually burns it out. Diagnose the mechanical drag before calling a brand-specific motor technician, or you’ll be replacing a healthy motor.
- Taking the estimate verbally and moving on. Get the diagnosis and the flat price in writing before anyone picks up a tool. A verbal estimate gives you nothing to compare against when the invoice arrives.
See the difference
BeforeAfter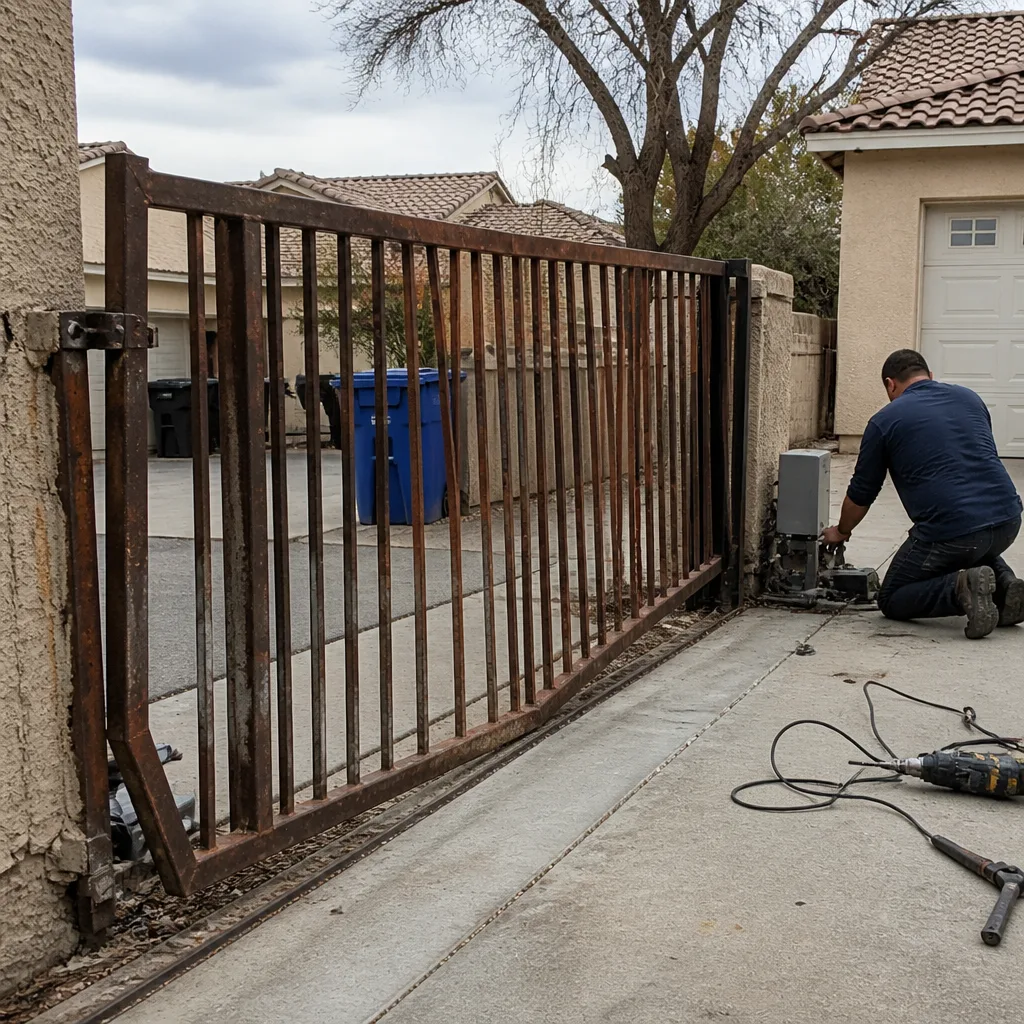 Before
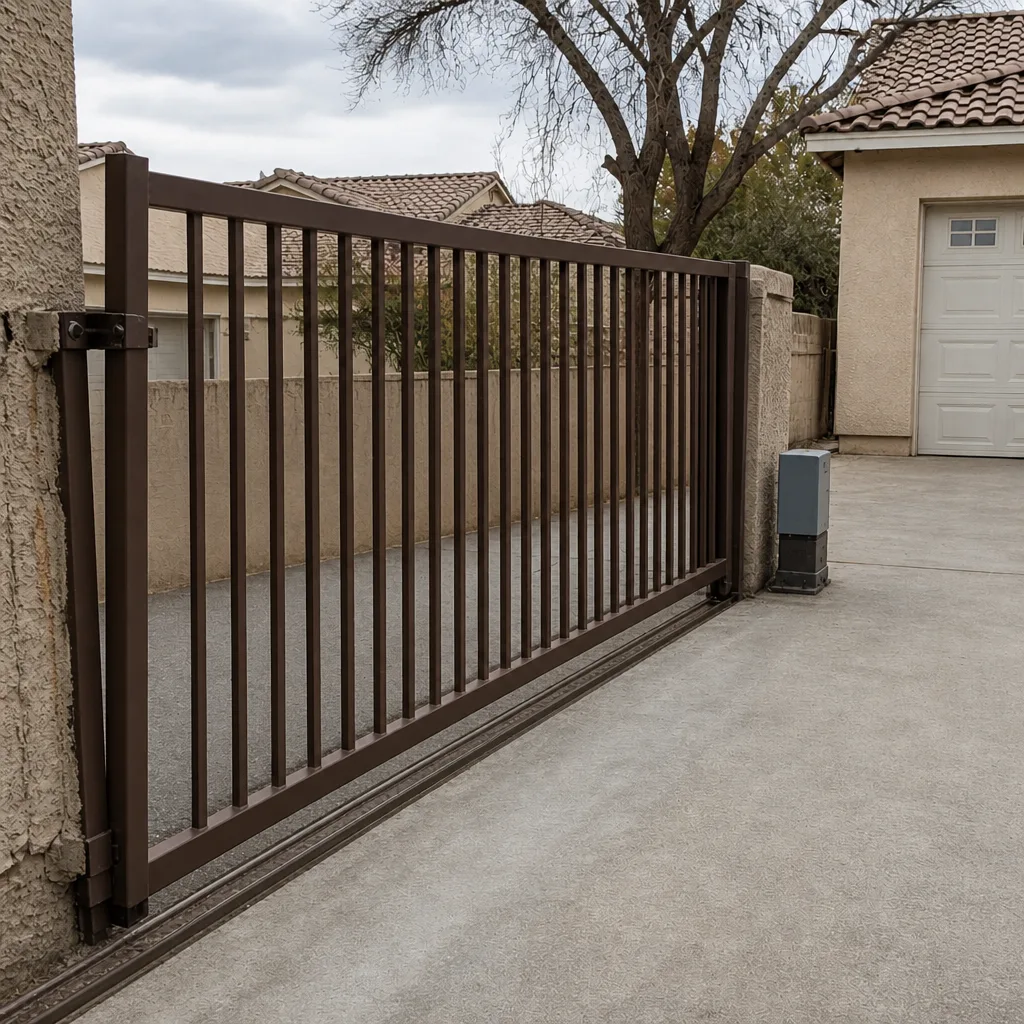 After
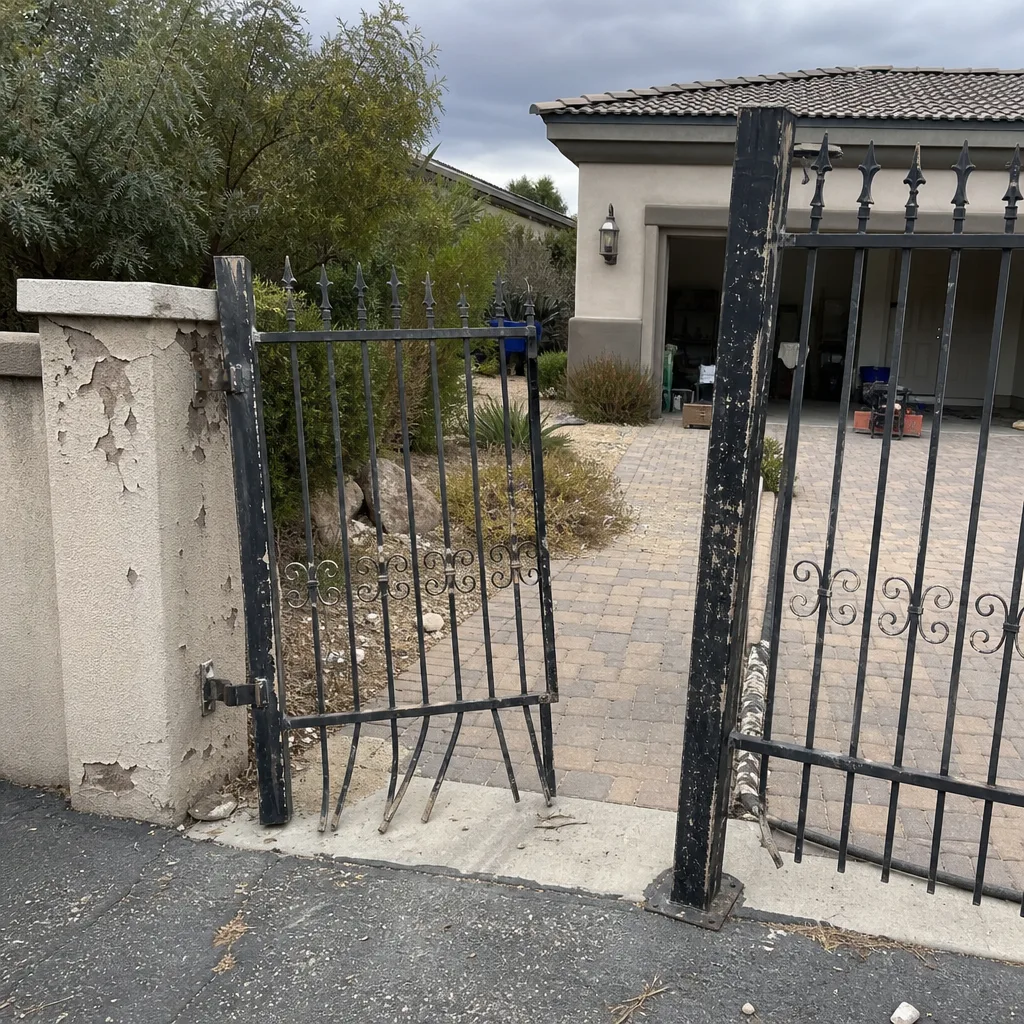 Before
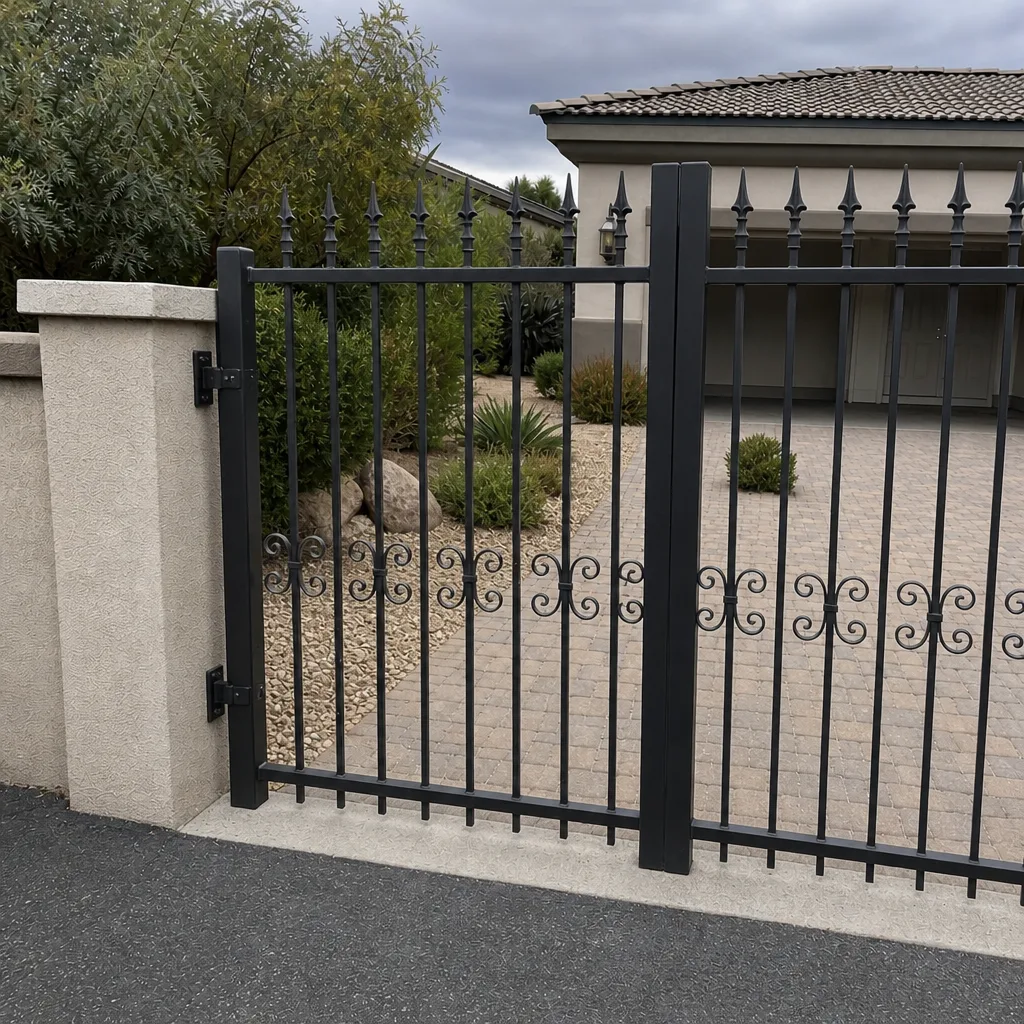 After
When to Call a Professional
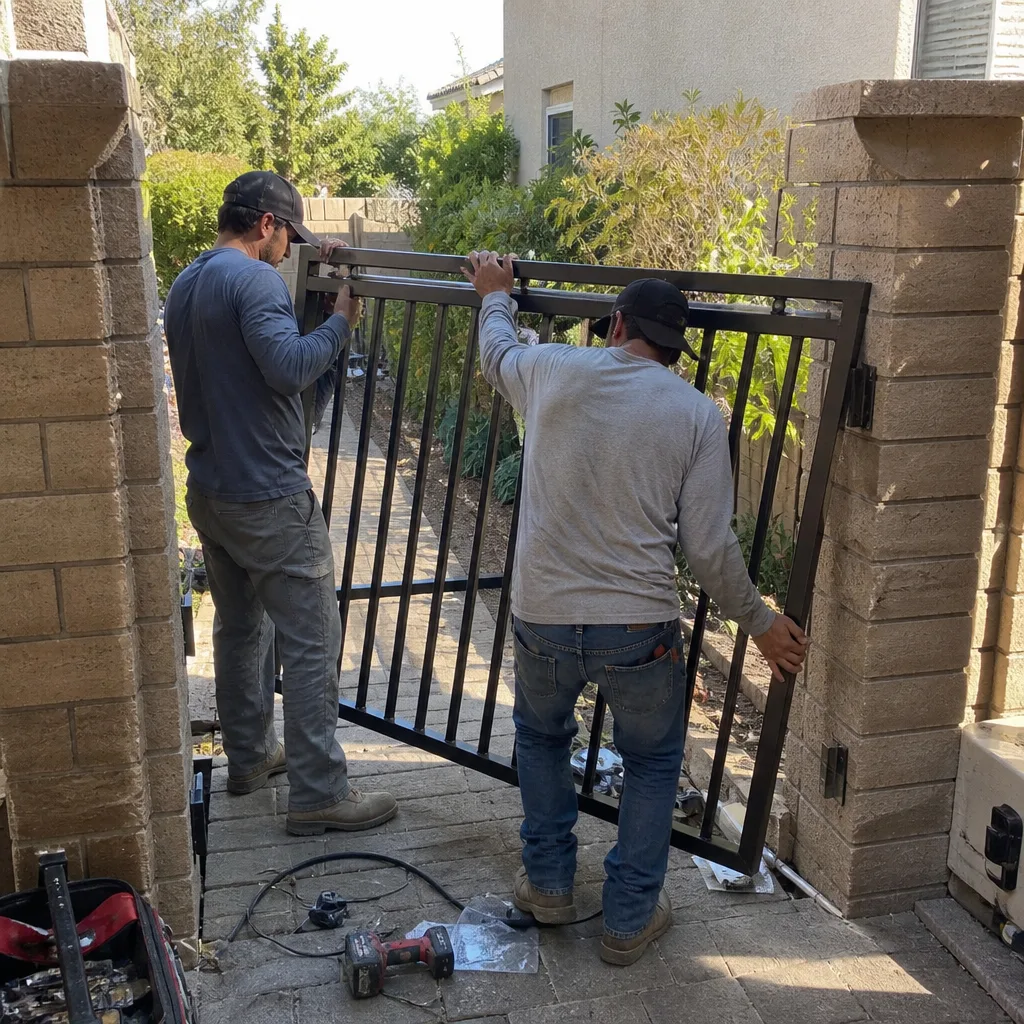
Gate welding and structural diagnosis is not a homeowner task for one specific reason: it involves structural load, cutter and grinder work, and re-welding at a seam that has already failed once. We strongly recommend a trained technician for any weld repair, any post-anchor reset, and any diagnosis that involves an operator motor, because incorrect limits and wiring can damage the motor or leave the gate unsafe. Call a professional when a gate has failed in the same place twice, when a post shows visible movement or the anchor plate is loose, when a weld seam shows a rust line or cracked paint, when a gate drags by hand, or when an automatic operator cycles the gate without stopping. If you’re mid-repair and not sure whether it’s a structural problem or a parts problem, we offer free estimates in Summerlin and a free second opinion on any written estimate from another company. Call Vance Gate Repair Summerlin at (844) 797-2809 and send us the four photos described above; the estimate is written and handed over before any work starts. A live person answers the phone at any hour.
Frequently Asked Questions
Most residential gate weld repairs in Summerlin run between $180 and $420, depending on the seam location, whether the frame needs to be straightened, and whether paint and finish rework is included. The price is quoted in writing before any work starts, so the number you see is the number on the invoice. Call (844) 797-2809 for an exact quote on your gate; estimates are free.
Yes, if the sag is caused by a shifted post or a racked frame rather than worn hinges, correcting the structural cause resolves the sag and the hinges can stay. If the hinge barrels have measurable play or are undersized for the gate weight, they need replacement. The way to know is to measure the post for plumb and the frame for square before deciding. A written diagnosis makes that call clear.
Test the post for plumb with a two-foot level first. If the post is out of plumb in any direction, the problem is post movement, and hinge replacement won’t fix it. If the post is plumb and the frame is square but the gate still sags, hinge wear is the more likely cause. This one check catches the most common misdiagnosis we see.
Thermal cycling is the main driver. Large day-to-night temperature swings make each weld seam flex as metal expands in the afternoon heat and contracts overnight, and the seam is the natural flex point. Low humidity ages paint faster, exposing the seam to dust and moisture. Together, that combination causes weld seams to fail earlier here than in milder climates.
You can safely replace certain cosmetic parts like a stop plate or a bolt-on catch yourself if you know the part number and the frame is not carrying structural damage. For anything at a weld seam, a post anchor, or a load-bearing hinge, call a technician. Those jobs involve structural load, and an incorrect repair will fail again. Call (844) 797-2809 for a free second opinion on any quote you already have.
Take four photos: a full front view of the gate and both posts, a close-up of the failed part or weld seam with raking flashlight light, a low shot of the post base and anchor, and a close-up of each hinge and the latch. If the gate has an automatic operator, add one photo of the control box label. Those four or five images let a technician diagnose and price before arriving, and most estimates can be prepared from them.
The Bottom Line
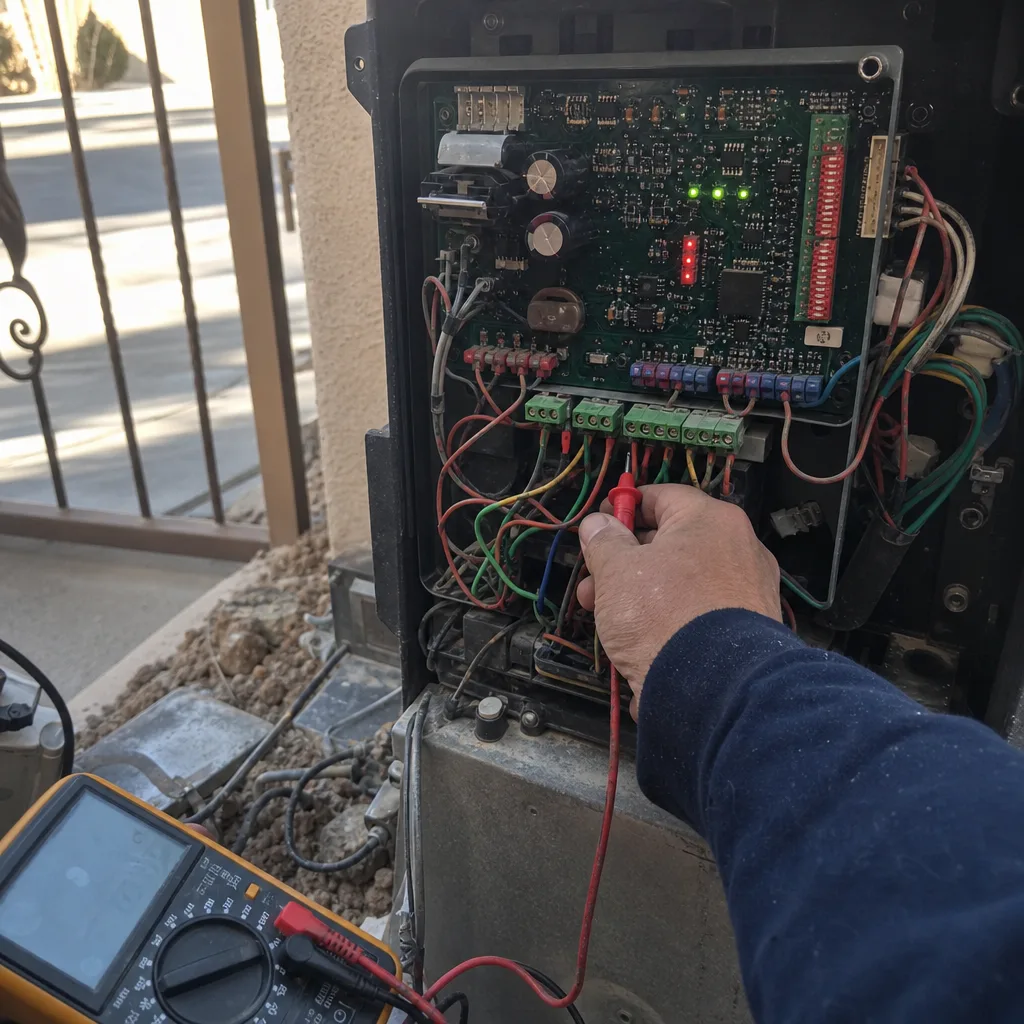
If a gate part keeps failing, the part is a symptom. The real answer usually lives in the post, the frame, or the weld, and it stays hidden until someone measures for it. Summerlin’s temperature swings and dry cycles put more stress on weld seams than most homeowners realize, which is why early weld inspection is worth the ten minutes. If you’ve been through two repairs at the same spot, stop the pattern before it goes to round three. We put the diagnosis in writing, name the structural cause, and hand over the documented record when the job is done. That’s the whole point of a repair that holds.
Written by the team at Vance Gate Repair Summerlin.
Contact
Call Vance Gate Repair Summerlin at (844) 797-2809 for a free estimate. The price is written and handed over before any work starts, and every job is covered by the 365-Day Done Right Promise. Live person answers at any hour.