
Last updated November 17, 2026
 Wrought iron
 Wood & steel frame
 Farm & ranch
 Sliding driveway gates
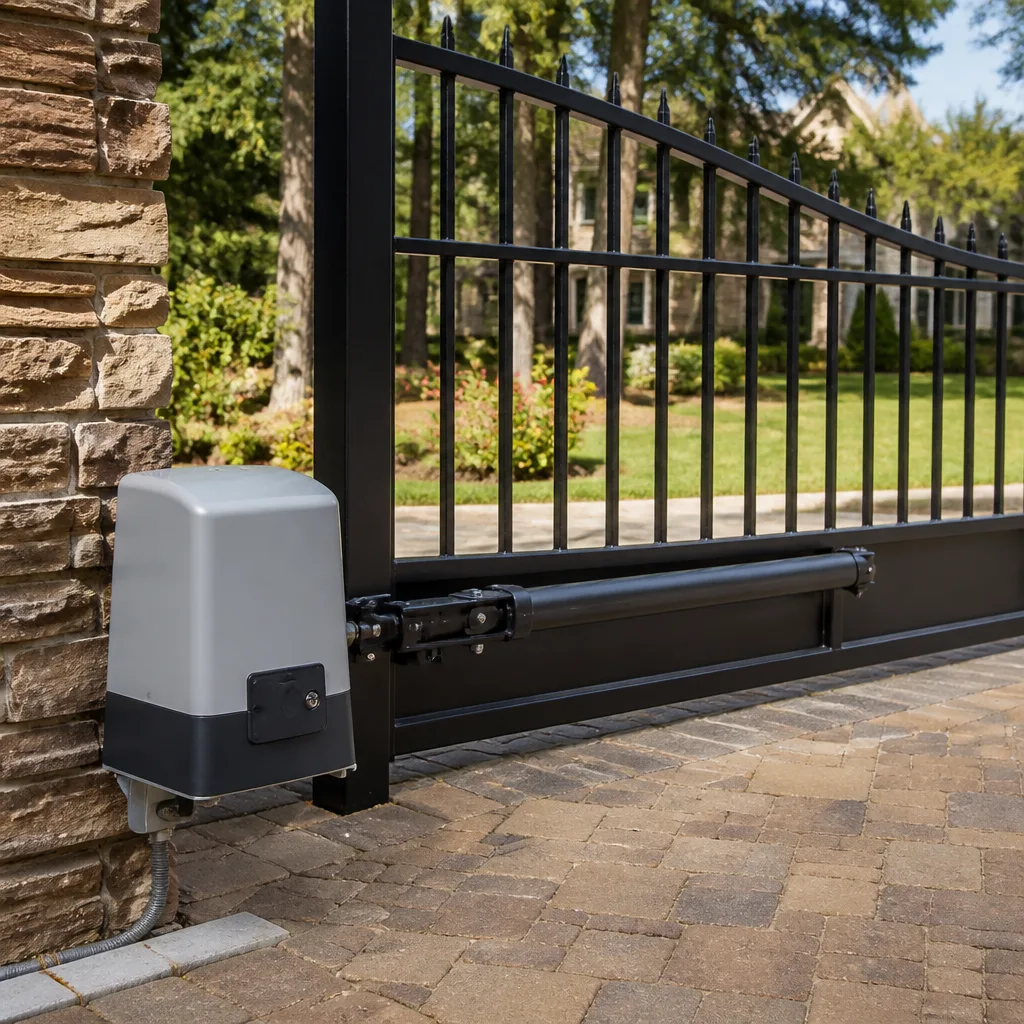 LiftMaster operators
Free on-site gate assessment - hinges, posts, and your LiftMaster or Nice gate operator checked before anything is quoted
The assessment is free and the quote is the invoice.
Get your free estimateGate Motor & Opener Troubleshooting: Common Problems and How to Fix Them
Before you call a technician, check this: a gate that stops mid-travel and reverses is almost always a limit-switch or obstruction-sensor issue, not a motor issue. Those are $0 – $80 fixes. A new motor runs $400 – $900. In our experience, roughly nine of every ten gate motor calls trace back to five specific failure points, and four of them can be checked by a homeowner in under ten minutes without touching the hardware. The problem is nobody ever showed you the sequence. This guide gives you that sequence for a Summerlin gate: power first, control board next, then limits, sensors, mechanical bind, and only then the motor itself. You’ll also learn the LED blink codes most homeowners don’t know exist, and how to tell a dying motor from a healthy motor fighting a bent gate.
Quick Answer
A gate that won’t open or closes on its own is usually a limit-switch misread, a blocked or misaligned photo-eye, a loose battery connection, or a mechanical bind in the hinges or track, not a failed motor. Work the diagnostic tree in order: power, then control board indicator lights, then limit switches, then obstruction sensors, then mechanical drag, and only last the motor. Most of these problems cost under $100 to correct; a motor replacement costs far more, which is why the order matters.
Styles & brands we work with
- Wrought iron
- Wood & steel frame
- Farm & ranch
- Sliding driveway gates
- LiftMaster operators
Table of Contents
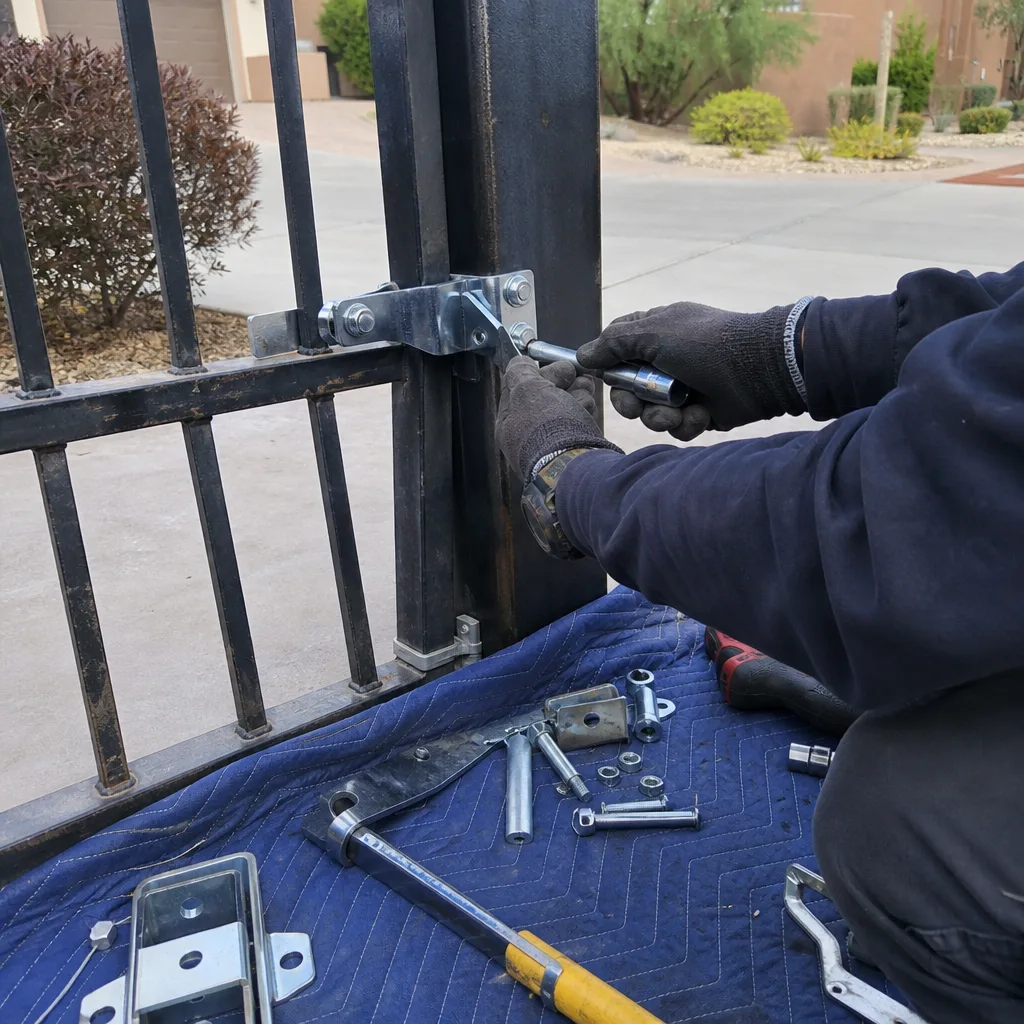
- Why the Diagnostic Order Matters
- Step 1: Check Power Before Anything Else
- Step 2: Read the Control Board Indicator Lights
- What the LED Blink Codes Mean on LiftMaster, Linear, and FAAC
- Step 3: Limit Switches and Why They Cause Reversals
- Step 4: Obstruction Sensors and Photo-Eyes
- Step 5: Mechanical Bind, Hinge Wear, and Post Lean
- The Battery Backup Failure Almost Everyone Misreads
- What a Technician Should Document When the Job Closes
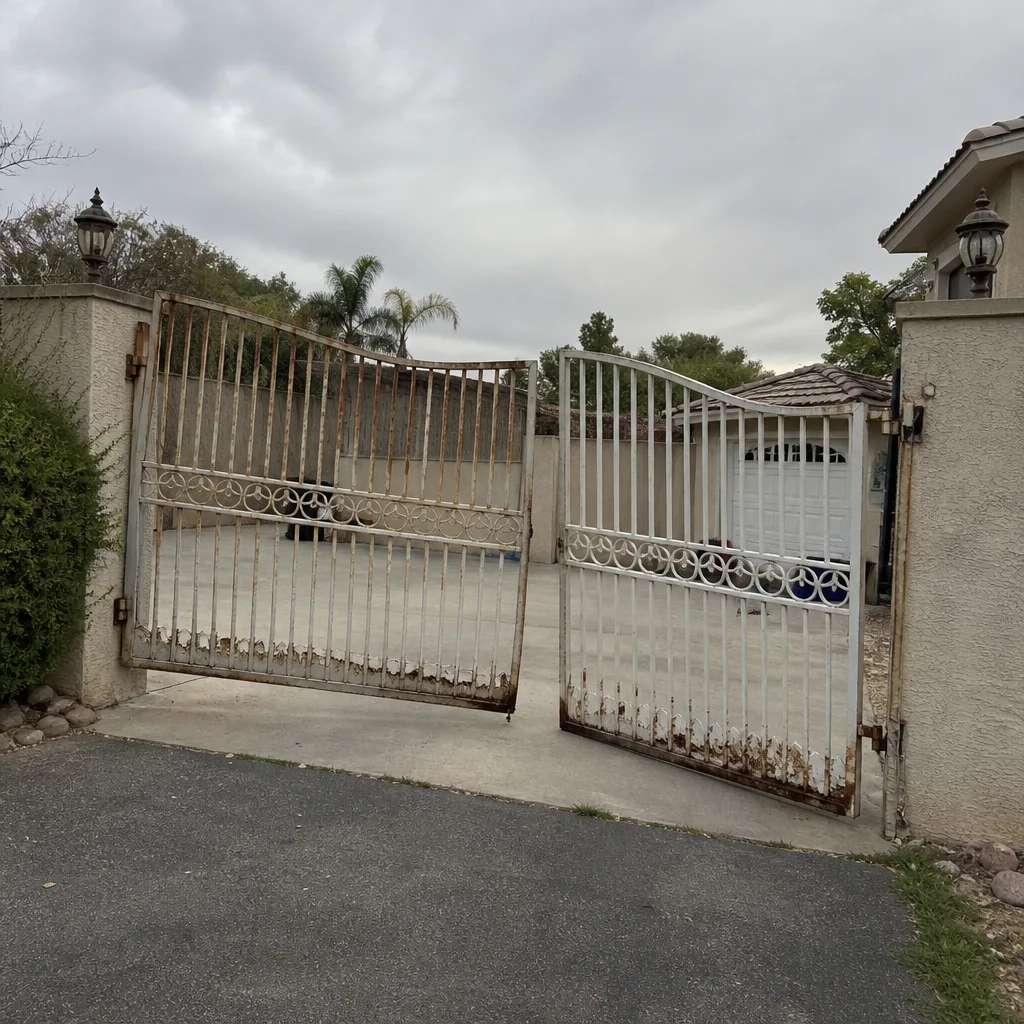 Before
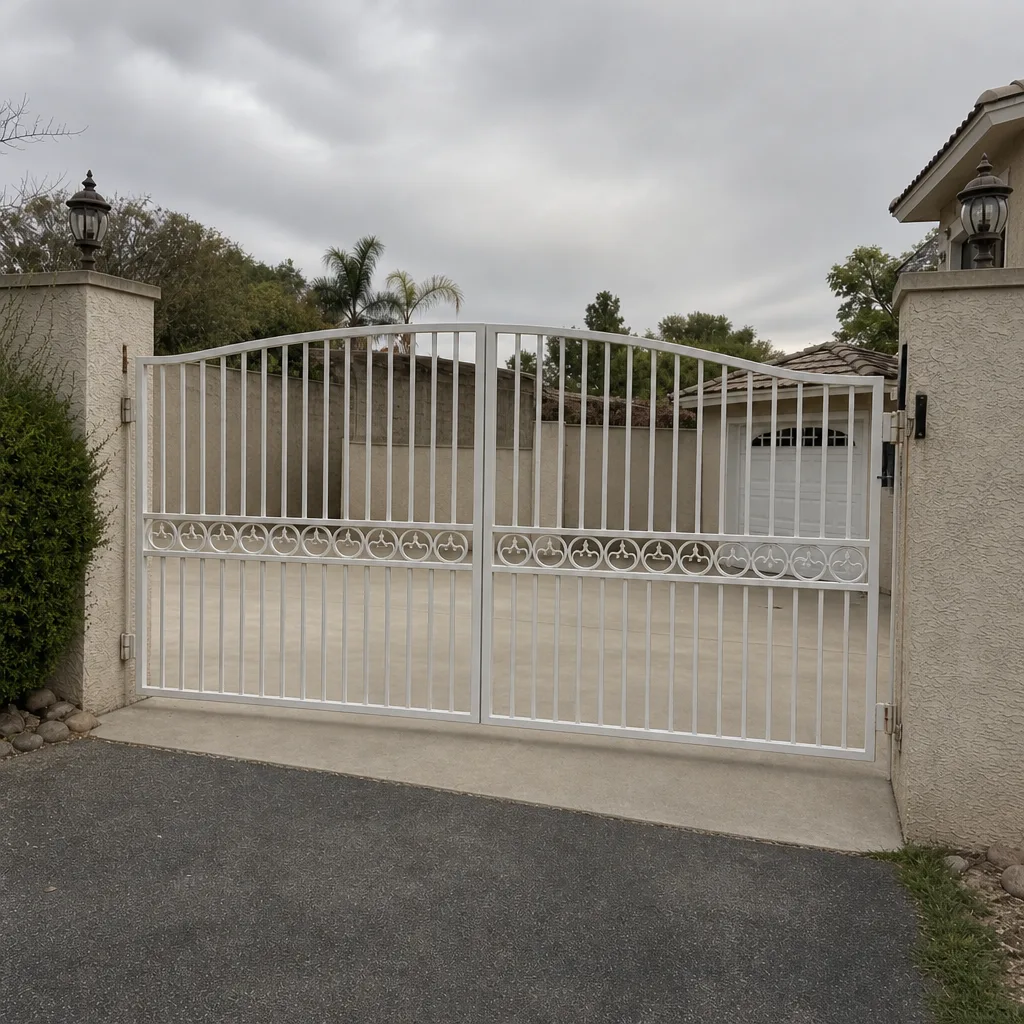 After
Why the Diagnostic Order Matters
Gate operators fail in predictable ways, but they all present the same symptom: the gate doesn’t do what it’s supposed to. A dead battery, a misaligned photo-eye, and a worn hinge can all produce a gate that opens halfway and stops. If you start troubleshooting at the motor, you’ll replace a perfectly good operator and the gate will still act up because the hinge was the problem all along. That misdiagnosis is expensive and common.
The correct order works because it moves from the cheapest fix to the most expensive, and from the most likely cause to the least. Power and connections account for a large share of calls we see around Summerlin. Control board codes and limit switches account for most of the rest. The motor itself is the least frequent culprit, which is why we put it last. Following this order also protects you: every check before “replace the motor” is something you can verify with your own eyes.
One more reason the sequence matters in Summerlin specifically: our summer heat and dry, dusty wind cycles work hard on sealed enclosures and exposed wiring. A sun-baked operator box that’s lost its gasket will collect dust and trip a false obstruction fault long before the motor wears out. Knowing the order tells you where to look first when the gate acts up in July.
Step 1: Check Power Before Anything Else
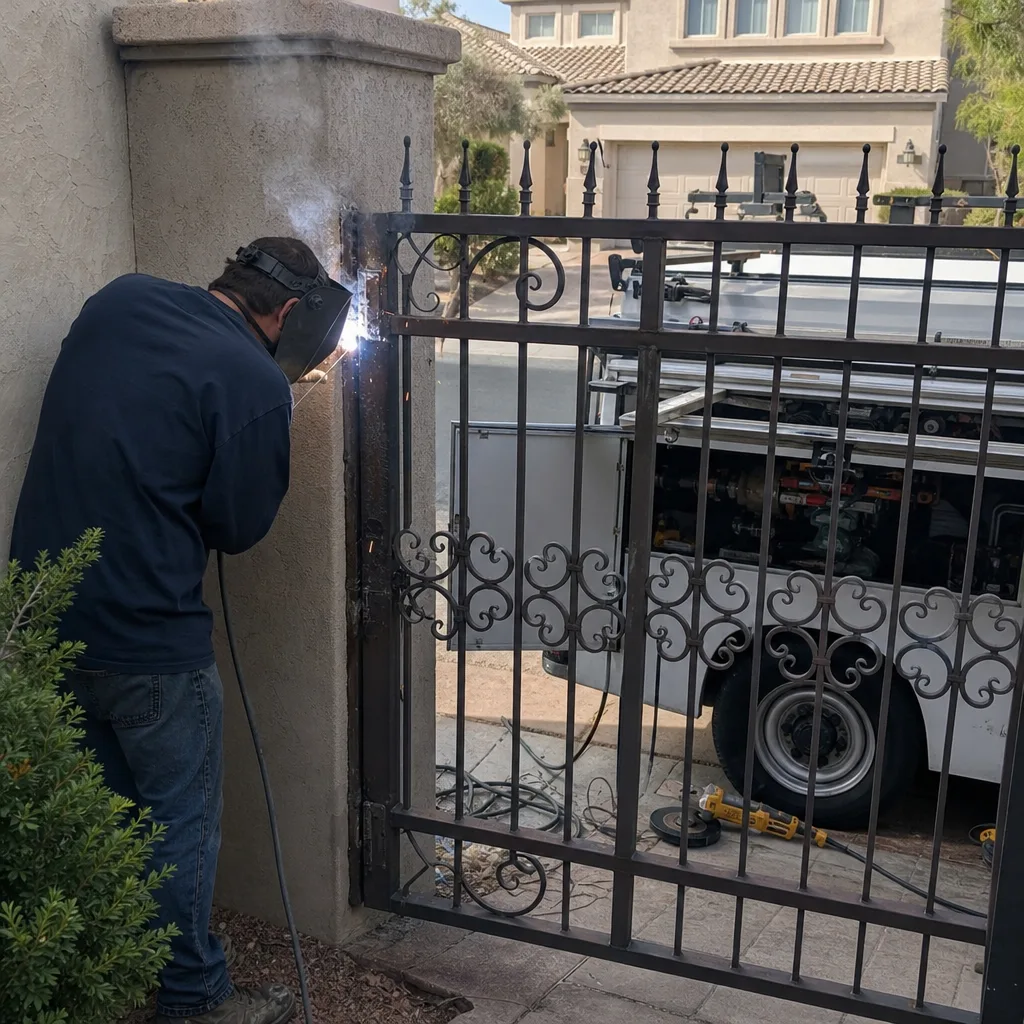
Start at the source. Before you touch a single setting, confirm the operator actually has power. A surprising number of “dead motor” calls resolve here.
- Check the breaker. Find the circuit that feeds the gate and confirm it isn’t tripped. A gate on a dedicated exterior circuit can trip from a summer storm surge and never get noticed.
- Check the disconnect or switch. Many installations have a service disconnect near the operator. Make sure it’s in the ON position.
- Look for a tripped GFCI. Exterior outlets and some gate circuits run through a ground-fault outlet that trips silently. Reset it and watch whether the operator powers up.
- Confirm the control board has power. If the board shows no lights at all after you’ve verified the circuit, the problem is upstream of the operator, and no amount of motor work will fix it.
If you find a tripped breaker that trips again immediately after you reset it, stop. That points to a wiring fault, water intrusion, or a failing board, and it’s a job for a technician. For the broader repair picture, our Gate Repair in Summerlin page covers what we typically find on these calls.
Step 2: Read the Control Board Indicator Lights
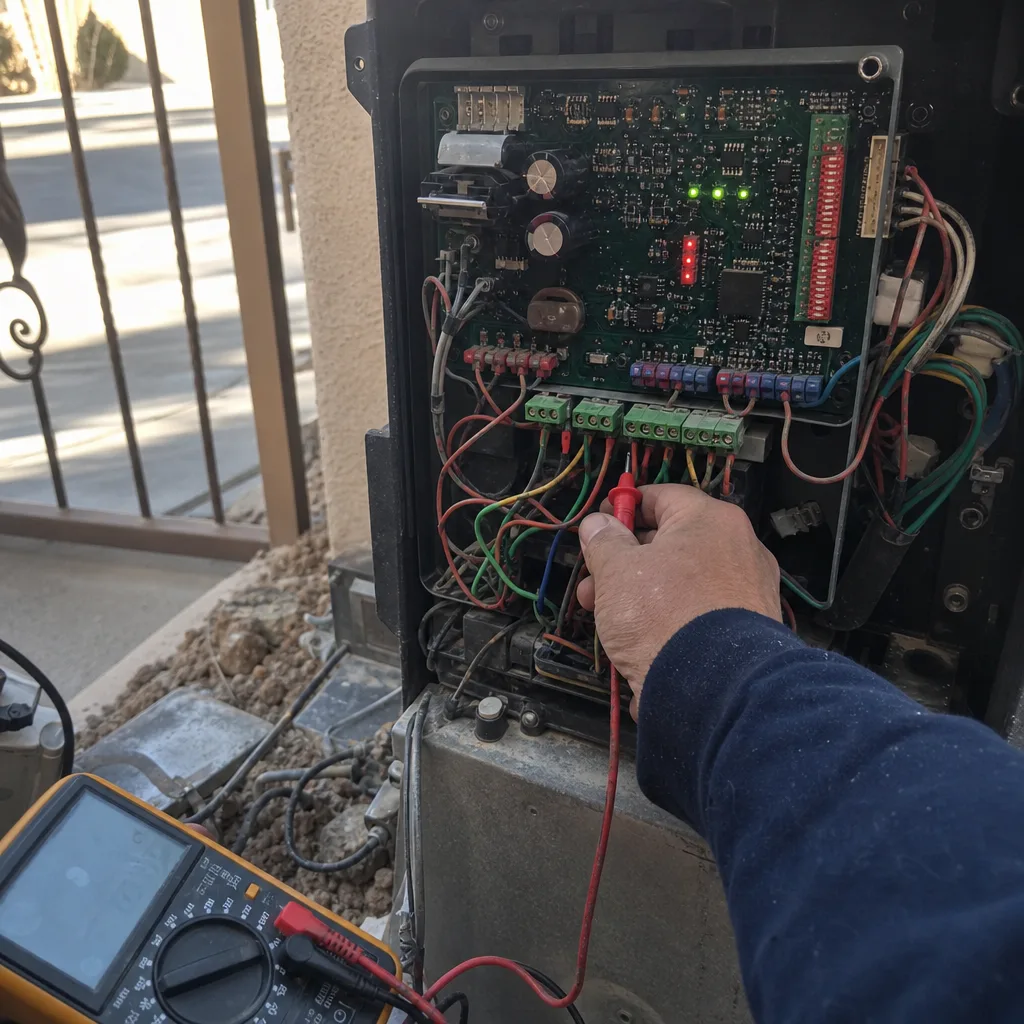
Almost every modern operator has a control board with indicator LEDs, and those lights are telling you something specific. Most homeowners never look. The board is usually behind a cover on the operator housing, and once you’re inside, the lights tell you whether the board sees power, whether it’s receiving a command, and whether a safety input is holding it off.
- Power LED off: The board isn’t getting voltage. Go back to Step 1.
- Power LED on, no response to the remote: The board has power but isn’t receiving a valid open command. Check the remote battery and the receiver, not the motor.
- Safety or obstruction LED lit or flashing: A safety input (photo-eye, edge sensor, or loop) is telling the board something is in the way. Clear the path and check the sensors in Step 4.
- Limit or direction LED behaving oddly: The board thinks the gate is somewhere it isn’t. That’s a limit-switch problem, covered next.
Write down what you see before you change anything. That note is exactly the kind of record that saves the next person an hour of guessing, and it’s the habit behind everything we do on a Summerlin gate. If you’d rather have a trained eye read the board, our Gate Motor & Opener in Summerlin service is built around exactly this kind of diagnostic work.
What the LED Blink Codes Mean on LiftMaster, Linear, and FAAC
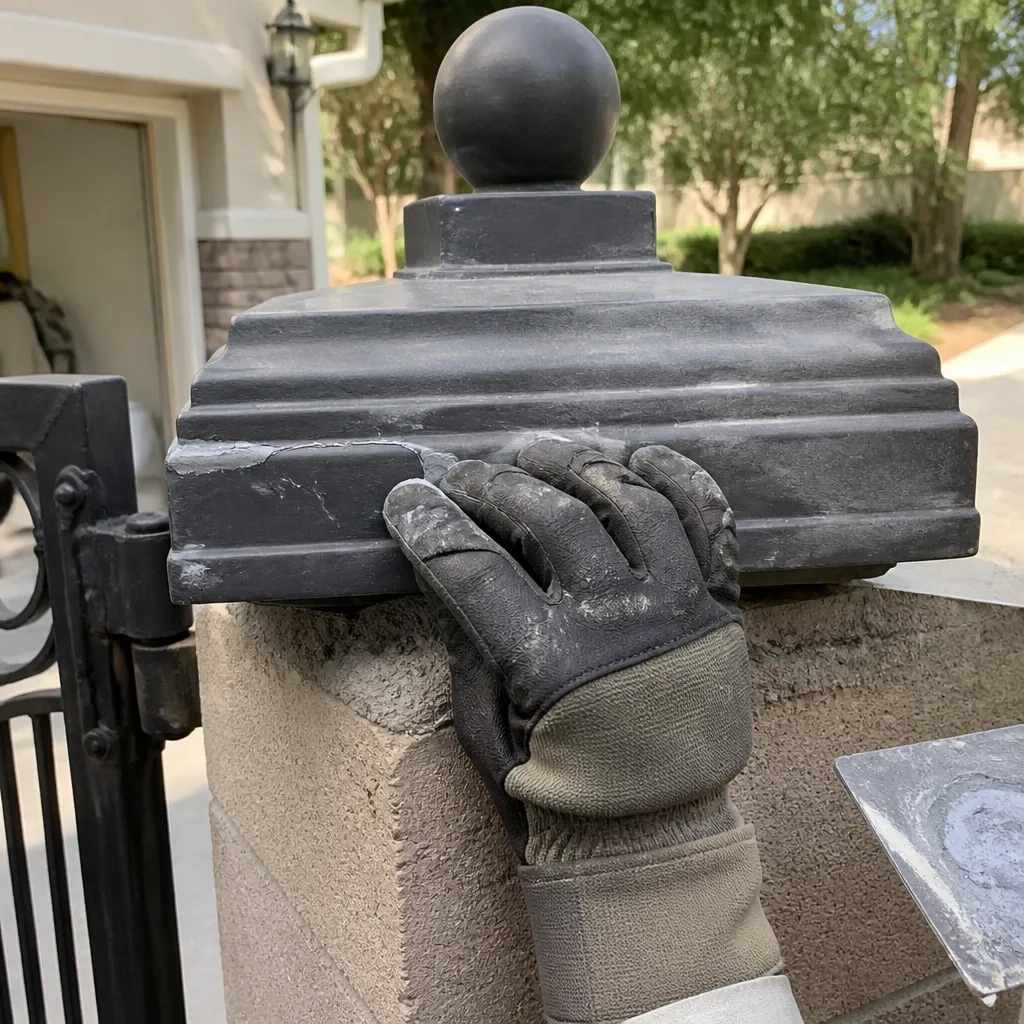
Many operators blink a diagnostic code through a status LED, and the pattern tells you where the fault is. The codes differ by brand, so here’s what to look for on the three most common operators we see on Summerlin properties.
LiftMaster. LiftMaster boards typically use a numbered blink sequence, often on a diagnostic LED near the learn button. A single blink repeated usually means the board lost its travel limits or a safety device is blocking operation. Rapid blinking commonly points to a photo-eye or safety-reversal input. The exact count and meaning varies by model, so match the blink count to the label inside the operator cover.
Linear (including GTO-style residential arms). Linear operators frequently flash a status light in a repeating pattern to indicate an obstruction, a limit fault, or a low-battery condition on battery-backup units. A slow, steady blink during a failed cycle often means the board aborted the cycle because a safety input triggered. A pattern that appears only on battery power points to the battery, not the motor.
FAAC. FAAC boards often have dedicated LEDs for each input rather than a single code LED: power, stop, safety, and open. Reading which individual LED is dark or lit tells you which input is holding the gate. A safety LED that stays active when the path is clear is a classic misaligned photo-eye or a wet edge sensor.
Whatever the brand, the takeaway is the same: the blink code nearly always points to a limit, a safety input, or power, not the motor. We service LiftMaster, Linear, FAAC, and the other major brands, so we can read whichever board is on your property. If you’re also weighing a new operator, Gate Installation in Summerlin walks through what that involves.
Step 3: Limit Switches and Why They Cause Reversals
A limit switch tells the operator where the gate is supposed to stop. When it drifts, the board loses track of travel and the gate stops short, overshoots, or reverses. This is the single most common cause of a gate that stops mid-travel, and it’s usually a $0 – $80 adjustment rather than a repair.
- Watch the gate through a full cycle. Note exactly where it stops or reverses. That point is your clue: a reversal near the closed position points to one limit, near the open position to the other.
- Look for a physical obstruction at that spot. A stick, a settled paver, or debris in the track can mimic a limit fault. Clear it and retest.
- Inspect the limit mechanism. Mechanical limits use a cam or a threaded actuator. If the gate drifted slowly over months, the cam likely slipped; if it failed all at once, a part may have broken.
- Reset only if you’re confident. Many boards allow a travel-limit relearn from the manual. If the gate still misbehaves after a relearn, the limit hardware itself needs attention.
We’ve seen Summerlin gates drift on limits after a run of triple-digit days, because heat expansion in a metal frame changes travel by a small but real amount. A limit that was perfect in spring can read short by late July. That’s a reset, not a motor.
Step 4: Obstruction Sensors and Photo-Eyes
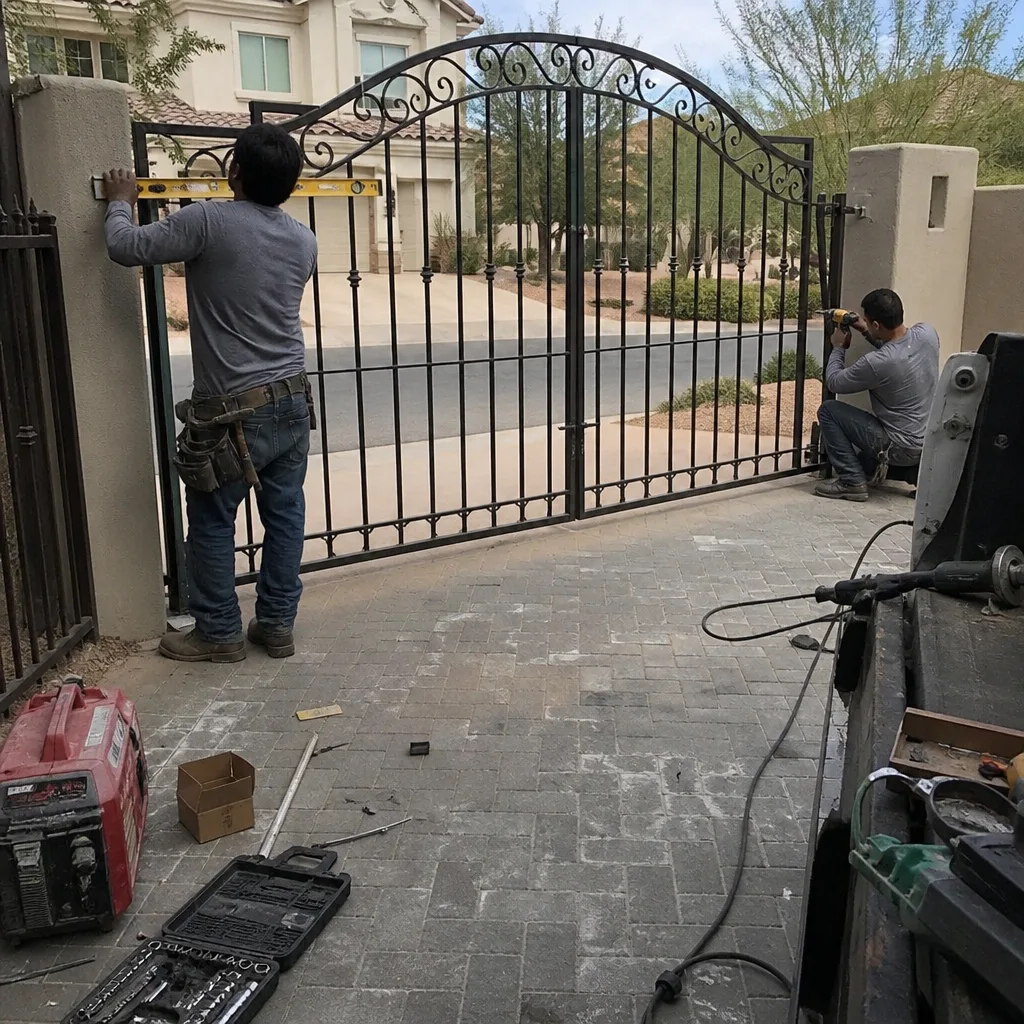
A photo-eye is the infrared beam across the gate opening that stops or reverses the gate if something crosses the path. When it’s misaligned, dirty, or wet, the board thinks something is always in the way, and the gate refuses to close or reverses on its own. We routinely find photo-eyes knocked out of alignment by roughly an inch or two after a landscaper or a car bumper nudges the post.
- Wipe both lenses with a soft cloth; dust and spider webs are enough to block the beam.
- Check that the two units face each other squarely. A small bracket twist is enough to break the beam.
- Look for moisture inside the housing after a storm; a fogged lens reads as a permanent obstruction.
- Confirm the path is genuinely clear of toys, bins, and debris before you assume a fault.
If realigning the sensors clears the fault, you’ve just avoided a service call. If the board still shows an obstruction with a clean, aligned beam, the sensor or its wiring needs testing, and that’s the point to bring someone in.
Step 5: Mechanical Bind, Hinge Wear, and Post Lean
This is the misdiagnosis that leads to unnecessary motor replacement. A perfectly healthy operator will struggle, reverse, or stall if the gate itself is dragging. The motor is doing its job; the gate is fighting it.
With the operator disengaged (most have a manual release), swing or slide the gate by hand through its full travel. It should move with modest, even effort. If it binds, sticks, or scrapes, the friction is your problem, not the motor. Common culprits on a Summerlin gate:
- Hinge wear: Worn or dry hinges on a swing gate add drag that grows over time.
- Post lean: Ground movement or settling can lean a post and throw the gate out of plumb, so it rubs as it travels.
- Wheel or track drag: On sliding gates, worn wheels or a track full of grit create exactly the resistance that trips a safety reversal.
Free the gate by hand, retest with the operator engaged, and you’ll often find the “bad motor” was never bad at all. That distinction is the difference between a small mechanical fix and a needless replacement.
The Battery Backup Failure Almost Everyone Misreads
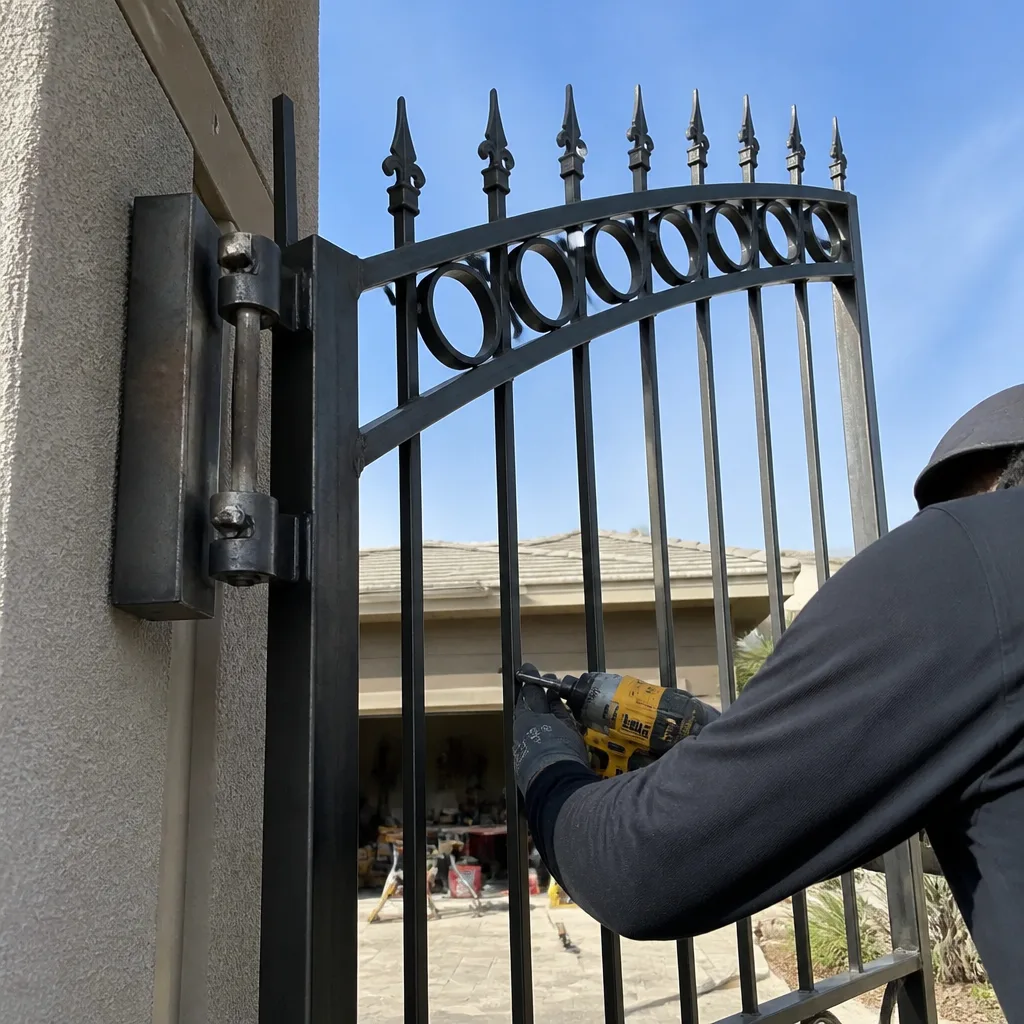
A gate that opens fine all week and then dies during a power outage usually has a battery problem, not a motor problem. Here’s the trap: a backup battery can read a healthy 12 volts on a meter and still fail under load. Voltage tells you the battery is charged; it doesn’t tell you the battery can push the gate.
When a battery ages, its internal resistance climbs, so the moment the operator draws real current to move the gate, the voltage sags and the board aborts the cycle. On the meter it looks fine. Under the load of an actual open, it collapses. That’s why battery-backup faults show up only during an outage or at the moment the gate starts to move.
If your gate works on AC but not on battery, suspect the battery first. Load-test it rather than trusting a resting voltage reading, check the terminal connections for corrosion, and confirm the board’s battery-charging circuit is actually charging. For Linear and other battery-backup residential operators, this is one of the most frequent causes of “my gate quit in the storm” calls we get across Summerlin.
What a Technician Should Document When the Job Closes
The reason the same gate fails the same way next year is usually that no one wrote down what happened this year. A proper close-out is what breaks that cycle. When a technician finishes a gate motor job, the record should include:
- Readings: limit-switch positions, battery load-test results, and board indicator states at the start and end of the visit.
- Photos: the fault as found, the adjustment or part as installed, and the finished travel.
- Wiring notes: what’s connected where, any splices, and the part numbers of anything replaced.
- The written price: what was quoted before work started and what the final scope was.
This is the standard we hold ourselves to on every visit: a written price before any work begins and a documented photo record when we leave. It means the next person, whether it’s you or another technician, starts from facts instead of guesswork.
Common Mistakes to Avoid
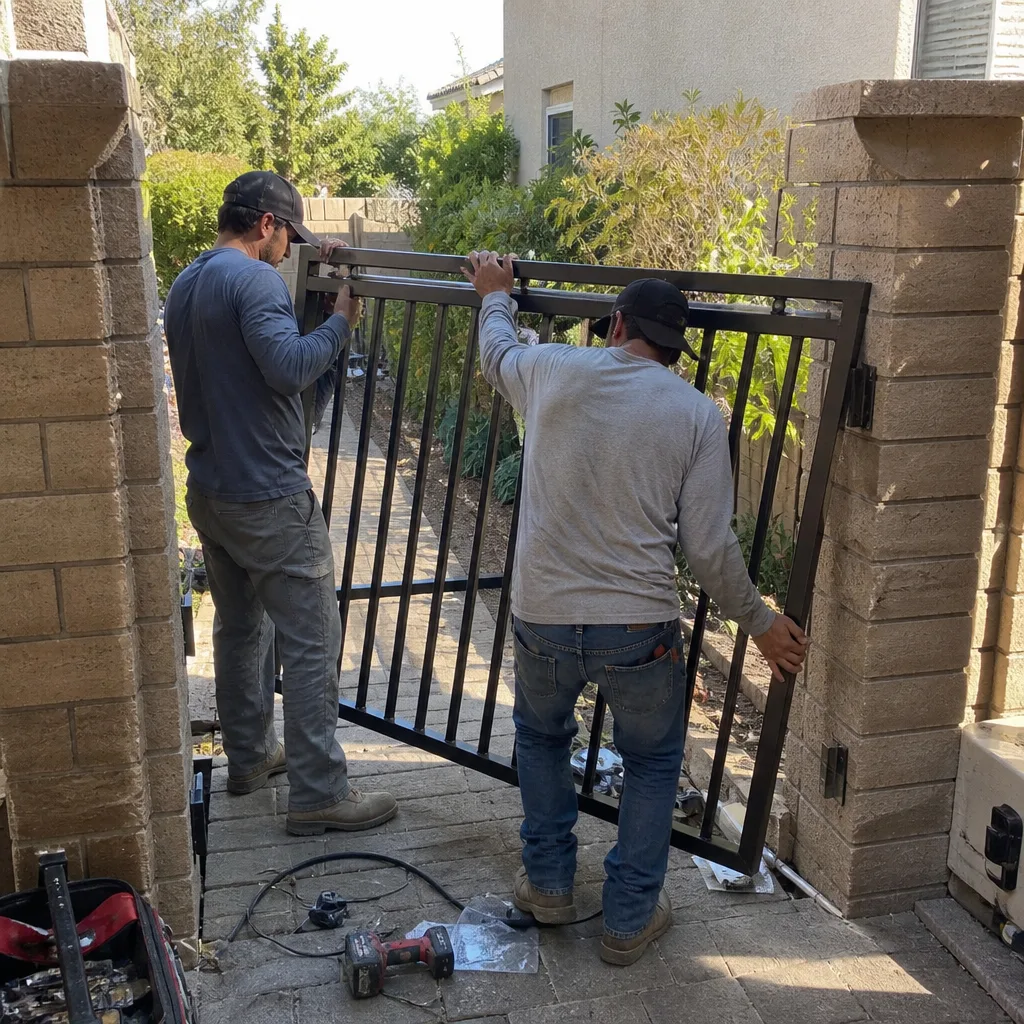
- Replacing the motor first. It’s the most expensive fix and the least likely cause. Work the tree in order and you’ll usually find the real problem upstream.
- Ignoring a low battery because it reads 12V. Resting voltage doesn’t prove the battery can hold load during a cycle. Load-test it.
- Adjusting limits without checking for a bind. If the gate is dragging, a limit reset masks the problem for a few days and then it returns.
- Assuming a photo-eye fault means a dead sensor. A dirty lens or a bracket knocked an inch off square is far more common, and Summerlin’s dust makes it a recurring issue.
- Skipping the hardwired safety edge. On an automated gate, the safety edge is a genuine safety device. Never bypass one to “make it work” – that’s a duty-of-care line no one should cross.
- Working on the operator with the gate able to move. High-tension springs, moving arms, and pinch points make an energized gate genuinely dangerous. Disengage power and use the manual release before you inspect anything.
- Letting a tech leave without a written record. A verbal “it’s fixed” with no readings or photos sets up the same call next year, at your expense.
See the difference
BeforeAfter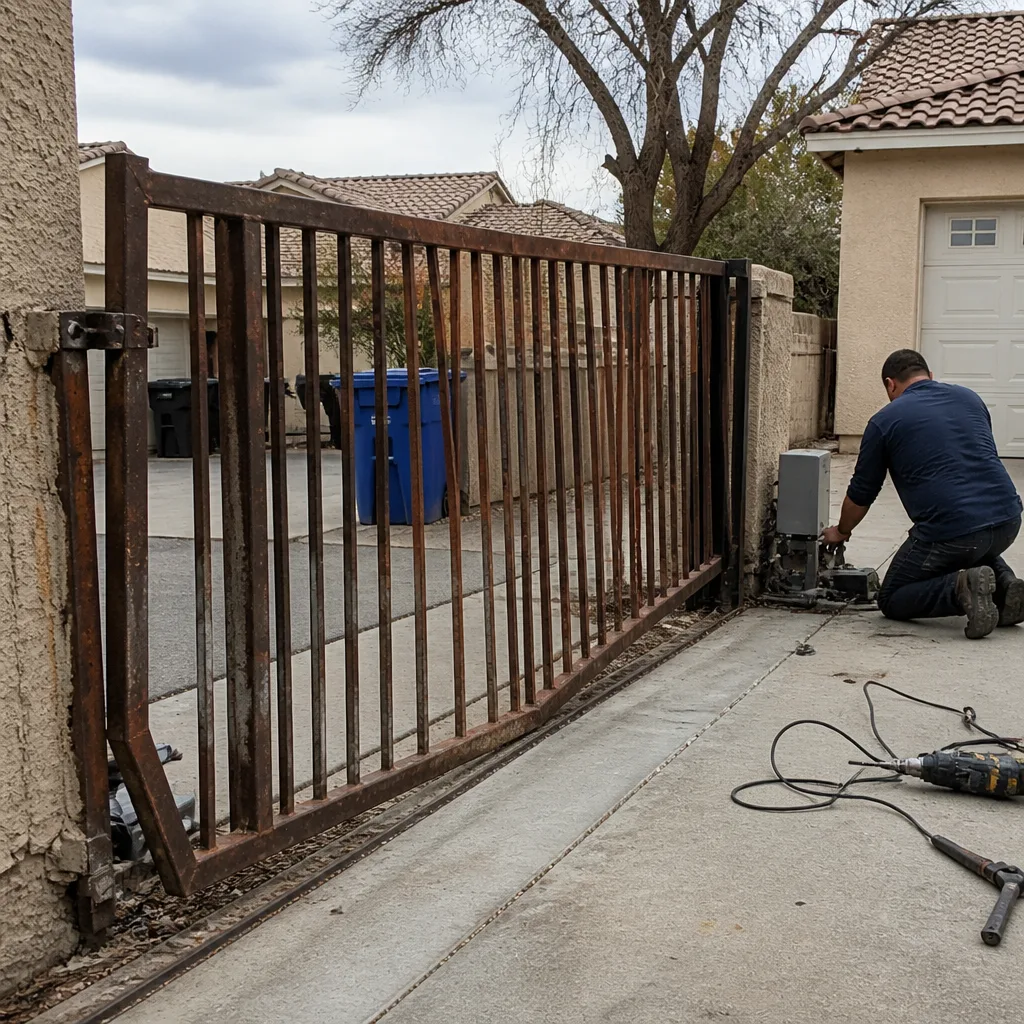 Before
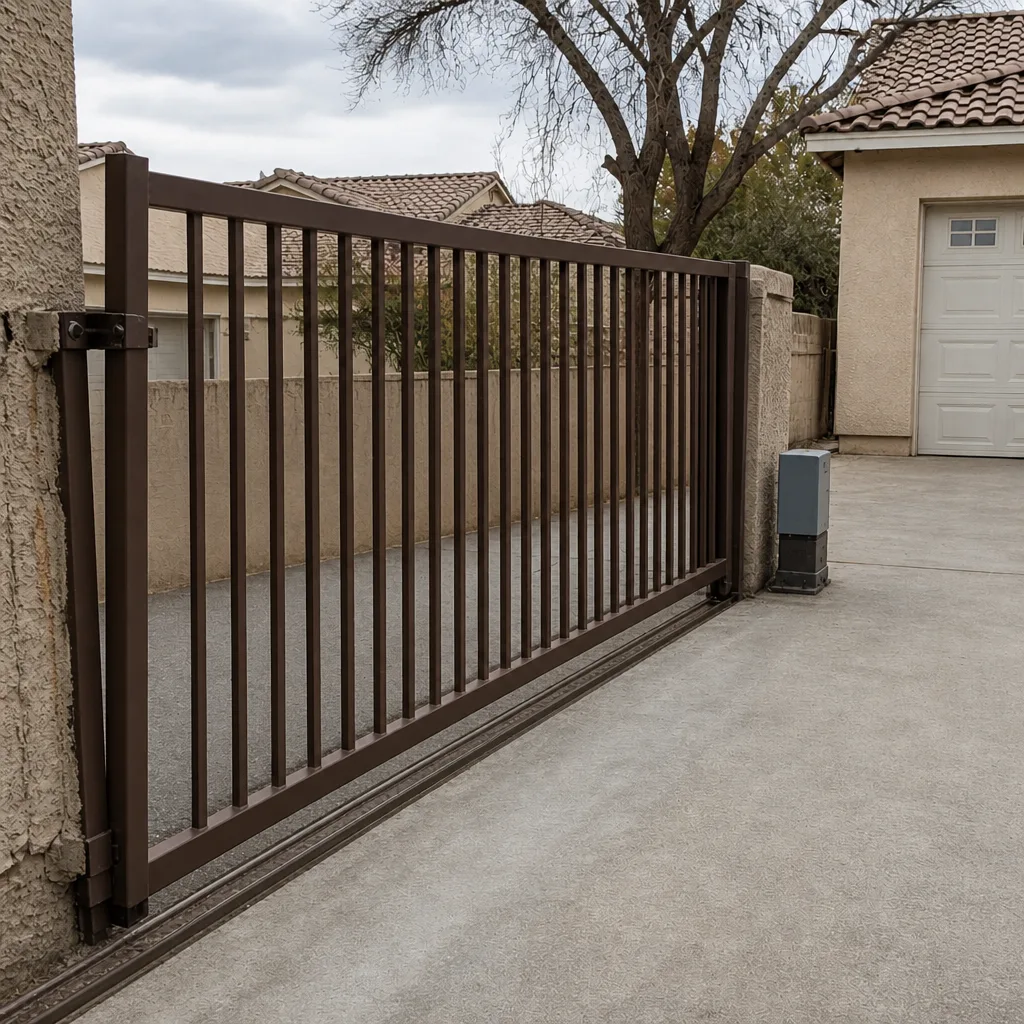 After
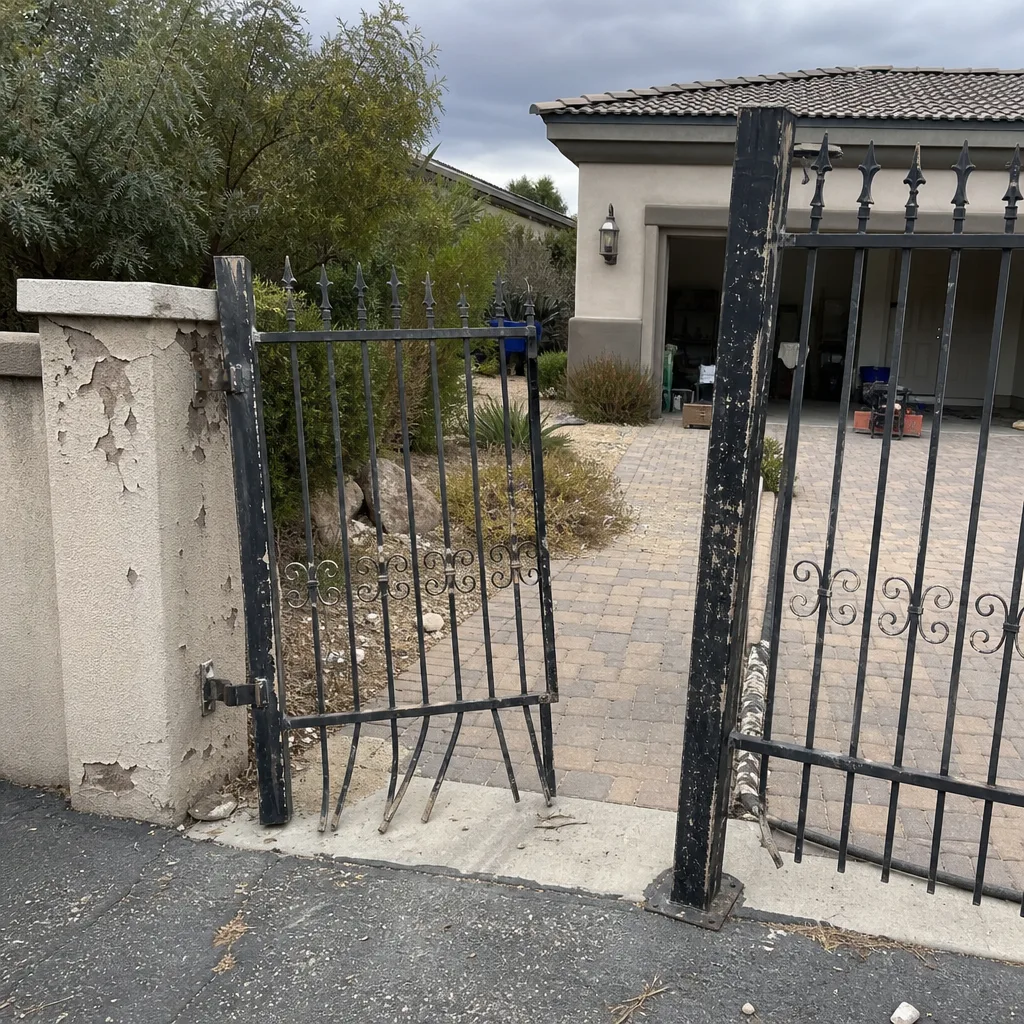 Before
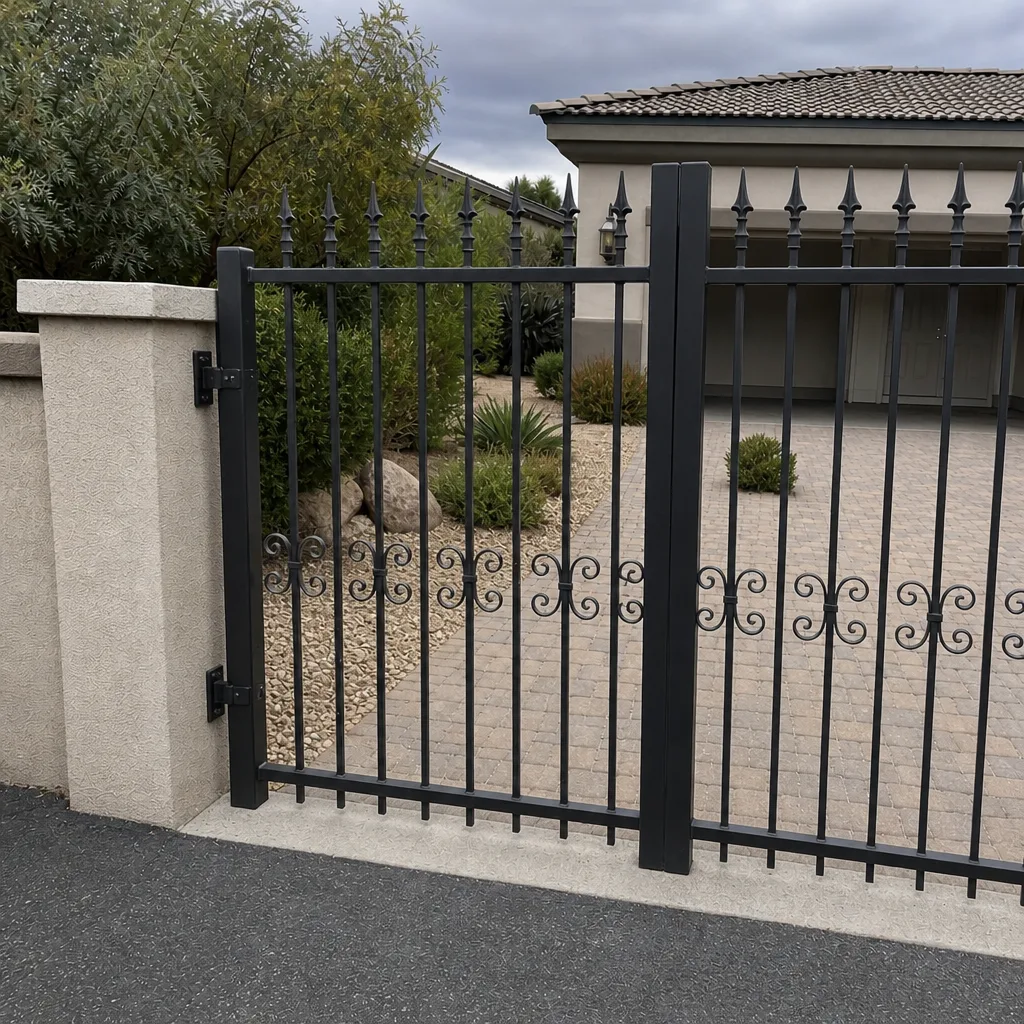 After
When to Call a Professional
Some of this you can check yourself safely: power, a dirty photo-eye, a battery connection, and a gate that binds by hand. But call a technician the moment the problem involves the control board internals, high-voltage wiring, a limit mechanism that won’t hold a reset, or a gate that still reverses with clean sensors and a free-moving leaf. Springs, moving arms, and any live electrical work around the operator belong to a trained professional; don’t put your hands in an energized enclosure.
Vance Gate Repair Summerlin offers free estimates in Summerlin. We hand you a written price before any work starts, and you keep a documented photo record of what we found and what we set. If another company has already quoted you a motor replacement, bring us the paperwork – we’ll give a free second opinion before you spend on a part you may not need. Call (844) 797-2809 and a live person will answer, any hour.
Frequently Asked Questions
Usually a limit-switch misread or an obstruction-sensor fault, not a bad motor. A drifting limit or a photo-eye that’s misaligned or dirty makes the board think the gate should stop or reverse. Both are $0 – $80 fixes far more often than a motor is. Call (844) 797-2809 for an exact quote – estimates are free.
No – a blink code almost always points to a limit, a safety input, or power, not the motor. Match the blink count to the label on your brand’s control board, then check limits and sensors before you suspect the operator. Call (844) 797-2809 for an exact quote – estimates are free.
That’s typically a battery backup that can no longer hold load, even though it reads 12V on a meter. Aged batteries sag under the current draw of a cycle and collapse. Load-test the battery rather than trusting resting voltage. Call (844) 797-2809 for an exact quote – estimates are free.
Disengage the operator and move the gate by hand through a full cycle. If it binds or drags, the gate is fighting a healthy motor, and the fix is mechanical – hinges, wheels, track, or post lean. If it glides freely and the motor still stalls, the operator is the suspect. Call (844) 797-2809 for an exact quote – estimates are free.
Most swing-gate motor replacements run in the mid-hundreds to roughly $900 depending on brand and whether the arm bracket is intact; repairs are far less. Every Vance job comes with a written price handed over before any tool comes out. Call (844) 797-2809 for an exact quote – estimates are free.
A documented record: limit and battery readings, photos of what was found and what was installed, wiring notes, and the part numbers replaced. That record is what stops the same call next year. Under our standard, every visit includes a photo record at no extra charge. Call (844) 797-2809 for an exact quote – estimates are free.
The Bottom Line
Nearly every gate motor call traces to one of five points, and the order you check them decides whether you spend $80 or $900. Power first, then the control board lights, then limits, then photo-eyes, then mechanical bind, and the motor last. Read the blink codes on whatever brand is on your property. Load-test a battery before you trust its voltage. And when a technician closes a repair, make sure you leave with readings, photos, and wiring notes, so the same problem doesn’t come back next season. That documented habit is the whole point, whether you’re in Summerlin or anywhere the heat and dust do their work.
If you’d rather hand the diagnosis to someone who reads boards for a living, we’re one call away. Vance Gate Repair Summerlin offers free estimates, a written price before work starts, and a photo record on every visit. Call (844) 797-2809 – a live person answers 24/7. Start at our Vance Gate Repair Summerlin home page to see what else we cover.
Written by the team at Vance Gate Repair Summerlin.