
Last updated November 17, 2026
 Wrought iron
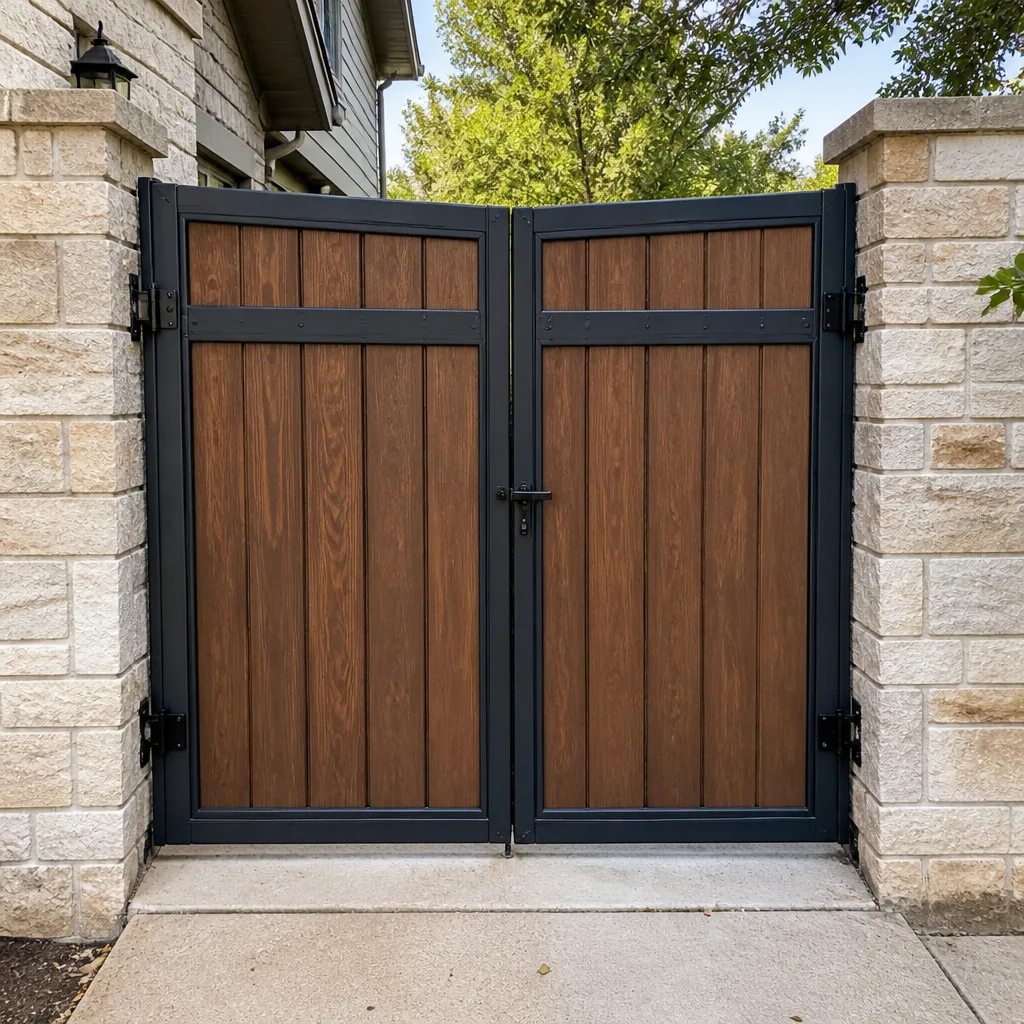 Wood & steel frame
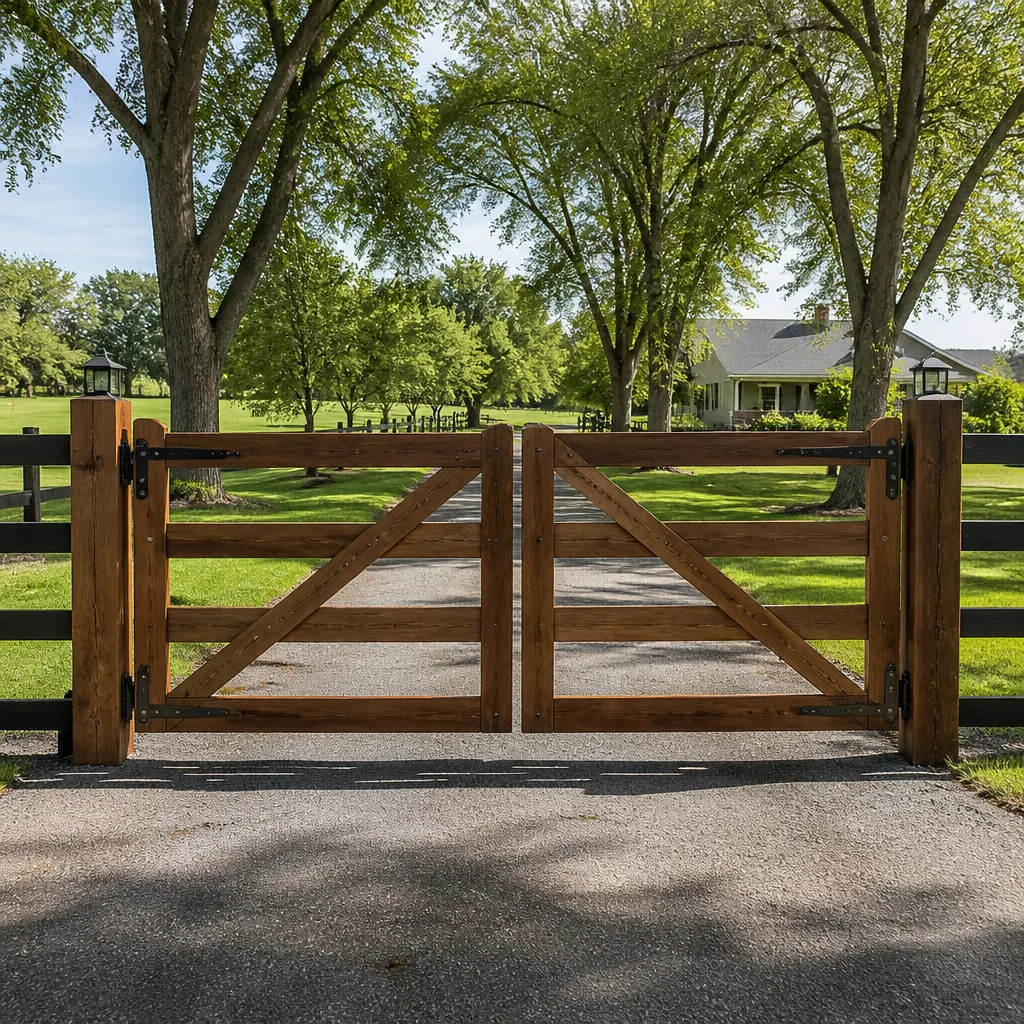 Farm & ranch
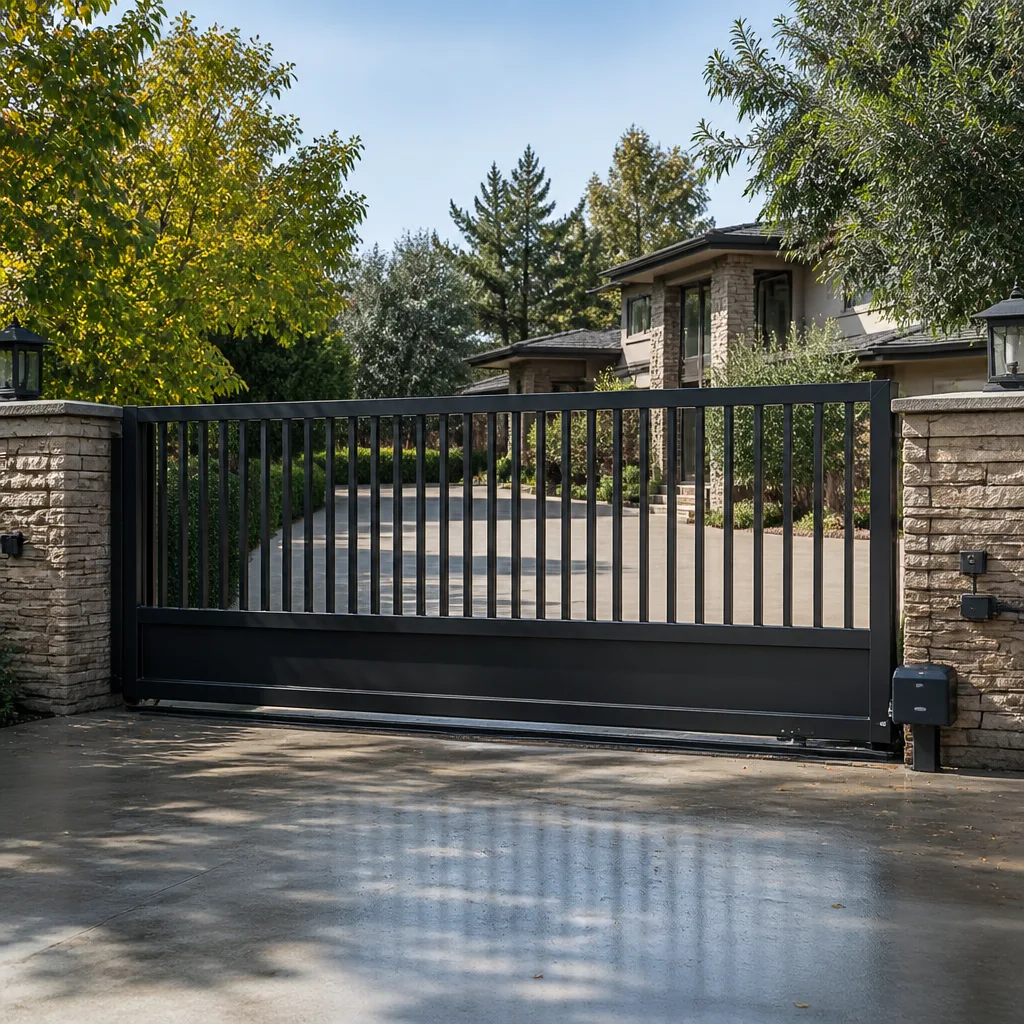 Sliding driveway gates
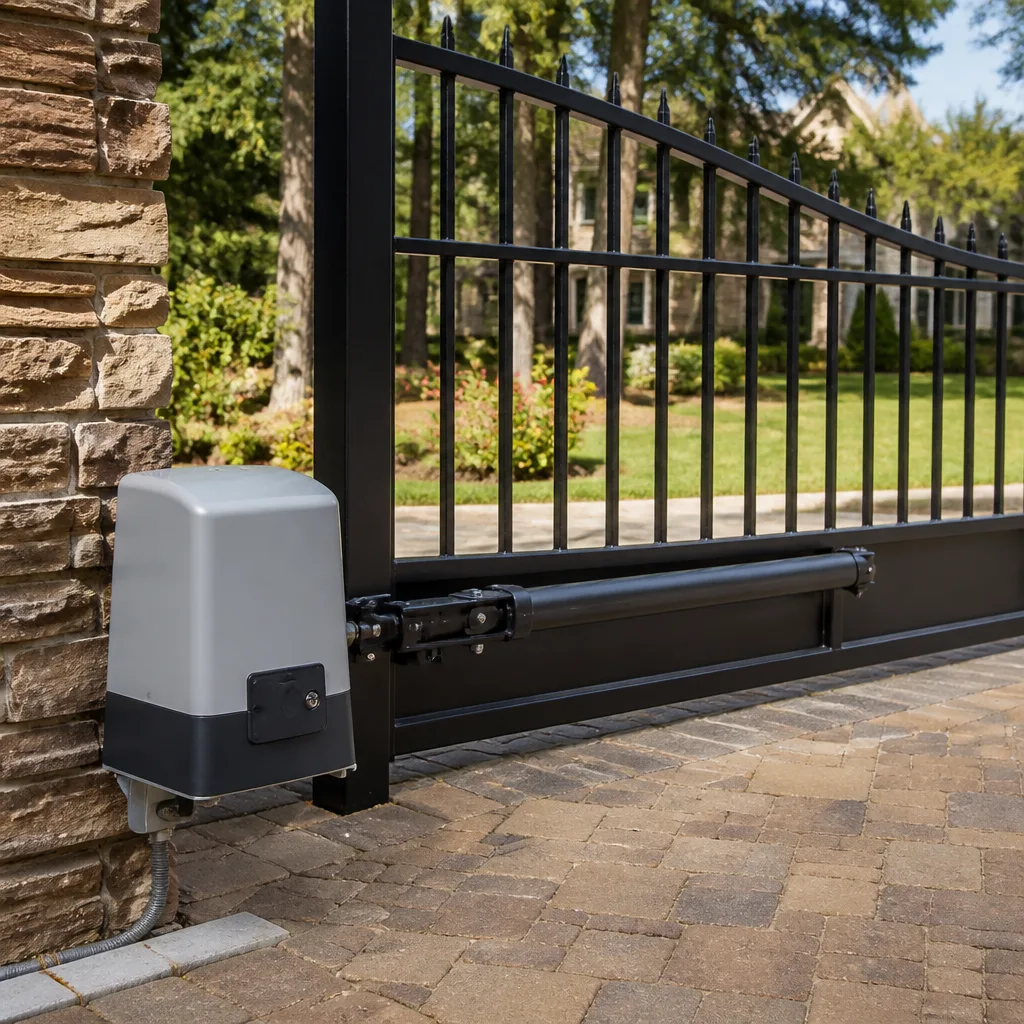 LiftMaster operators
Free on-site gate assessment - hinges, posts, and your LiftMaster or Nice gate operator checked before anything is quoted
The assessment is free and the quote is the invoice.
Get your free estimateDIY vs Professional Gate Repair: What’s Safe to Do Yourself
Adjusting a limit switch is a five-minute job on a 12-volt operator and a genuine hazard on a 120-volt commercial unit. Same task. Same nameplate part. Different danger. That single fact reframes the whole DIY-versus-professional question, and it’s the part most how-to guides skip. The dividing line isn’t how complicated a repair feels. It’s voltage and load: what the motor draws and how much mass the gate carries. In this guide you’ll get a task-by-task map of what’s safe to handle yourself and what isn’t, the entrapment-force test that has to follow any mechanical repair, the documentation to capture before you touch a thing, and how to read a professional scope so you’re paying to fix what actually failed. If you’re in Summerlin, the local heat and wind add a wrinkle or two we’ll cover along the way.
Quick Answer
Lubrication, photo-eye alignment, and limit-switch adjustments on a low-voltage (12V or 24V) operator are safe for a careful homeowner. Anything involving AC line voltage, a gate weighing over 400 lbs, spring tension, or any repair that changes how the gate moves requires a trained technician – and it requires an entrapment-force test afterward to confirm the gate reverses correctly on contact. The nameplate voltage rating, not the difficulty of the task, tells you which side of that line you’re on.
Styles & brands we work with
- Wrought iron
- Wood & steel frame
- Farm & ranch
- Sliding driveway gates
- LiftMaster operators
Table of Contents
- Why Voltage, Not Difficulty, Is the Real Dividing Line
- The Task-by-Task Safe/Unsafe Map
- The Three Repairs You Can Safely Do Yourself
- Entrapment Force: The Test That Must Follow Any Mechanical Repair
- The Documentation to Capture Before You Touch Anything
- What “I’ll Save It for My Records” Actually Costs
- How to Read a Professional Repair Scope
- Common Mistakes to Avoid
- When to Call a Professional
- Frequently Asked Questions
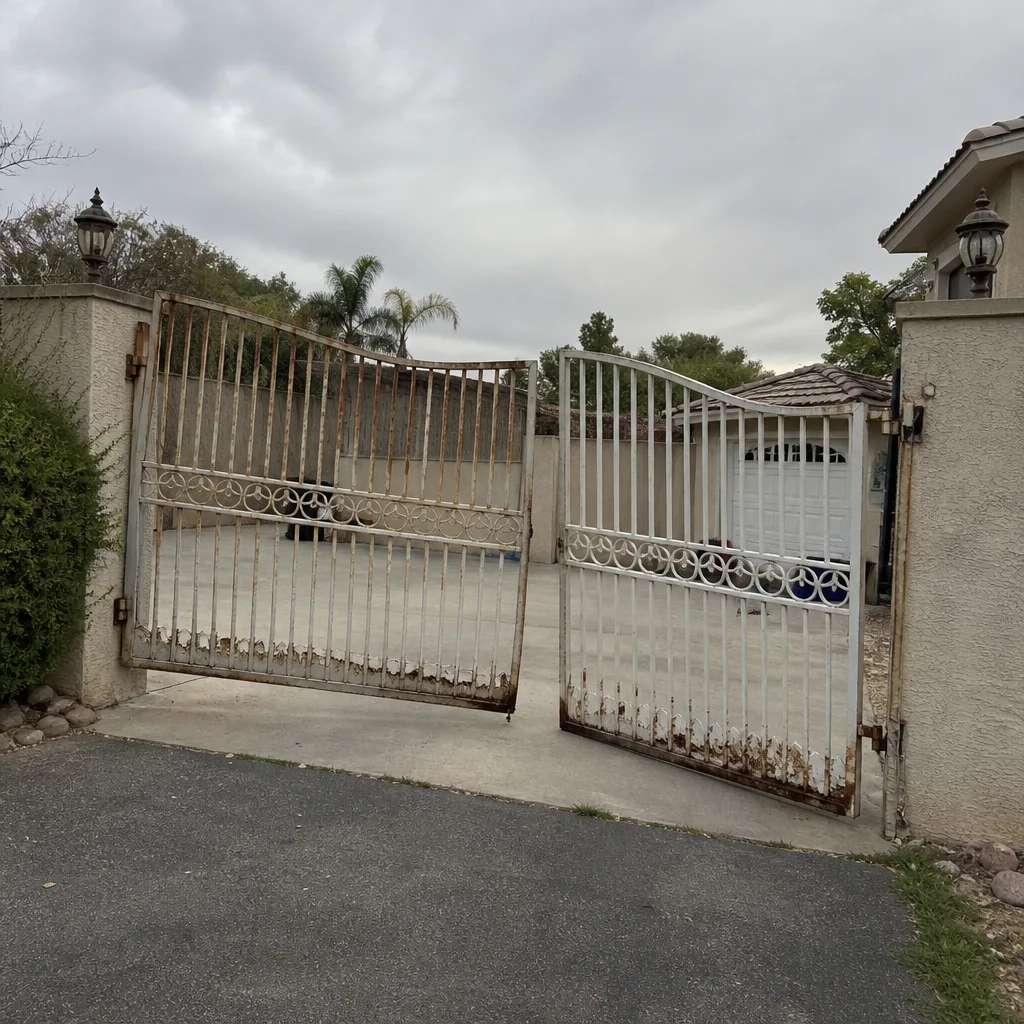 Before
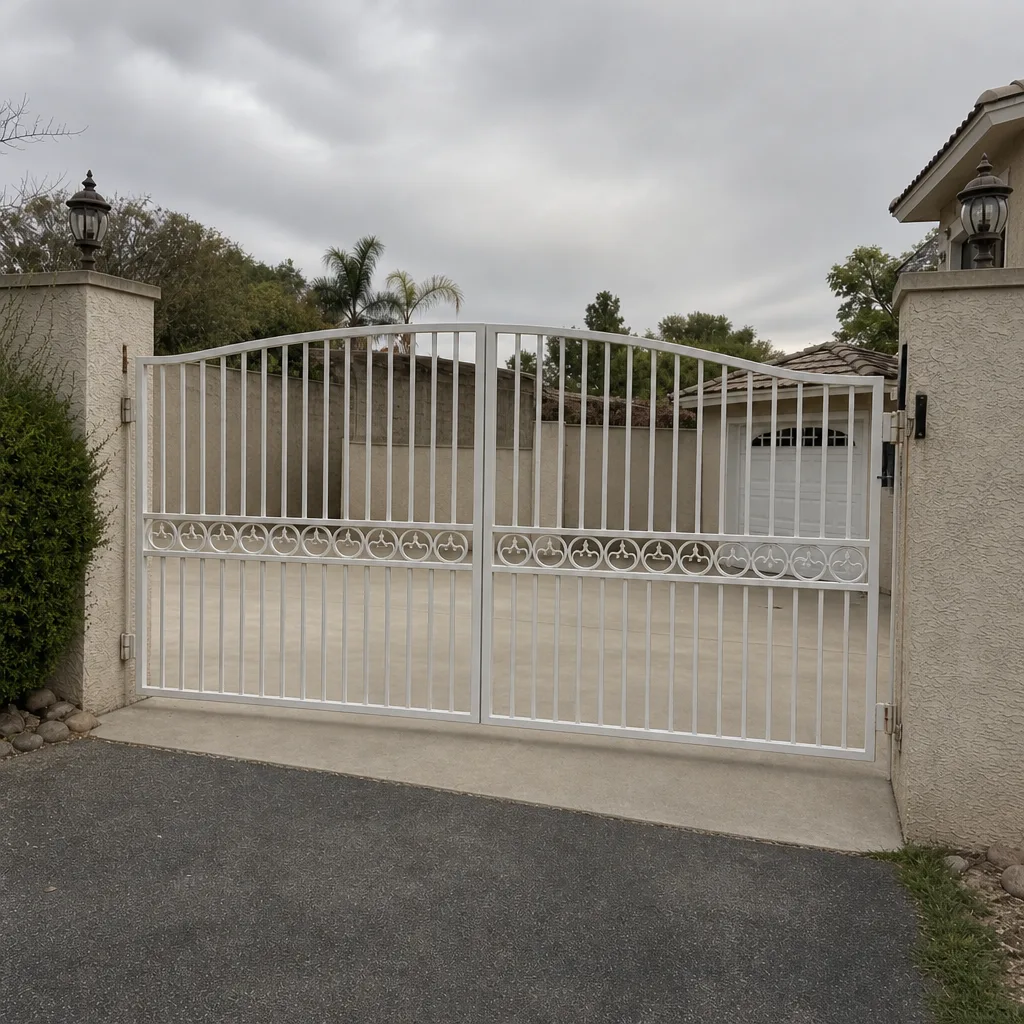 After
Why Voltage, Not Difficulty, Is the Real Dividing Line
A residential swing-gate operator running on a 12V DC battery and a light-duty commercial slide operator on 120V AC look similar from the driveway. They are not. The 12V unit poses a shock risk comparable to a car battery; the 120V unit can kill you if you open the wrong cover with the wrong assumption about where the line voltage stops. That’s the split most homeowners miss. The task looks the same. The exposure isn’t.
Load matters just as much. A 200-lb ornamental aluminum gate that swings on sealed bearings can be moved by hand and stopped by hand. A 600-lb steel slide gate on a V-track carries momentum. When something goes wrong with the mechanism, the gate itself becomes the hazard, not the electronics. In Summerlin, where HOA architectural rules push a lot of driveways toward heavier decorative steel and masonry-pillar gates, that weight is often higher than the homeowner expects. A gate that looks residential can still be a 500-lb slab of steel moving on a rack and pinion.
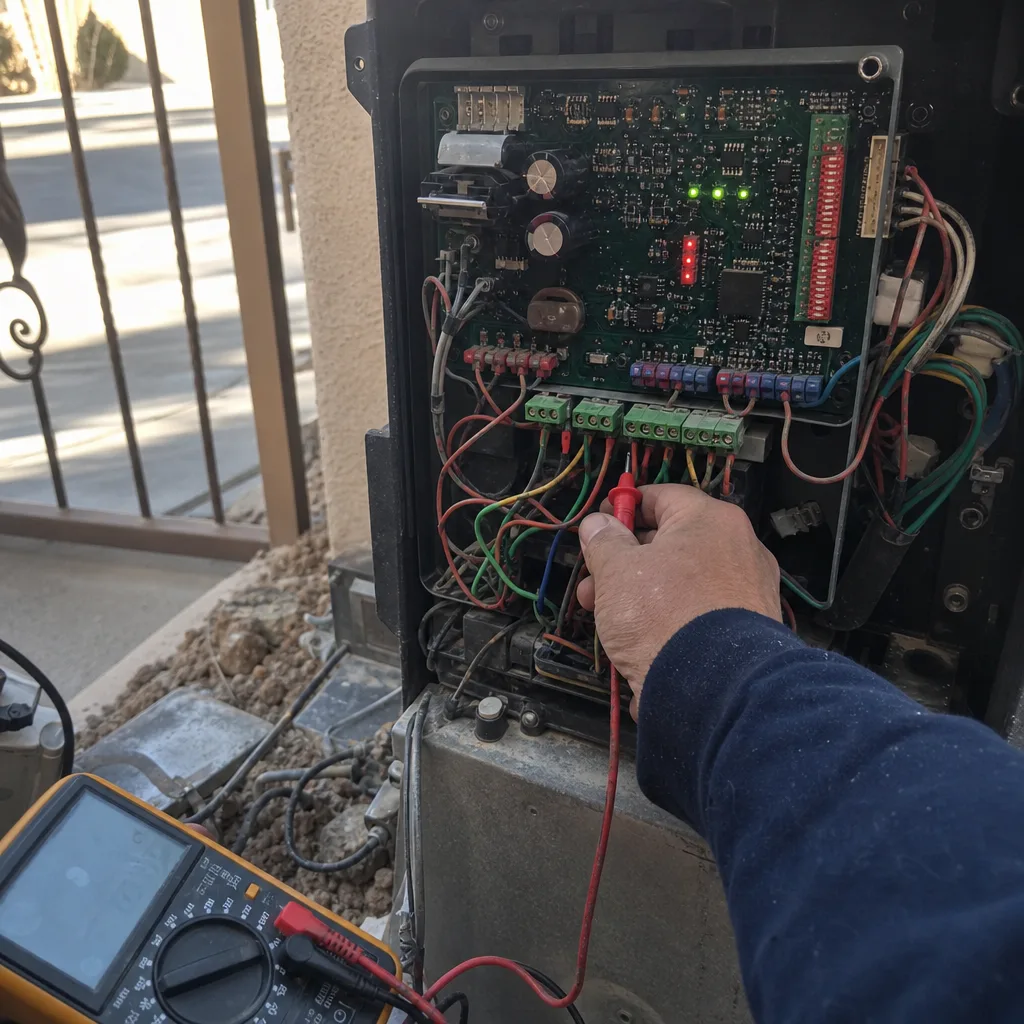
So before you decide anything, do this: find the operator nameplate. It’s usually on the side or underside of the motor housing. Read three things – input voltage, gate weight rating, and model number. Write them down. Every safe/unsafe call in this guide starts there. If the nameplate says 120V, 230V, or “line voltage,” you’re in professional territory for anything past the exterior controls. If it says 12V or 24V battery, you have room to work. For a comparison of the operator families we see most often across the valley, our Gate Motor & Opener in Summerlin page breaks down what each brand tends to need.
The Task-by-Task Safe/Unsafe Map
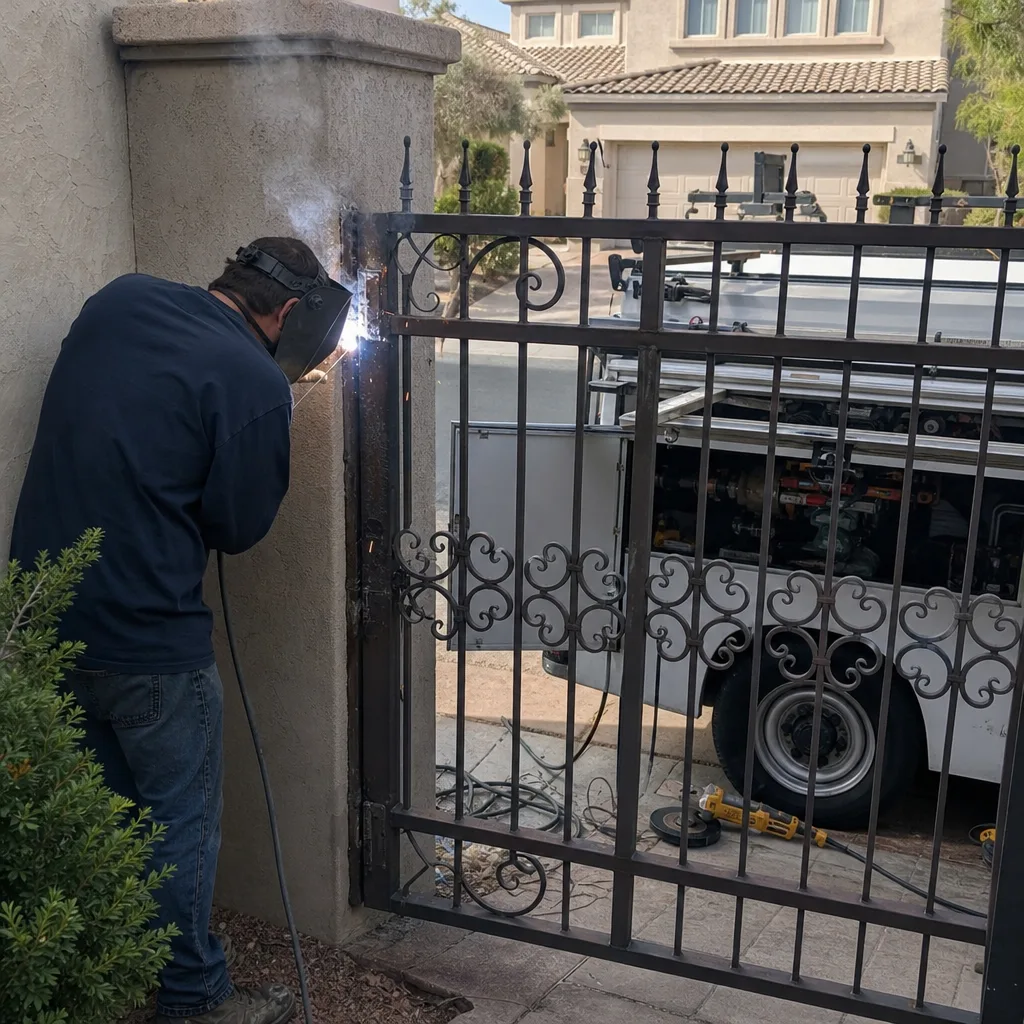
Here’s the map. Match your repair to the row, confirm the voltage call against your nameplate, and you have your answer.
| Task | DIY-Safe? | Reasoning |
|---|---|---|
| Lubricating hinges, rollers, track, and arm pivots | Yes | No electrical exposure, no load change. Use a lithium or silicone spray, not WD-40 on the moving joints. |
| Photo-eye (safety beam) alignment and lens cleaning | Yes | Low-voltage only. Realign the transmitter and receiver within a couple of inches and confirm the LED is solid. |
| Limit-switch adjustment on 12V/24V operator | Yes, with care | Mark the current position first. Adjust in small increments, test the full cycle between each change. |
| Limit-switch adjustment on 120V operator | No | Opening the housing exposes line voltage. This is a professional call. |
| Replacing a battery in a 12V operator | Yes | Disconnect, swap, reconnect. Match battery type and amperage exactly to the old one. |
| Replacing any operator control board | No | Capacitors and line terminals are live. Even with the breaker off, stored charge is a risk. |
| Repairing or adjusting spring tension | No | Stored energy failure. A spring under tension can seriously injure a person if it releases. |
| Any repair on a gate over 400 lbs | No | Even mechanical jobs become fall and crush hazards once you remove the counterbalance the operator provides. |
| Adjusting the entrapment force (obstruction sensitivity) on any operator | No | This is a life-safety setting. Set too high and the gate doesn’t reverse on contact with a person. |
| Any wiring changes inside the operator housing or at the AC disconnect | No | Line voltage. Always professional. |
Notice that half the “unsafe” rows aren’t about difficulty at all. Spring tension is unsafe because of stored energy. Weight over 400 lbs is unsafe because of crush risk. Entrapment force is unsafe because you’re setting a safety threshold, not making something move. Only the limit-switch-on-AC row and the wiring rows are truly voltage calls. The full picture requires both criteria, but if either one flags, treat the job as professional. When a repair crosses that line in Summerlin, we handle it as part of Gate Repair in Summerlin – and we test the entrapment setting on the way out.
The Three Repairs You Can Safely Do Yourself
These three are the ones we routinely tell Summerlin homeowners to handle themselves. We mean it – they’re faster to do than to schedule.
1. Lubrication
The whole procedure takes five minutes and solves more noise complaints than any part replacement. Spray lithium grease on the hinges and arm pivots, silicone spray on the rollers and track, and wipe off any buildup before it collects grit. In Summerlin’s dry climate, dust sticks to old grease and turns into an abrasive paste that slowly eats the roller bearings. Twice a year is right: once in early spring, once in late fall after the wind season.
2. Photo-Eye Alignment
The photo-eye is the infrared beam that stops the gate if something crosses the path. When it’s out of alignment – often by as little as two inches after a minor bump or ground settling – the gate reverses mid-travel or refuses to close. Clean both lenses, check the mounting bracket hasn’t shifted, and confirm the alignment LED on the receiver side is solid. If it’s flashing, the beam isn’t reaching. Reposition slowly until it locks. Both DC and AC units let you do this safely because the beam circuit itself is low voltage.
3. Limit Switch on a 12V Operator
Only attempt this after you’ve confirmed on the nameplate that the operator is 12V or 24V battery. Then:
- Power the operator off. Unplug the transformer or pull the battery, not just the remote’s off switch.
- Photograph the current limit-switch cam position before you touch anything. Tape a small reference mark on the housing.
- Loosen the cam retaining screw and turn the cam in roughly 1/16-inch increments. Over-adjusting is the most common failure.
- Power back on and cycle the gate. Watch where it stops in the open position and where it stops in the closed.
- Repeat in small steps until the gate travels fully without overrunning the stop or reversing short.
- Confirm the gate reverses on light hand pressure before you leave it. If it doesn’t, you’ve set the force too high – back off and retest.
If any of those steps don’t behave as expected, stop and photograph what you’re seeing. A limit switch that won’t hold is usually a failing encoder or a slipping arm bracket, not a setting problem – and that’s a technician’s call.
Entrapment Force: The Test That Must Follow Any Mechanical Repair
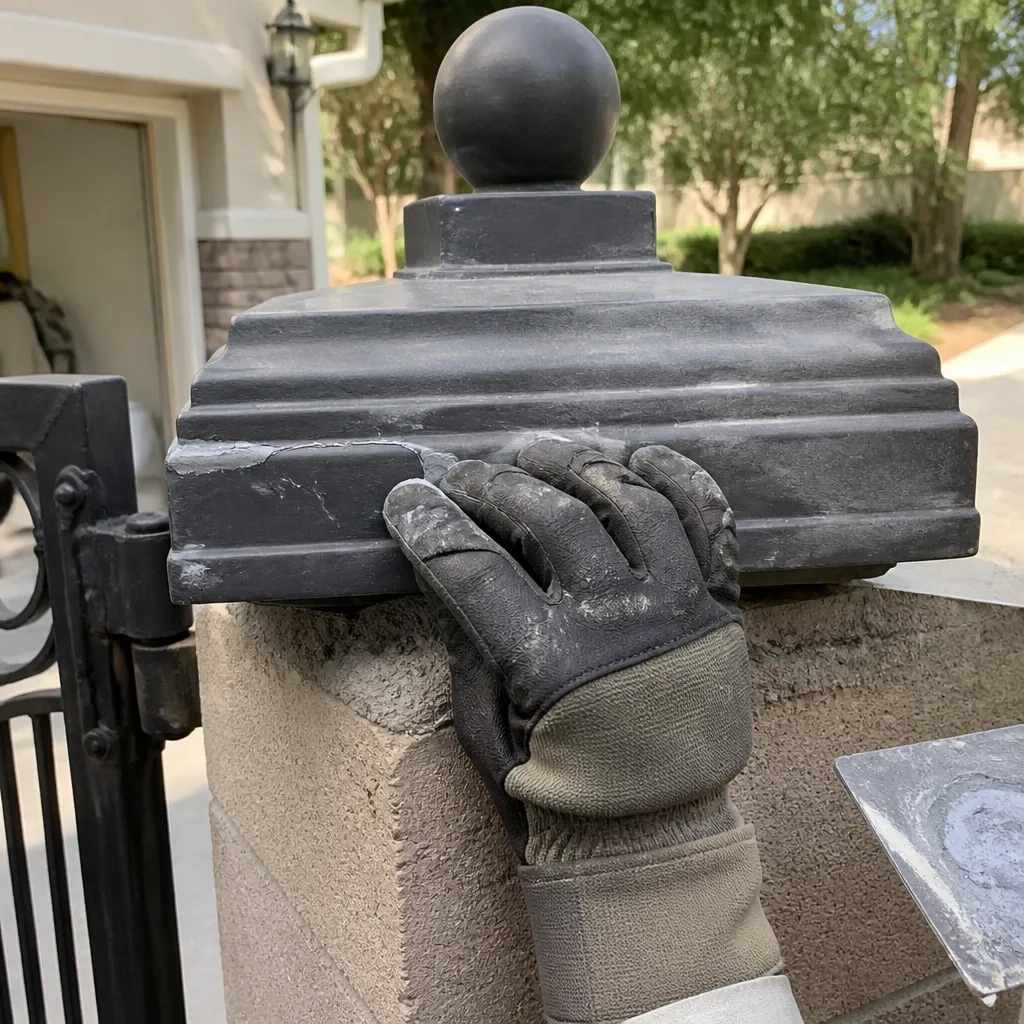
Entrapment force is the pressure a gate applies to an object in its path before the operator reverses it. It’s the single most important life-safety setting on any automated gate, and it’s the one homeowners most often skip after a repair – even a repair they did themselves. The current UL 325 standard sets the limit: a residential gate must reverse on contact with an obstruction, and it must be tested at multiple points along the travel (typically mid-travel and in both end zones) after any change to the mechanical system.
Why is it so easy to forget? Because a gate that “works” can still be a gate that fails the test. A slightly overtightened limit switch, a new roller that sits an eighth of an inch higher, a spring that lost a little tension in summer heat – any of these can push the force above the safe limit while the gate still opens and closes normally. That’s why the test isn’t optional.
Here’s the safe way to check it, and the limit we want you to observe:
- Clear the entire travel path. No children, no pets, no vehicles within twice the gate’s width.
- Put the operator into its normal running mode (remote or keypad, not manual release).
- Use a stiff foam block or a commercially sold gate-force test object – never your hand, never an arm, never a body part.
- Place the block at mid-travel first. The gate should reverse on contact without deforming the block significantly.
- Repeat near the fully open and fully closed ends of travel.
- If the gate pauses, strains, or pushes the block instead of reversing, stop using the gate and get a technician.
We photograph the test on every visit because the setting matters next month, not just the day we touch it. Under The Haven Standard (the documentation our company runs on), every mechanical repair we complete leaves with a photographed entrapment test and a written record of the reading. It’s the only way to know the gate is safe next season. See how this plays out across the specific operators we service on our Gate Motor & Opener in Summerlin page – the settings differ by brand, and we work on LiftMaster, FAAC, BFT, Linear, Viking, Ghost Controls, DoorKing, Elite, and Mighty Mule.
The Documentation to Capture Before You Touch Anything
Even for DIY-safe repairs, the photos you take before you start are worth more than the repair itself. They’re the difference between a future technician diagnosing in ten minutes versus two hours – and the difference between a written record and a guess. Here’s what to capture, in order, on your phone. Save them in a folder labeled with the date.
- Full nameplate photo. Model, voltage, amperage, serial number – all legible, in one frame.
- Wiring photos. Every terminal block, every wire pair. Wide shot plus close-up. If you can see where a wire was land, photograph it before you move it.
- Limit-switch positions. Photo the cam assembly, then tape a physical reference mark on the housing (electrical tape on the plastic, painter’s tape on painted metal).
- Dipswitch settings. The bank of small switches on the control board. Photo each one individually with the board label visible.
- Current gate travel. A short video of a full open and close cycle, plus one of the reverse-on-obstruction behavior.
- Any part numbers on the malfunctioning component – stamped on the arm, the roller, the bracket.
Hand that photo set to a technician on a service call and you’ve eliminated an hour of diagnostics. It also lets the technician confirm – from the record, on the next visit – whether the gate is behaving better or worse than the last documented reading. That continuity is what separates a documented repair from a hopeful one.
What “I’ll Save It for My Records” Actually Costs
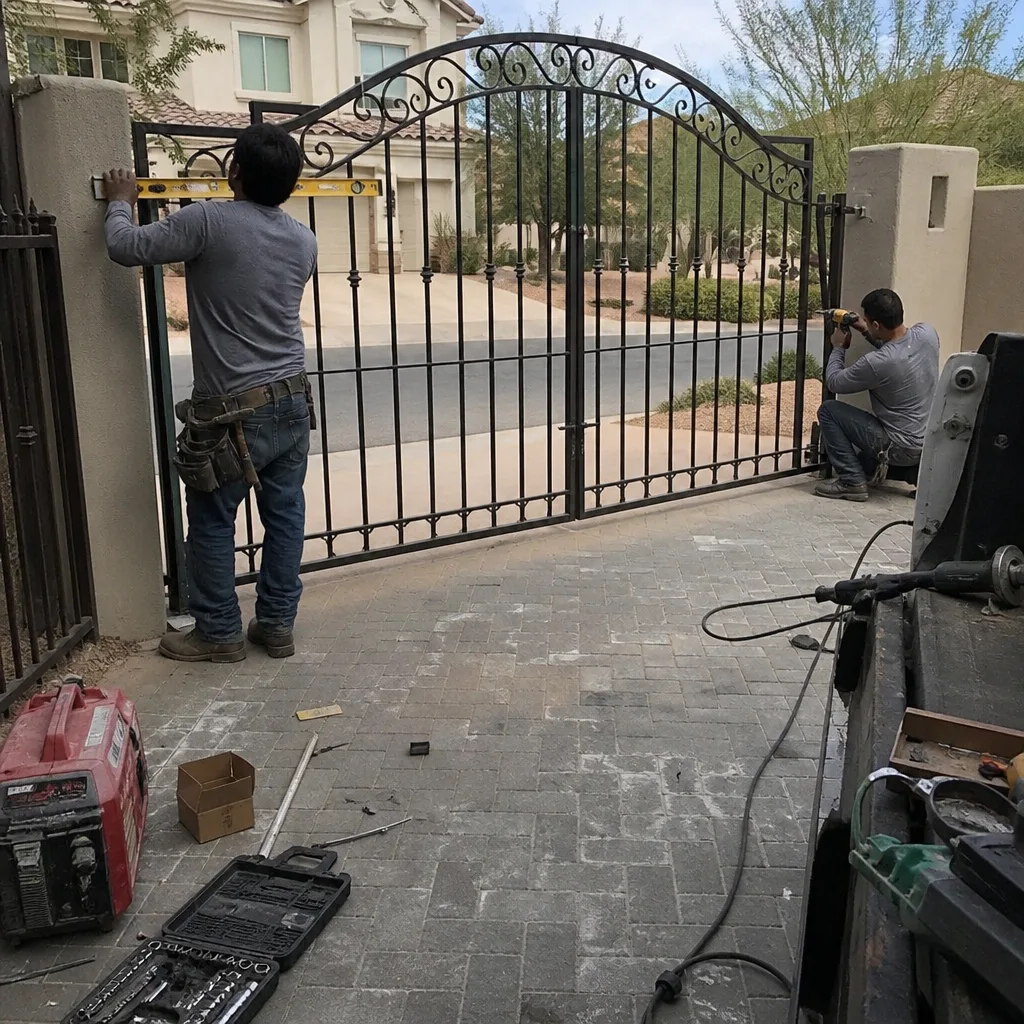
“I’ll save it for my records” sounds thrifty. It usually is – until the gate does something you didn’t expect. If an improperly repaired gate swings into a parked car in a Summerlin driveway, or reverses late on a neighbor’s dog, or fails to reverse on a child, the first question every insurance adjuster and litigator asks is: what maintenance record exists? A verbal “I adjusted the limit last spring” is not a record. A dated photo set of what was found, what was changed, and what the entrapment force reading was – that’s a record.
We’ve watched the effect from both sides. When there’s no service record, the homeowner’s position is uphill. The insurer covers the vehicle damage, the homeowner pays the deductible, and no one can prove whether the gate was maintained properly or neglected. When there is a record, the conversation changes. The gate was maintained. A technician was on the property. The file shows what was checked and when. That paper trail either supports the homeowner’s coverage position or, more often, prevents the claim from being contested at all.
The cost of the record is zero when a technician creates it. Every repair we complete under The Haven Standard leaves with a photo log and a written record of what was set and what was installed – no extra charge. Our 365-Day Done Right Promise then covers the repair itself for a full year. And we will review any competing written estimate for free, so a homeowner can compare covered scope against covered scope before they commit. For a broader look at what the swap-out cost picture runs, see Gate Installation in Summerlin.
How to Read a Professional Repair Scope
You called a technician. They gave you a written estimate. The question now is whether that estimate reflects what actually failed or whether it’s bundled with work that didn’t need to happen. Reading the scope is not a skill most homeowners think they need, but it’s the single best protection against paying for parts that tested fine. Here’s how to check.
- Find the stated cause. A good scope says “limit switch set 12 degrees past travel” or “encoder fault reading at terminal 7.” If it says “operator issue – recommend replacement,” ask what specifically failed and where.
- Match each line item to a test, not a category. “Replace control board” should be preceded by a continuity or output test that ruled out the board. If the scope can’t tell you which test failed, ask for it in writing.
- Look for parts that weren’t tested. A gate that has a bad limit switch and a healthy motor should not have a motor on the invoice. Same with a working photo-eye when the failure is at the board.
- Check the brand match. If your operator is a Viking and the estimate references a Ghost Controls board for a cross-compatible fix, ask why. Some substitutions are fine; some aren’t. We service all nine major brands, so we have no commercial reason to steer one repair toward a different brand.
- Confirm the entrapment test is included. Any mechanical repair should arrive with a stated force-test reading. If it’s not on the scope, add it.
- Confirm the warranty window in writing. A one-year window on the repair itself is our baseline (the 365-Day Done Right Promise). If a competitor is offering less, you’re paying for that gap later.
If the estimate itself is unclear, ask the technician to walk line-by-line through the testing that generated each item. That’s a normal request – a scoped estimate should answer it in under five minutes. If a company pushes back, that’s the answer.
Common Mistakes to Avoid
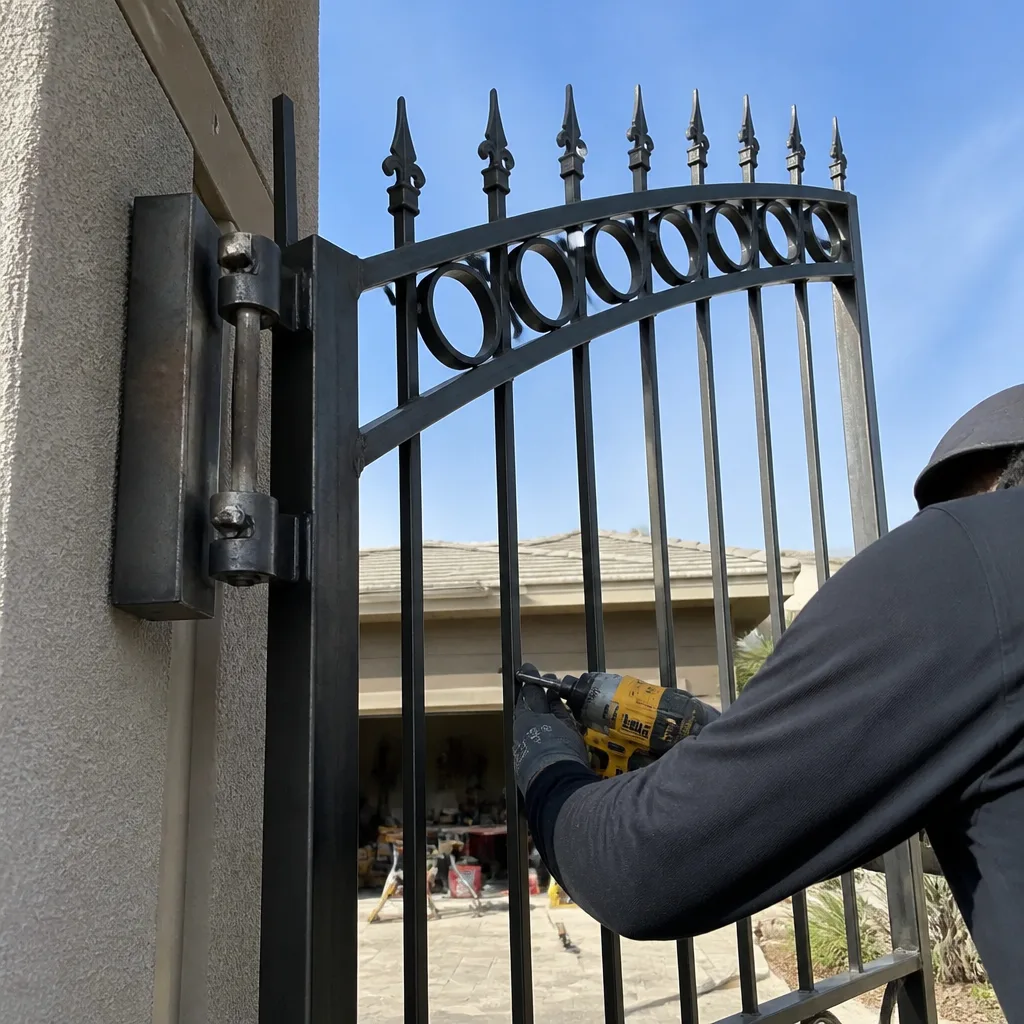
- Adjusting the limit switch on a 120V operator without realizing it. The housing looks identical to the 12V units until you open it. Nameplate first, tool second.
- Using WD-40 on the roller track. It’s a penetrating solvent, not a lubricant. In Summerlin’s dust it attracts grit and turns the rollers into grinding wheels within a season. Use silicone spray on the track instead.
- Skipping the entrapment test after a repair. A gate that “works” but reverses six inches late is a failing gate under UL 325. Test with a foam block, not by hand, at multiple points along the travel.
- Replacing a battery without matching the amperage. An undersized 12V battery will work for a few weeks, then the operator will fault in the afternoon heat. Match the amp-hour rating, not just the voltage.
- Adjusting force sensitivity to make the gate travel farther. Force setting isn’t a travel adjustment. Turning it up because the gate is tripping on obstruction is masking a real mechanical problem – usually a failing hinge or a slipping arm bracket.
- Tightening a photo-eye bracket without checking the beam alignment afterward. The bracket can look level and still push the beam off-target by an inch. Always run the gate through a full cycle after any bracket adjustment.
- Clearing a service record when moving or refinishing. If you sand, repaint, or powder-coat the gate, save the old photo log. Under the paint is still the same gate, and its maintenance record follows the hardware, not the finish.
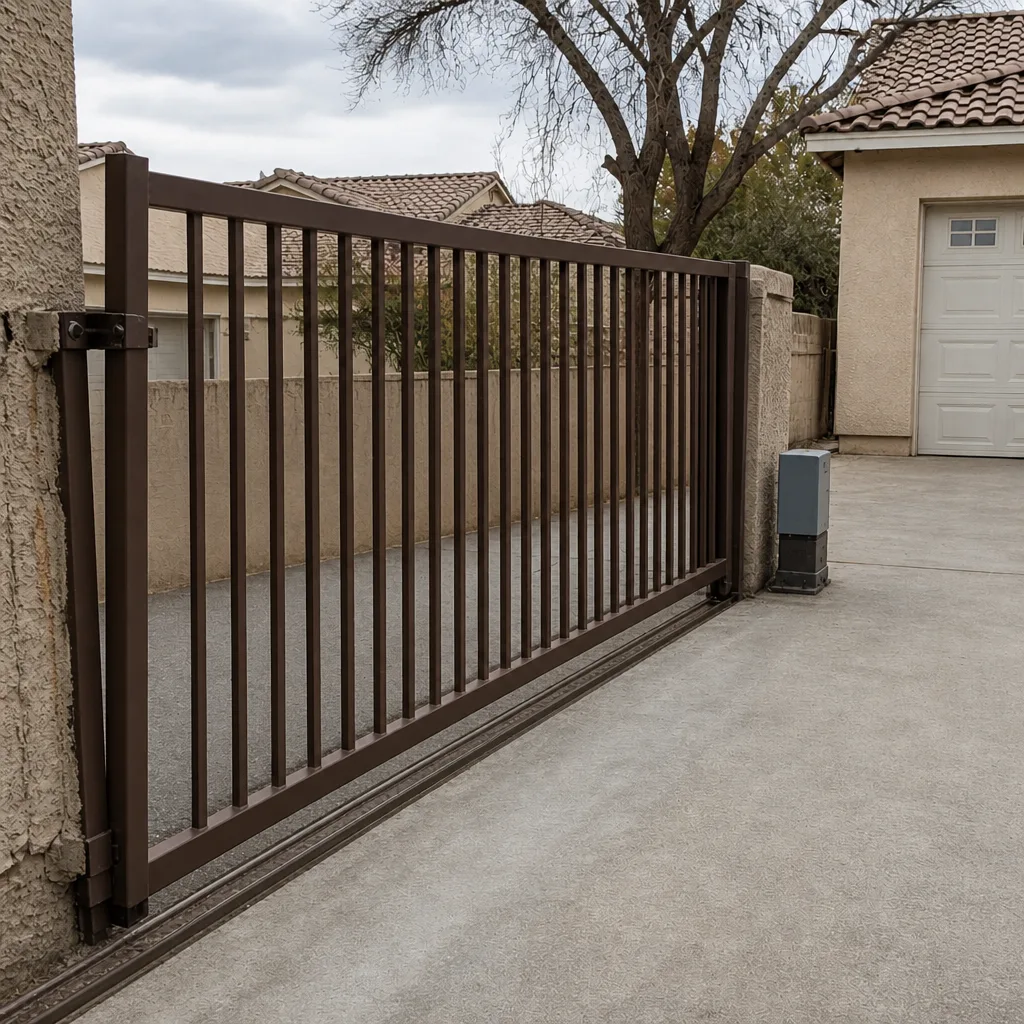
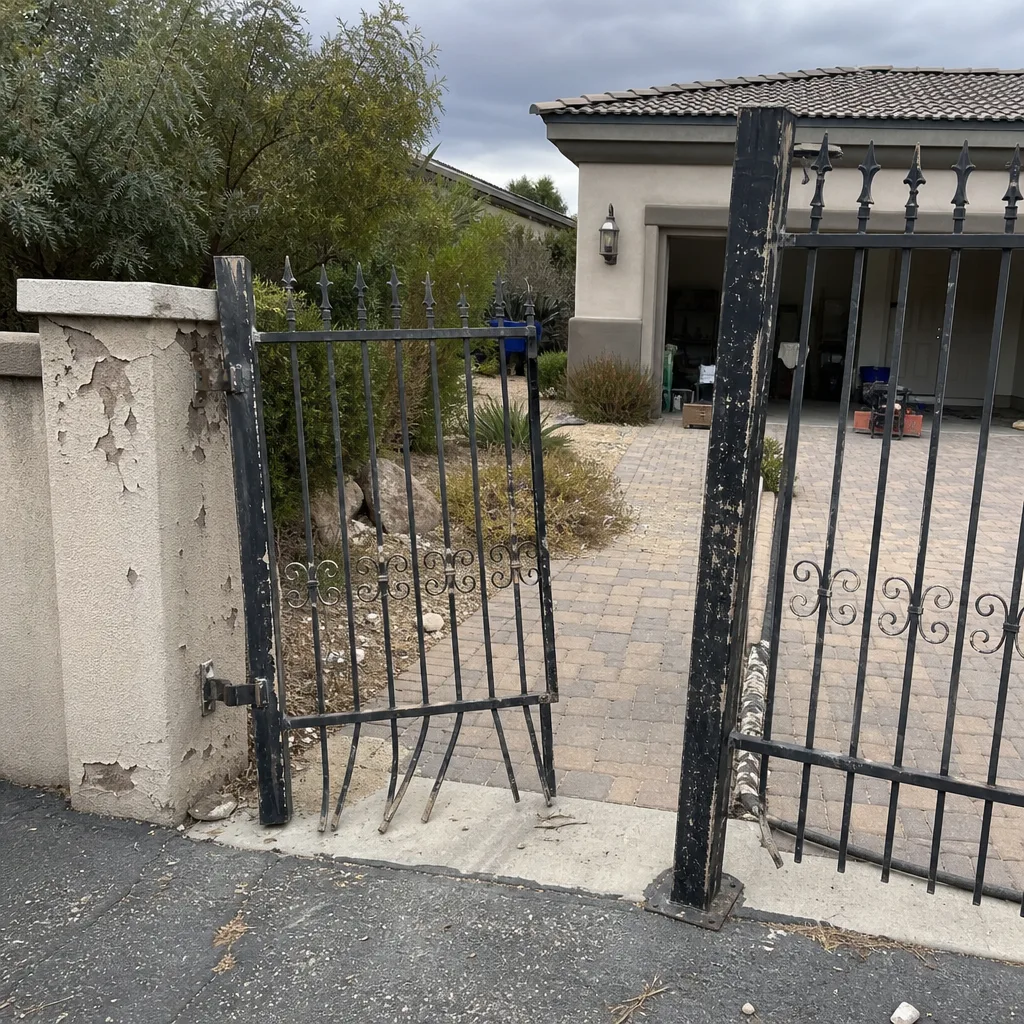
See the difference
BeforeAfter Before
 After
 Before
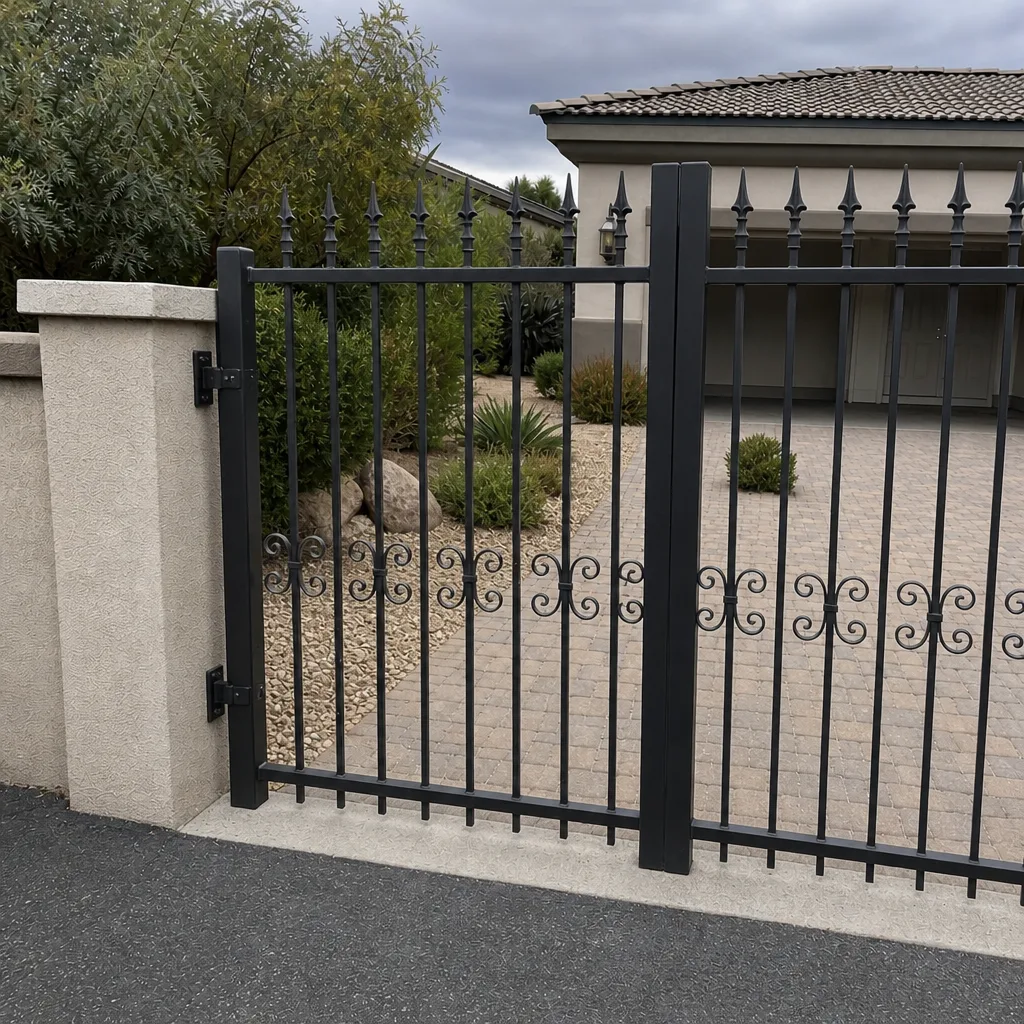 After
When to Call a Professional
Call a professional when the nameplate says line voltage, the gate weighs more than 400 lbs, the repair changes how the gate moves (springs, brackets, arm geometry), or the entrapment test fails after you’ve made a change. Call us specifically if the gate has been reversing late, has been tripping on a known-clear path, or if the operator will run once and then fault for reasons you can’t trace – those three symptoms point at settings we photograph and document on the way out, and they’re the ones homeowners most often mask by upping the force sensitivity. Vance Gate Repair Summerlin offers free estimates across Summerlin – call (844) 797-2809 for a written price before any work begins. If you have an estimate from another company, bring it and we’ll review it for free.
Frequently Asked Questions
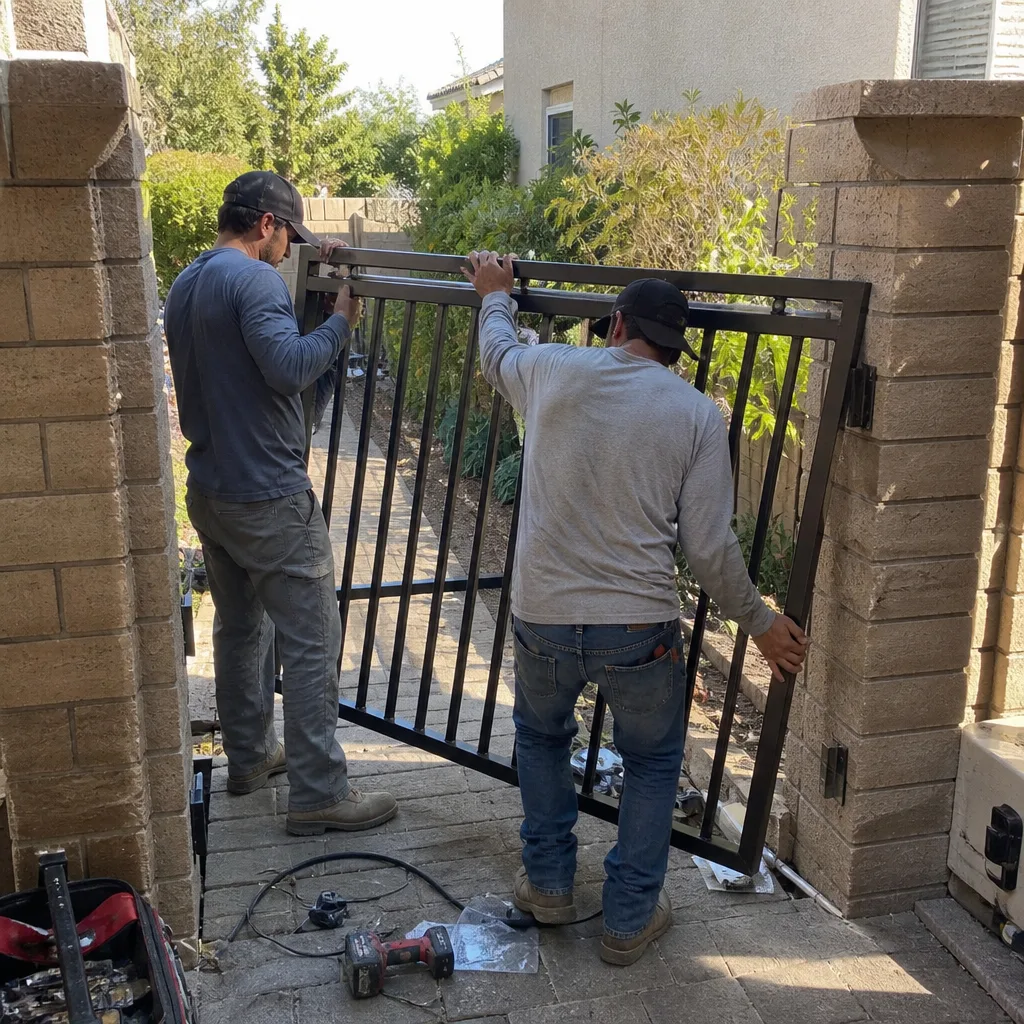
Yes if the operator nameplate reads 12V or 24V (battery-powered). No if it reads 120V or 230V, because opening the housing exposes line voltage. Confirm the nameplate and photograph the current cam position before you touch anything – that photo is your rollback.
Use a commercially sold gate-force test object (a stiff foam block) at mid-travel and near both ends of travel. Never use your hand. The gate should reverse on contact without significant deformation of the block. If it pushes the block, strains, or pauses, stop using the gate and call for service.
Nameplate photo, wiring photo, limit-switch cam position, dipswitch settings, and a short video of a full travel cycle. After a professional repair, add the technician’s written scope, the photo log (we leave one on every visit), and the entrapment-force reading. Keep them together in one folder per gate.
Usually yes for the vehicle damage, but the deductible is yours and the coverage conversation can be harder without a service record. Documented maintenance – dated photos and a professional record – supports your position. Missing records don’t prevent coverage, but they make any dispute harder to resolve cleanly.
Ask which specific test ruled out the part in question. A scoped estimate names the failed test (e.g., “output at terminal 7 low, board replaced”). If the scope can’t describe the test that led to a part swap, ask for it in writing. A short walk-through is a normal request – five minutes if the estimate is honest.
Photo-eye alignment itself is low voltage and usually fine for a homeowner even on a heavy gate – as long as the gate is not in motion. On a gate that heavy, always confirm the operator is off and the gate is secured before you stand in the travel path. For any repair that changes how the gate moves, treat it as professional.
We service nine major brands – LiftMaster, FAAC, BFT, Linear, Viking, Ghost Controls, DoorKing, Elite, and Mighty Mule – so we work with whatever operator is already on the property rather than steering a repair toward replacement. If it’s not on the list, call and we’ll confirm quickly.
The Bottom Line
The DIY-versus-professional line is drawn by voltage and load, not by how hard a repair feels. Low-voltage lubrication, photo-eye alignment, and – on 12V operators only – limit-switch adjustment are safe for a careful homeowner who photographs the current settings first. Anything at line voltage, anything above 400 lbs, anything involving springs or entrapment force, and anything that changes how the gate moves belongs with a trained technician. Whatever you touch, document it. The photos and the force-test readings are what protect you when the gate does something unexpected. Our team’s promise on every visit is the same: written price before work begins, a photo record left with you, and a 365-Day Done Right Promise behind the work. That continuity is the whole point of professional gate repair – and it’s what makes a Summerlin gate safer next year, not just today. For a broader starting point on the company and the trade, visit our Vance Gate Repair Summerlin home page.
Get Your Estimate
If your gate is at the line where DIY stops and professional repair starts – an AC operator, a heavy slide gate, anything spring- or force-related – call (844) 797-2809 for a free estimate. You’ll get a written price before any work begins, a documented photo record on every visit, and a technician who tests and records the entrapment setting before leaving the property. Estimates are free, and a second opinion on another company’s written quote is free too.
Written by the team at Vance Gate Repair Summerlin.