
Last updated November 17, 2026
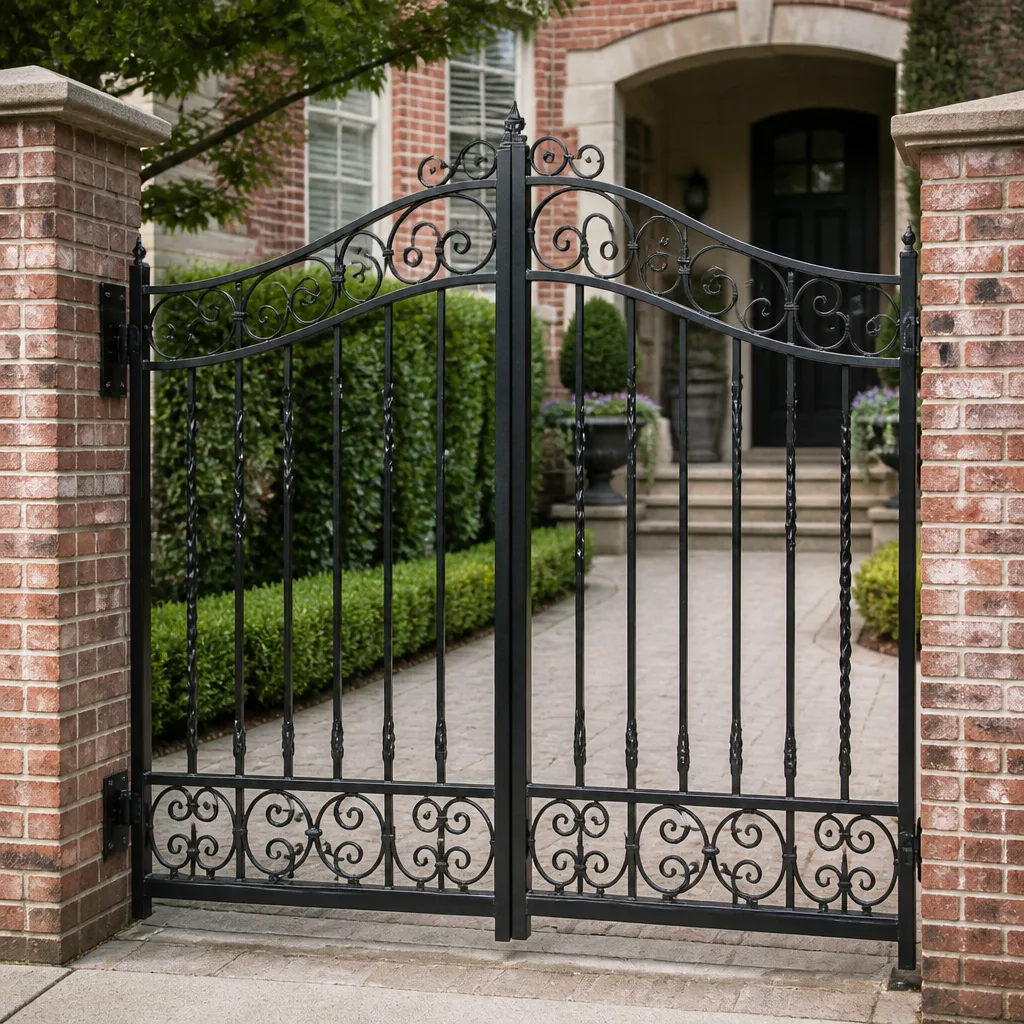 Wrought iron
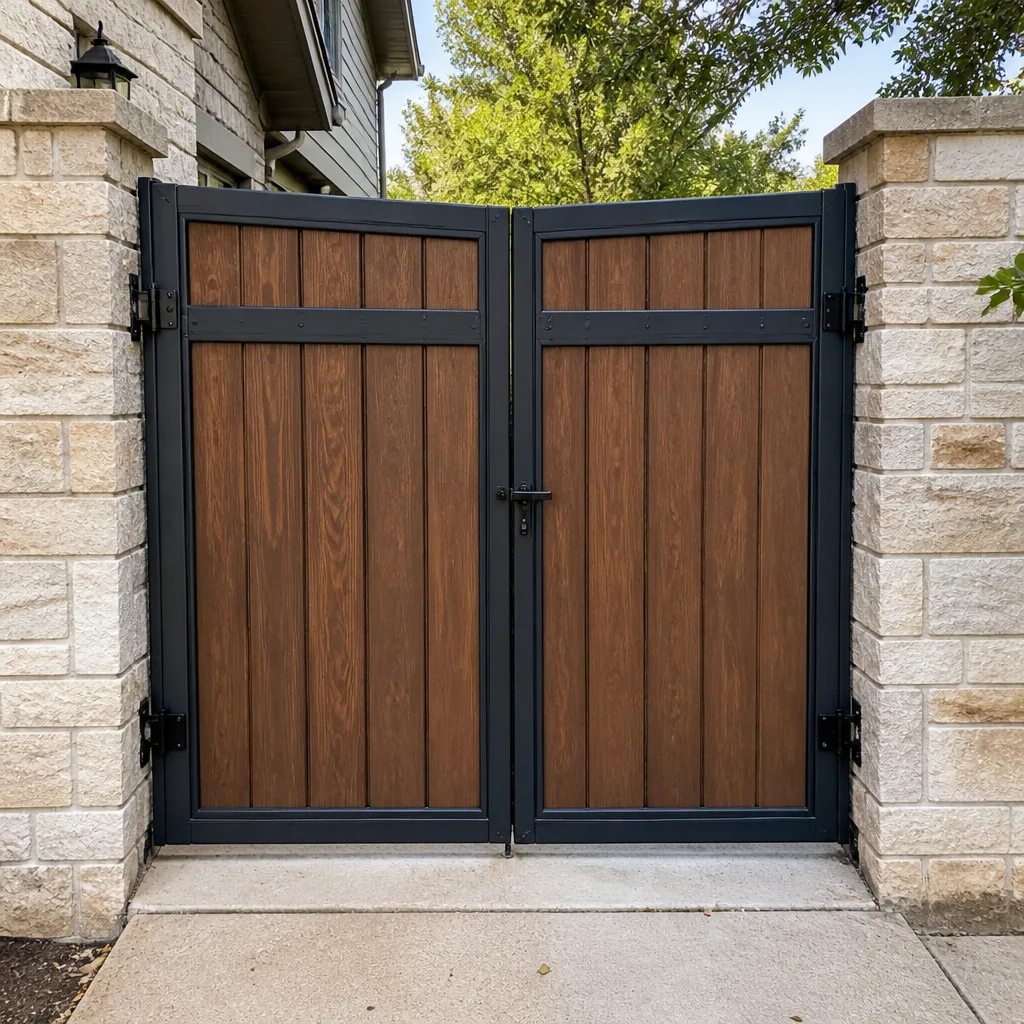 Wood & steel frame
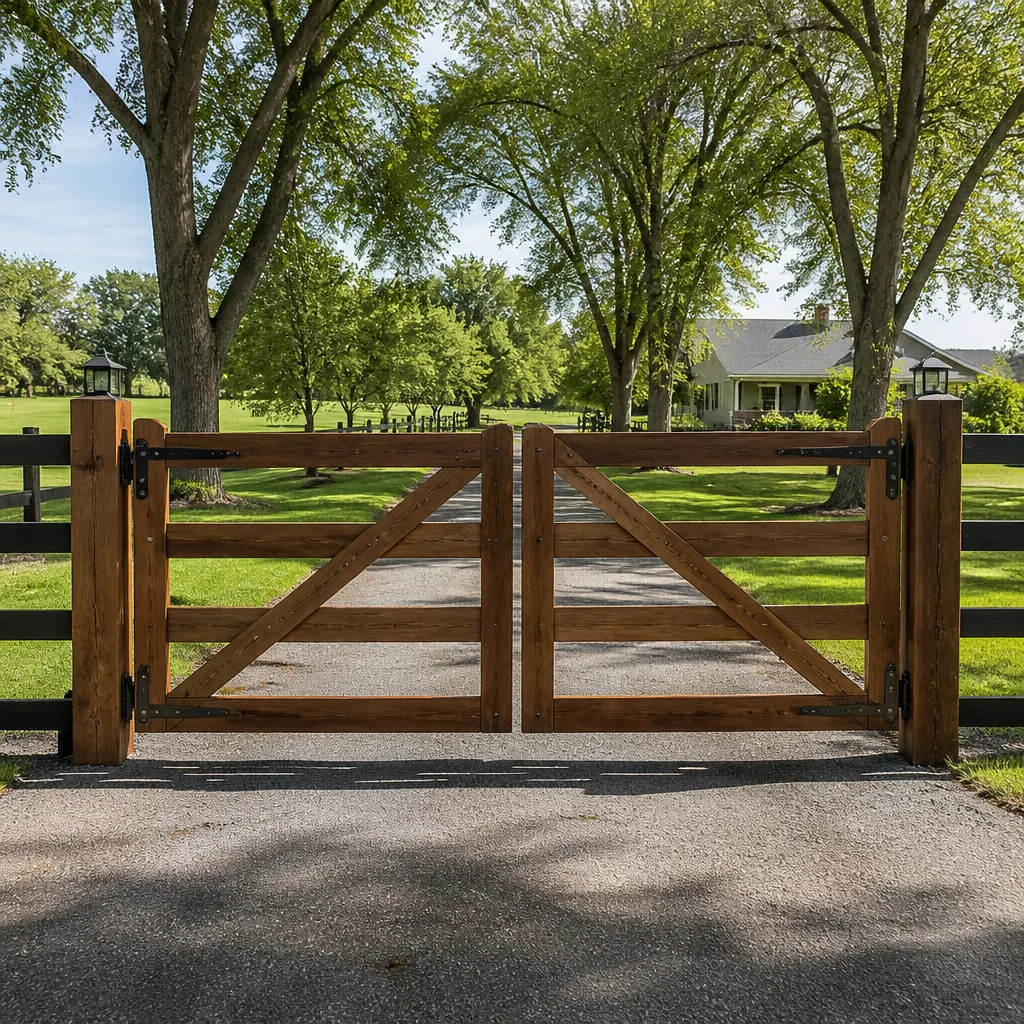 Farm & ranch
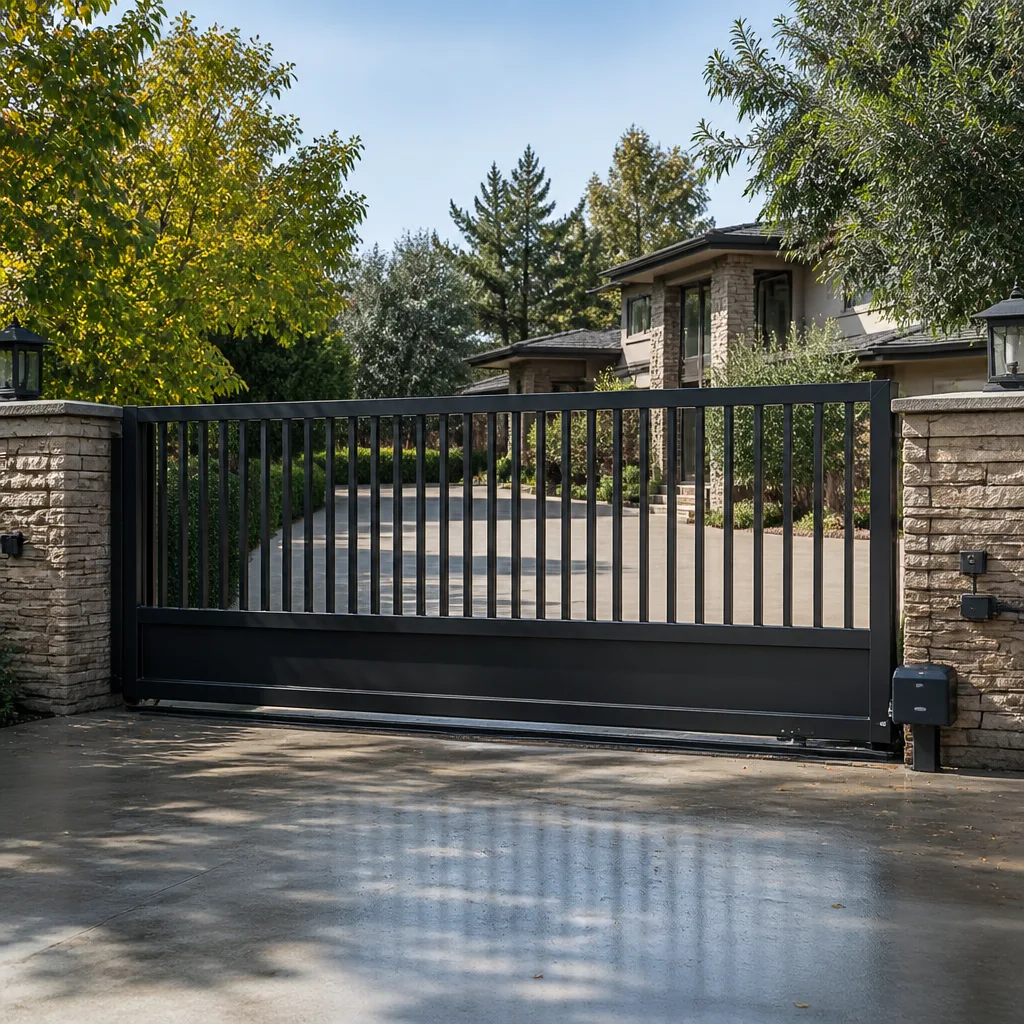 Sliding driveway gates
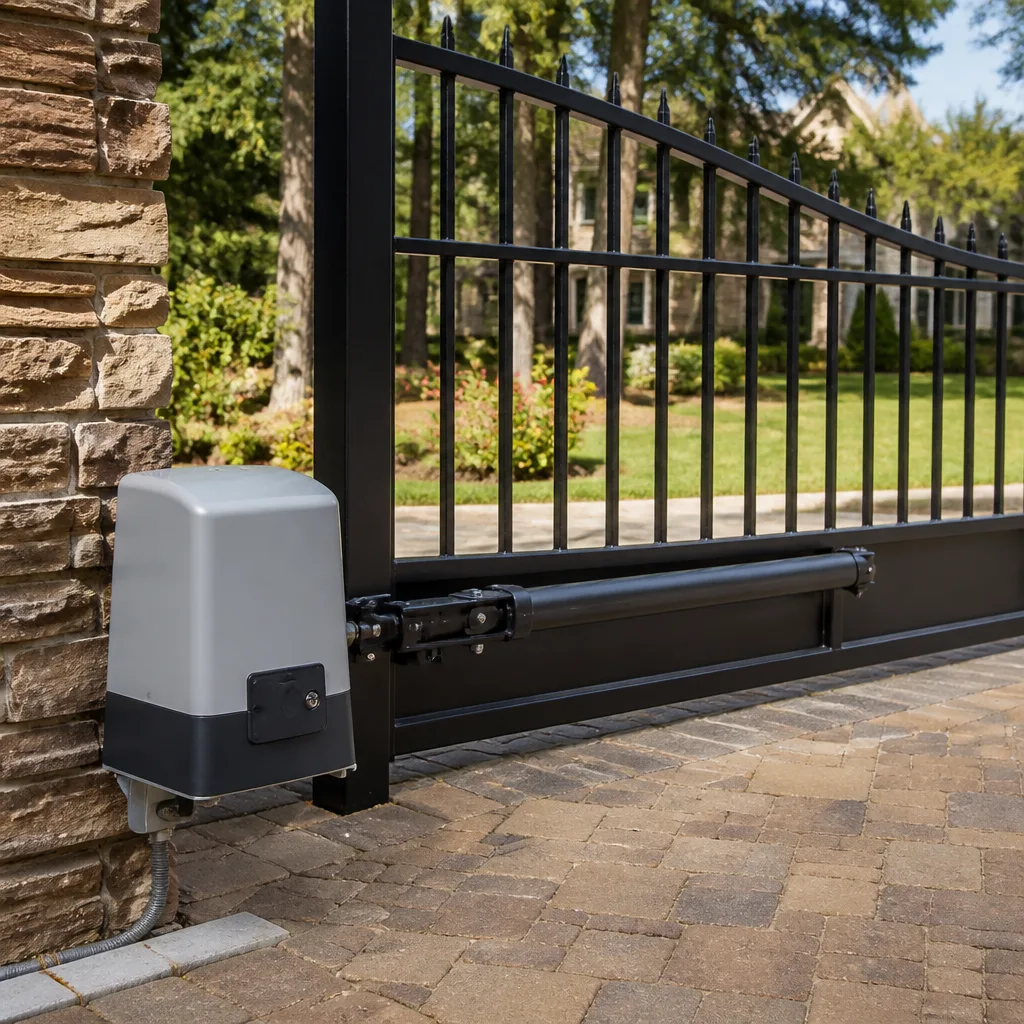 LiftMaster operators
Free on-site gate assessment - hinges, posts, and your LiftMaster or Nice gate operator checked before anything is quoted
The assessment is free and the quote is the invoice.
Get your free estimateGate Installation Troubleshooting: Common Problems and How to Fix Them
Here’s the number that should reframe how you read your new gate: most problems that show up in the first 90 days after an install aren’t the motor’s fault. They’re installation defects – a post that’s two degrees off plumb, a limit switch set from memory instead of measurement, a splice left open to the weather. And the difference matters, because it decides who pays to fix it. In Summerlin, where sun and wind load punish shortcuts fast, we see these calls weekly. This guide teaches you to read your gate’s early failures as quality-control data: what each symptom means, what to write down, and how to make an installer accountable without a fight.
Quick Answer
Problems in the first 90 days after a gate installation are usually installation defects – not product defects – and are typically the installer’s responsibility to correct at no charge. The most common are gates reversing on contact because the entrapment force was never calibrated, posts not plumb, inconsistent limit positions, and weather-exposed splices. Document each symptom in writing with dates, photos, and specifics, and check the original scope to see what was promised.
Styles & brands we work with
- Wrought iron
- Wood & steel frame
- Farm & ranch
- Sliding driveway gates
- LiftMaster operators
Table of Contents
- Why Do New Gates Reverse Unexpectedly?
- How Do You Tell an Installation Defect From a Product Failure?
- Mechanical Failures: Sagging, Binding, and Out-of-Plumb Posts
- Electrical Failures: Intermittent Operation and Short Remote Range
- Programming Failures: Limits, Travel, and Entrapment Force
- What the Installation Scope Should Have Specified
- How to Document a New-Install Problem in Writing
- How to Escalate When the Installer Blames ‘Settling’
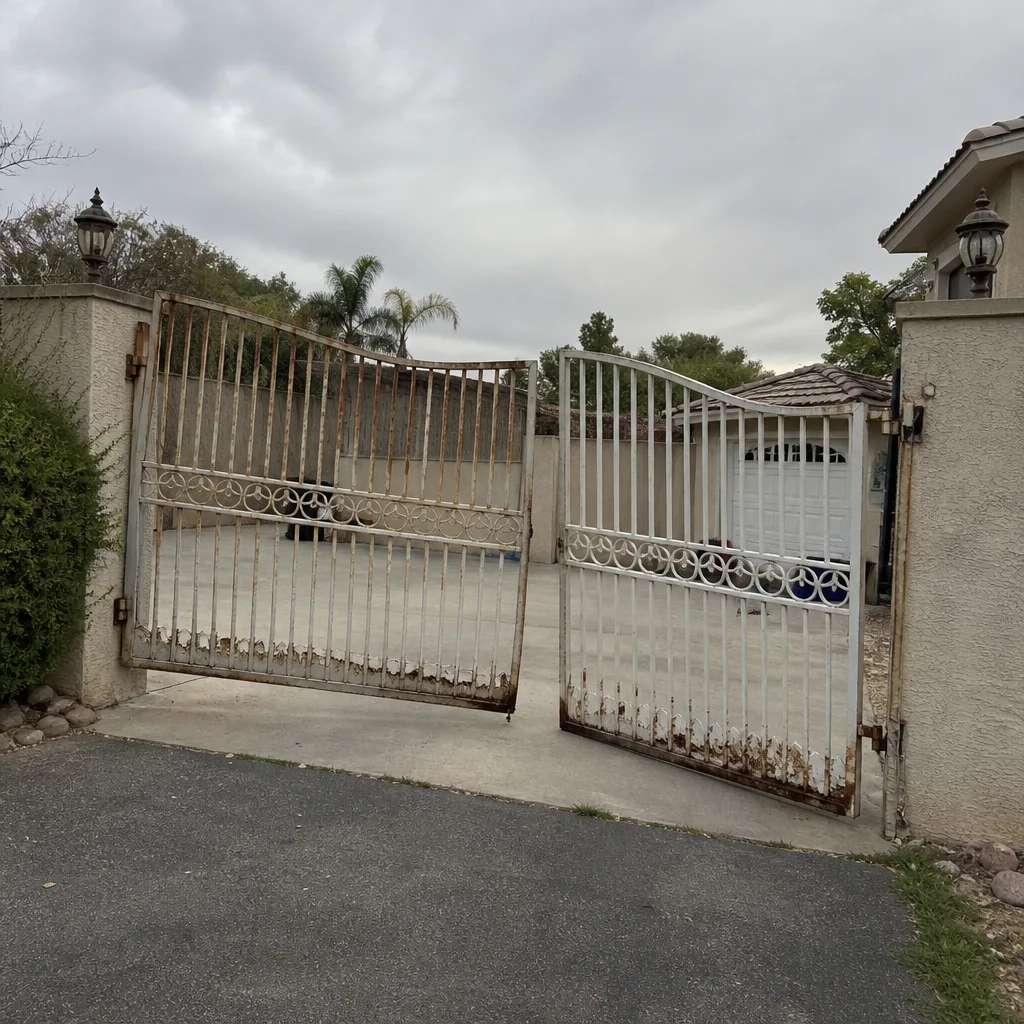 Before
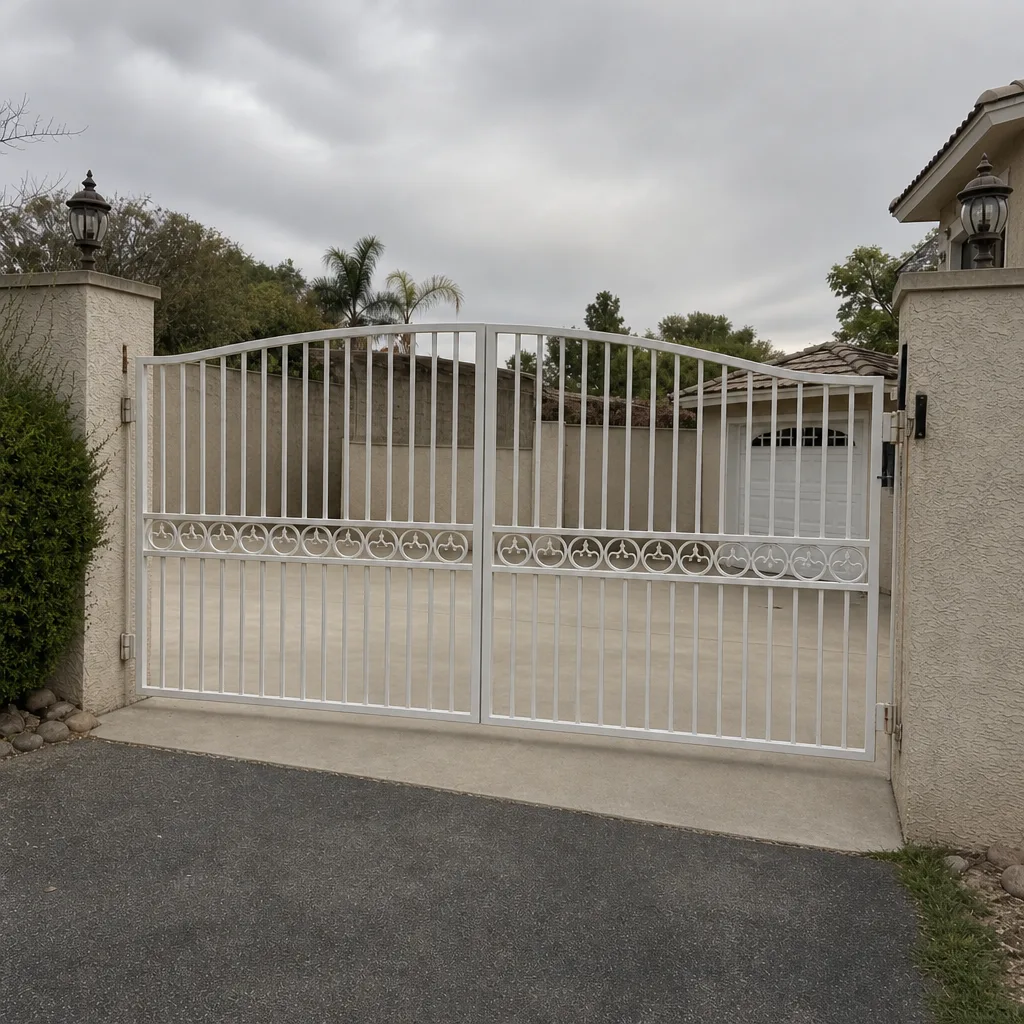 After
Why Do New Gates Reverse Unexpectedly?
If a newly installed gate reverses on contact within the first week, the most likely cause is an entrapment force setting that was never calibrated to the gate’s actual weight. Every automatic operator has a force or obstruction-sensing threshold – the resistance the gate can meet before it stops and reverses. It’s adjustable, and it’s supposed to be set against the real weight of your leaf, not a factory default. On a rushed install, that step takes 20 minutes and often gets skipped. The result is a gate that either reverses on a gust of wind (set too light) or keeps pushing against a child’s toy (set too heavy). Both are safety problems, and both get blamed on the motor when they should be blamed on the setup.
This is the single most common thing we correct on new Summerlin gates. Summerlin’s afternoon winds push a lightweight ornamental leaf in ways a bench-tested operator doesn’t anticipate, so a force setting calibrated on a calm morning can misfire by the first windy afternoon. When we test an entrapment setting, we test it in the wind and with the gate warmed by direct sun, not just once on the driveway.
Two other causes hide behind “it reverses randomly”: a photo-eye (the infrared beam that stops the gate if something crosses its path) knocked out of alignment, and a limit switch set a few degrees off the travel. If the gate reverses at exactly the same spot every time, suspect the limit. If it’s random, suspect force or the photo-eye. In Summerlin, blowing dust and fine sand gather on photo-eye lenses within weeks of an install, so a lens wipe is the first thing we check before anything else.
How Do You Tell an Installation Defect From a Product Failure?
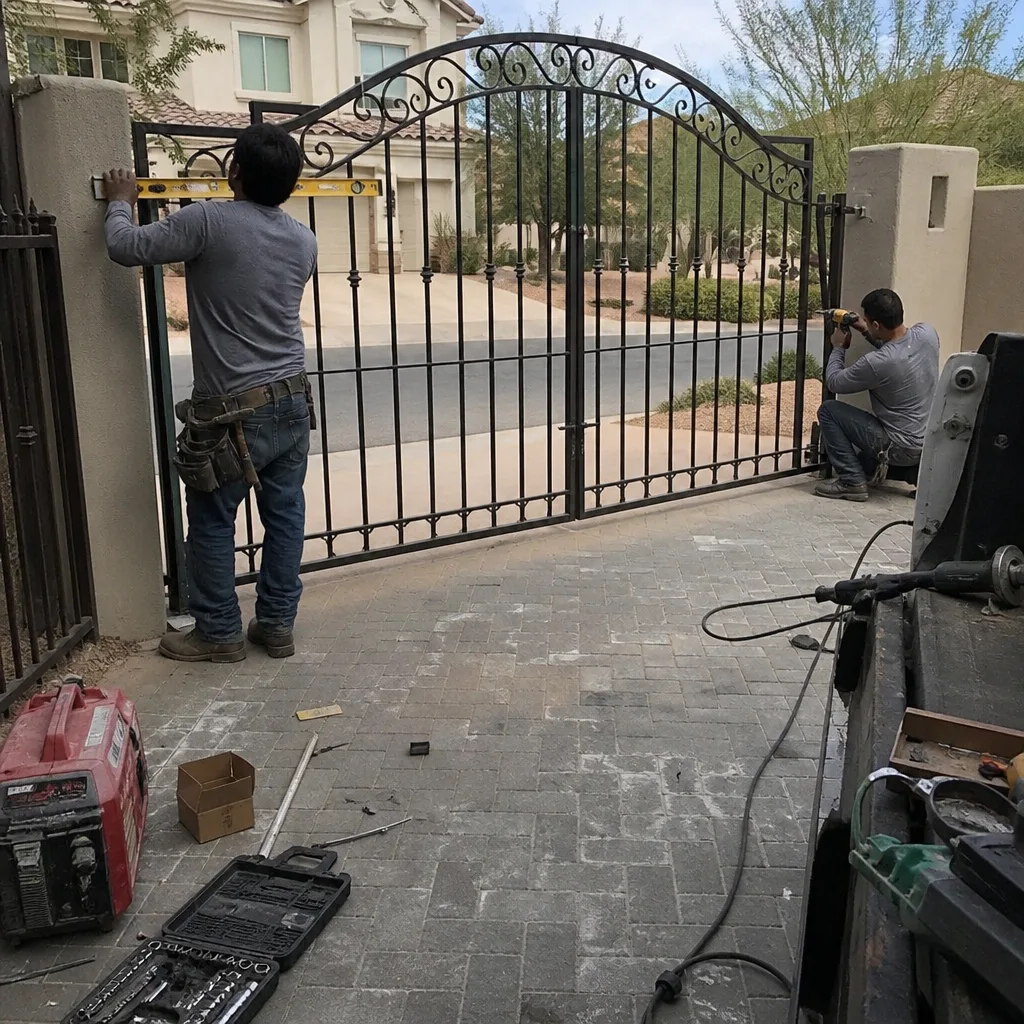
Most early failures are installation defects. But “most” isn’t “all,” and you need a way to sort them, because an installation defect is the installer’s responsibility and a product failure runs through the manufacturer’s warranty. The dividing line is usually whether the problem is consistent with the gate’s physical setup or consistent with the electronics alone. Here’s how we categorize them on a diagnostic visit:
- Installation defect (installer’s responsibility): Gate not plumb or level; inconsistent limit positions that drift; wire splices exposed to weather or sunlight; entrapment force never calibrated; remote range below spec because the receiver was mounted inside a metal box or at the far end of an underwired run.
- Product failure (manufacturer’s warranty): Control board fault visible on the operator’s own diagnostic LEDs with no external cause; a brand-new operator that won’t power on when bench-tested; a motor that draws current out of spec on a free-running gate.
Notice that almost everything you can see or measure at the gate itself points to installation. Product failures tend to live inside the electronics and reveal themselves through the operator’s own error codes. When we open a warranty claim file, that distinction is the first page: what we found, what we measured, and what it points to. On a brand like FAAC or BFT, the operator’s diagnostic readout usually makes the line unmistakable within a few minutes.
Mechanical Failures: Sagging, Binding, and Out-of-Plumb Posts
A gate that sags at the hinge or drags on the ground in the first month rarely has a hinge problem. It usually has a post problem. Concrete footings in our desert soils need the right depth and the right drainage around them, and a post set too shallow or set into soil that hasn’t been compacted will move – not dramatically, but enough to take the gate out of plumb by a degree or two. That’s all it takes to make a self-closing gate want to swing open, and to throw off every limit position the installer set.
Mechanical failures to watch for:
- Sagging at the hinge: The gate drops as it swings. Check whether the post has moved or the hinge plate has loosened. A gate that sags within 90 days points to footing or fastener work, not the hinge itself.
- Binding mid-travel: The gate catches partway through its arc. Often a track or roller that was aligned to a post that has since shifted.
- A post out of plumb: Hold a level to the post on two faces. A post off by more than about an eighth of an inch over its height will eventually fight the operator. This is the foundation of most “the gate won’t stay closed” complaints.
- Ground contact: The gate scrapes at the bottom. In Summerlin’s heat, fence and gate materials expand through the day, so a gate set flush to the ground on a cool morning can drag by afternoon.
When the footing is the cause, adjusting the gate won’t fix it – the post has to be reset or the gate rehung to the new plane. That’s a repair, and under a properly written scope it should be covered.
Electrical Failures: Intermittent Operation and Short Remote Range
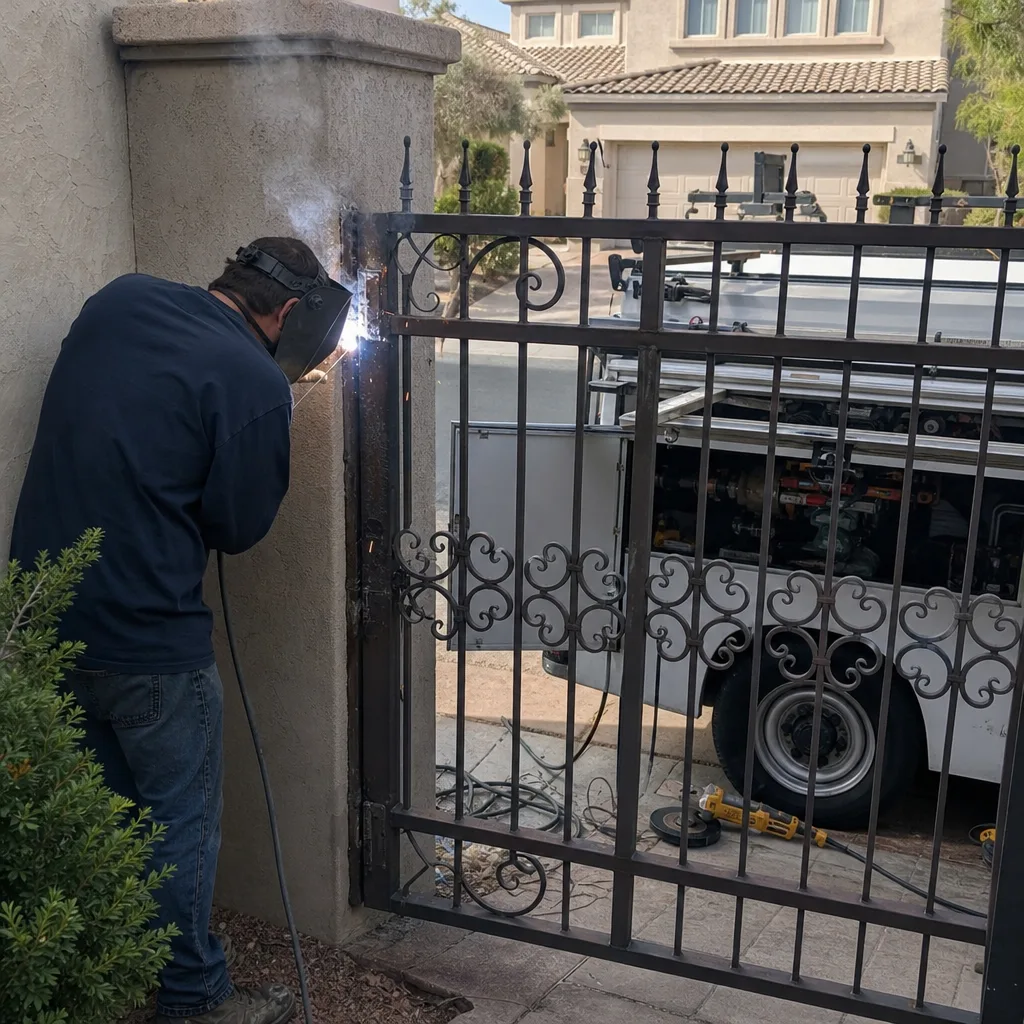
Intermittent operation and short remote range are almost always installation issues, not a bad operator. If a FAAC or LiftMaster operator works on Tuesday and not Thursday, the fault is usually a connection, not a component. The operator’s behavior is only as reliable as the wire feeding it. In our experience, here are the three electrical failures that show up in a new install’s first months:
- An open splice or loose connection exposed to weather. Any splice left in the open – even one wrapped in tape – eventually fails when moisture and summer heat work on it. The fix is a proper weatherproof enclosure or a junction box, not more tape. A loose terminal screw at the operator is the most common single cause of intermittent operation.
- Undersized or overlong wire runs. Low-voltage control wire runs that are too long for their gauge drop voltage, so the operator gets a weak signal and the remote range shrinks. The remote should work from a reasonable distance; if it only works up close, suspect the wiring run before you suspect the remote.
- A receiver mounted in the wrong place. The remote receiver needs line of sight and needs to live away from metal. Mounted inside a metal post or behind a metal gate leaf, it will struggle. That’s a placement decision made at install time.
Low-voltage wiring is unforgiving in our climate. Summerlin’s summer heat makes outdoor connections brittle faster than you’d expect, and the dry winters let dust into anything not sealed. When we service a gate, we photograph every splice and enclosure we touch, so the record shows it was sealed to spec when we left.
Programming Failures: Limits, Travel, and Entrapment Force
Programming is where installation shortcuts cost the most, because the symptoms look like motor faults when they’re really settings. Here’s how we recommend checking each one, without putting your hands near moving parts:
- Limit positions: Watch the gate open and close fully. If it stops short, or rams the stop post, the limits are off. A consistent drift over a week points to mechanical movement (see the plumb section), while a consistent fixed error points to a programming step that was never finished.
- Entrapment force: This needs a trained hand and the manufacturer’s test procedure. Operators like LiftMaster and FAAC have a specific obstruction test: the gate should reverse when it meets resistance below a set threshold. This isn’t something to adjust by feel. Get it calibrated against the actual gate weight and re-tested in wind.
- Photo-eye and safety edges: Break the beam with your hand while the gate closes. If it doesn’t reverse, stop and call a professional before you use the gate. This is a life-safety function.
- Remote and keypad pairing: If a second remote or keypad mysteriously “unpairs,” suspect a receiver memory issue or a wiring problem, not the remote.
Here’s the safety caveat that matters more than any setting: gate operators store mechanical energy. Springs, moving arms, and the operator itself can cause serious injury. We don’t hand step-by-step instructions for adjusting force or limits to homeowners, and you should be wary of anyone who does. The safe move is to have the setting measured and recorded, not guessed at.
What the Installation Scope Should Have Specified
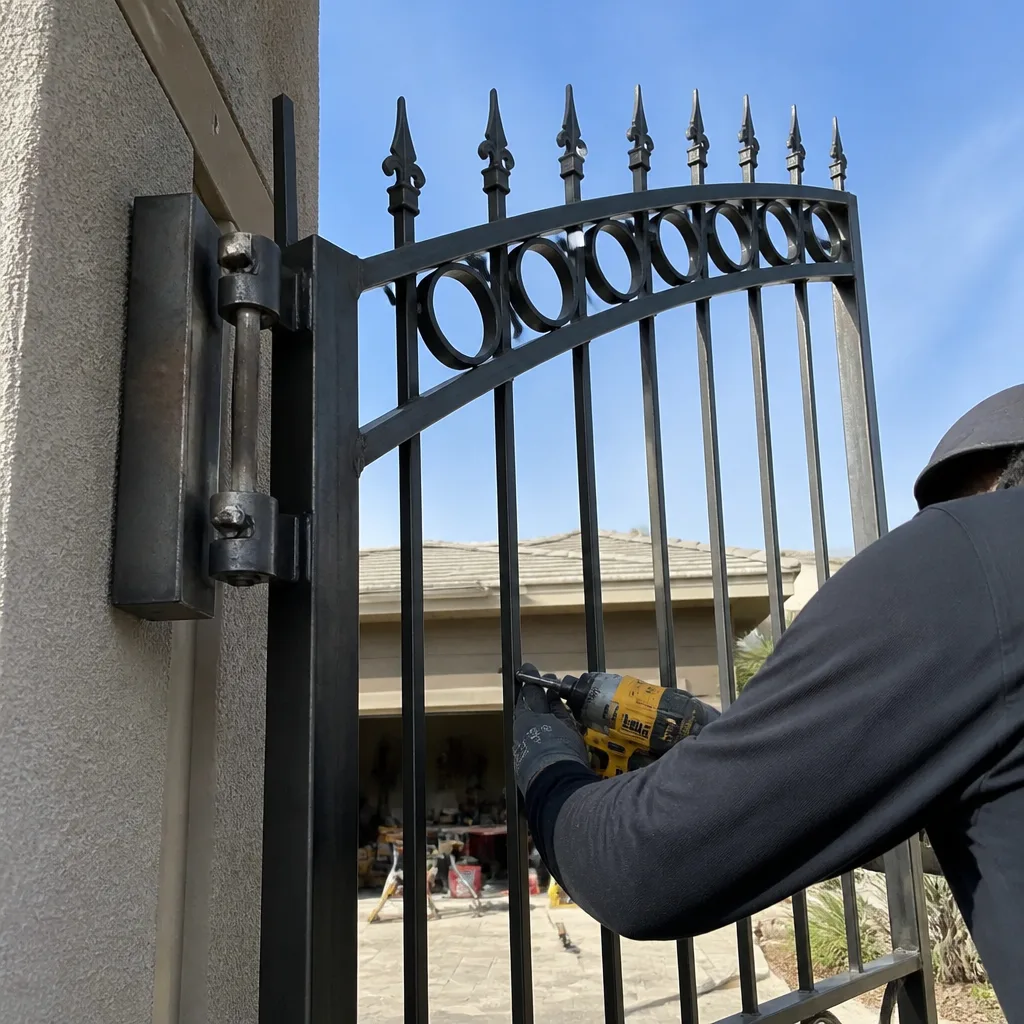
The written installation scope is your best defect-audit tool. A scope that names specifics in writing turns a vague “we’ll take care of it” into an accountable list. When we write a scope, these are the items that prevent the most common failures – and if you’re holding another company’s paperwork, read it against this list:
- Post depth and footing spec: Named depth, concrete mix, and drainage. Prevents settling and out-of-plumb posts.
- Plumb and level tolerance: A stated maximum, checked with a level and documented. Prevents binding and limit drift.
- Entrapment force calibration: Named as a completed step with the setting recorded. Prevents reversing and warranty disputes. This is the calibration step that gets skipped on rushed installs.
- Wiring method: Gauge, burial depth or conduit, and sealing of every splice and enclosure. Prevents intermittent operation.
- Photo-eye and safety edge test: Written into the scope as a verifiable step. This is non-negotiable on any automatic gate.
- A photo record on delivery: Photos of the finished install, the settings, and the wiring, left with you. This is the record a future technician works from instead of guessing.
If your scope said “gate installed” and nothing else, you have no audit trail and no way to hold anyone to a spec. That’s why we write the full scope and leave the documented record – under Clause 4 (Evidence on every job), every visit includes a photographed record at no extra charge. You can see how we handle the equivalent standard in our Gate Installation in Summerlin work.
How to Document a New-Install Problem in Writing
A vague complaint gets a vague response. A specific one gets an accountable one. When you write to your installer, include these elements so the record leads to a fix rather than a back-and-forth:
- The date and time of each occurrence. “Gate reversed on closing at 7:40 am on [date]” beats “the gate acts up.”
- What you did and what happened. “Opened from the keypad; gate reversed once at the halfway point.” Note whether the gate was moving or stopped.
- Photos and video. A 10-second clip showing the fault is worth more than a paragraph. Photograph the gate at the spot where it fails, and the post if it looks off.
- What you’ve already checked. Any lights, error codes, and whether it’s consistent or random. Don’t touch the force or limit settings yourself – just note what you observed.
- The scope reference. Quote the line in the written scope the fault contradicts. “Your scope specified plumb within X and the post is off by Y” is a specific claim.
- What you’re asking for. “Please diagnose and correct at no charge under the installation warranty.”
This is the same documentation discipline we build into every job. When you get a written scope plus a photo record, the two documents together settle most disputes before they start. That’s the whole point of the Vance Gate Repair Summerlin home standard – name the price before work starts, and leave the evidence when the work is done.
How to Escalate When the Installer Blames ‘Settling’
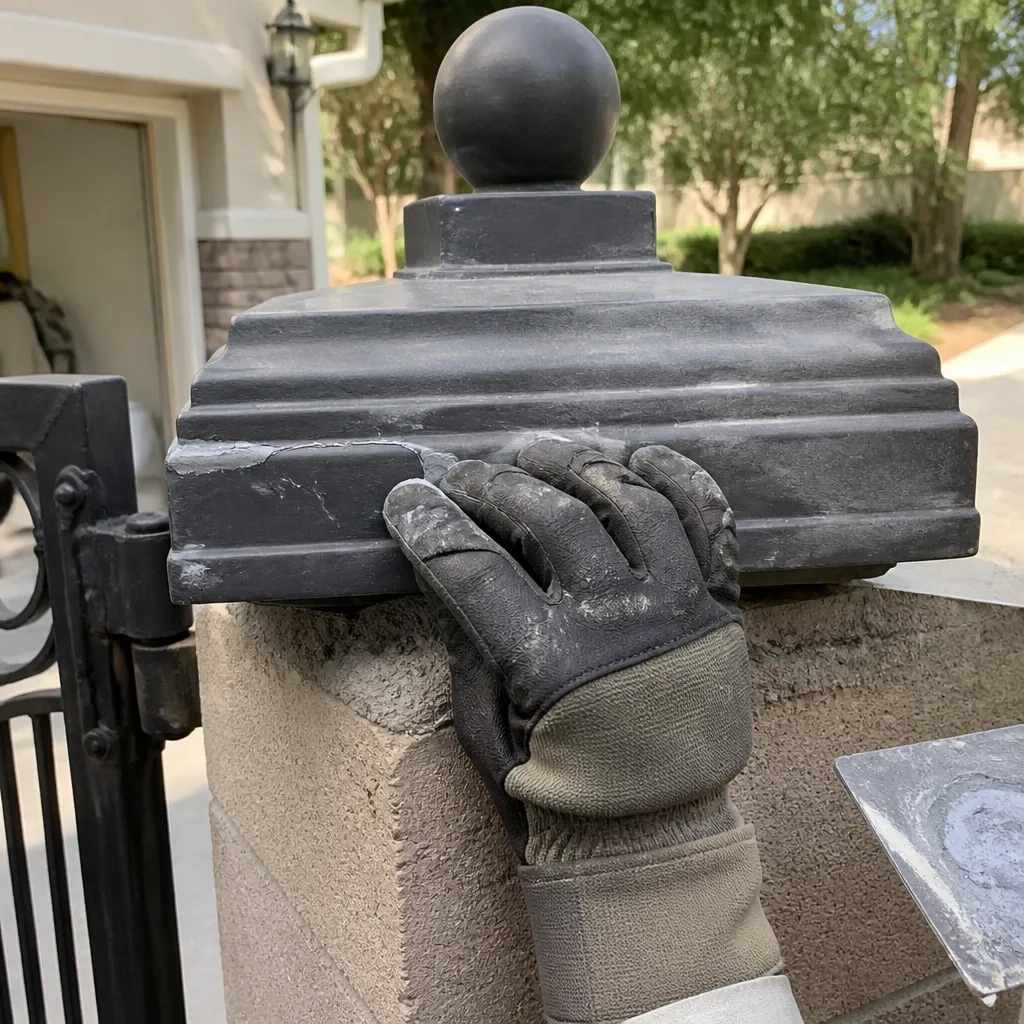
“It’s just normal settling” and “that’s a product issue” are the two phrases that end most warranty discussions without a fix. Both can be legitimate – but they have to be proven, not asserted. When you get either answer, ask for a neutral diagnostic report. Here’s what one should contain:
- The measurement, not the opinion: Plumb readings on the gate and posts, with what level or tool produced them.
- The settings, recorded: Entrapment force and limit positions, written down, so a second opinion can check them against the manufacturer’s spec.
- The fault, reproduced: A description of when the failure occurs and whether it’s consistent or random – the same observation you already sent in writing.
- The category call: Whether the evidence points to installation or product, and the reasoning. If it’s a control board fault, name the error code the board displayed.
- The next step and the price: What will be done, and what it will cost, in writing, before any tool is picked up.
A diagnostic report is what turns “settling” from an excuse into a testable claim. If the installer won’t produce one, a second opinion does the job. We offer a free second opinion on any written estimate from another company – bring the paperwork and we’ll review it at no cost. If the contractor’s report and yours disagree, the neutral measurements settle it. You can start that process by calling us, and for context on how we handle the underlying repair work, see Gate Repair in Summerlin.
Common Mistakes to Avoid
- Accepting a verbal scope. “We’ll take care of it” gives you nothing to point at when the gate reverses in week two. Get the post depth, plumb tolerance, and force calibration in writing.
- Touching the force or limit settings yourself. You can shift a safety setting in seconds and reset it wrong. This isn’t a DIY adjustment; it’s the one to leave to a trained hand.
- Letting the installer blame “settling” without a measurement. Settling has a number. Ask for the plumb reading and the location and the fix.
- Skipping the photo record. If no photo of the finished install exists, every later fault becomes your word against theirs.
- Assuming a reversing gate is a bad motor. In most of the Summerlin jobs we see, a new gate that reverses is a calibration that was never done, not a failed unit.
- Paying a second technician to rediscover the same problem. A documented record – settings and photos – means the next technician starts from evidence, not zero.
See the difference
BeforeAfter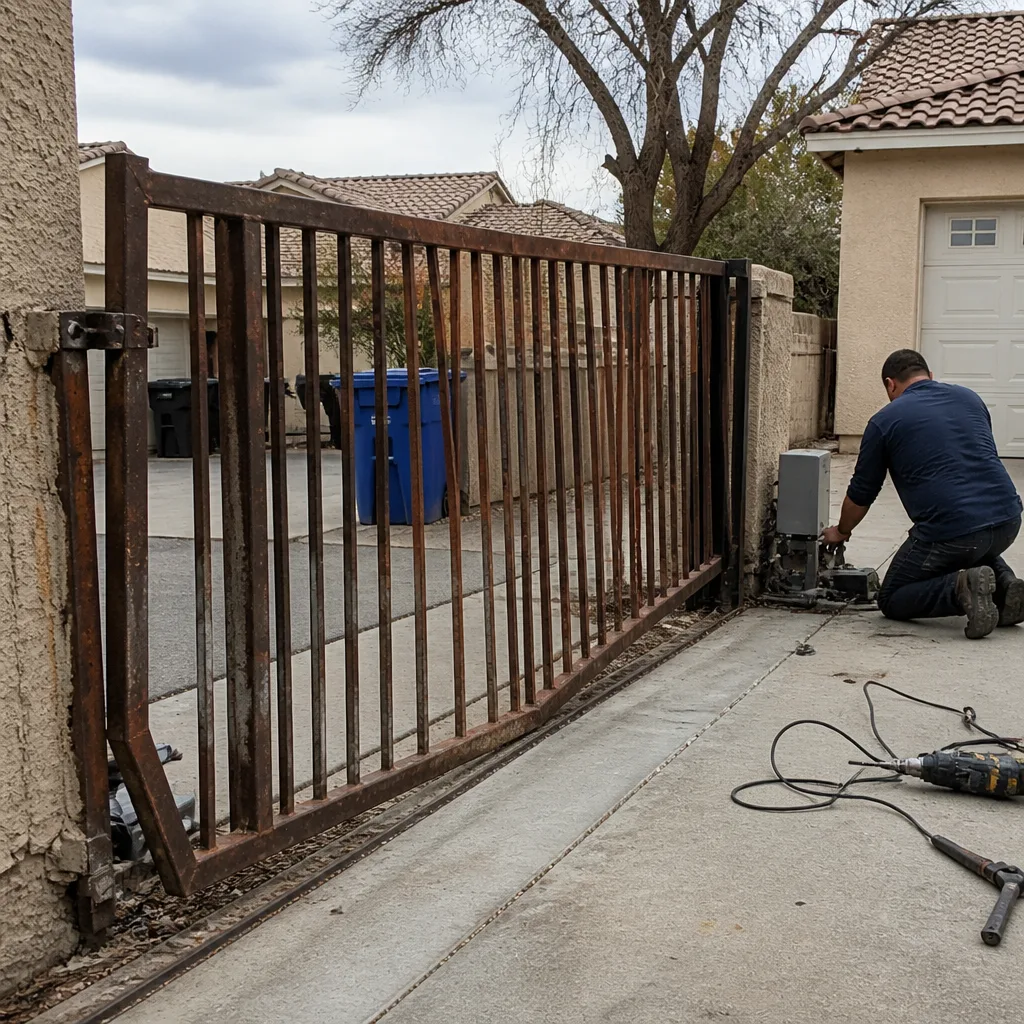 Before
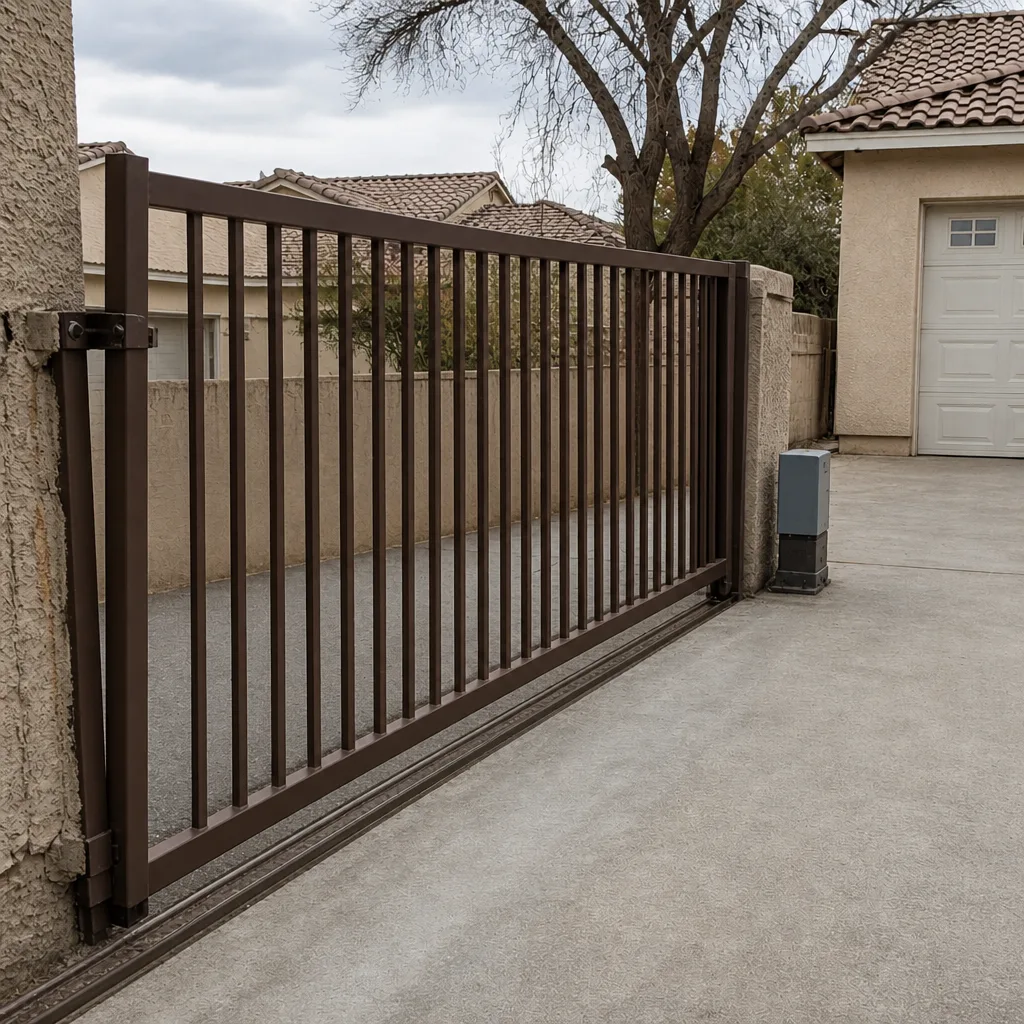 After
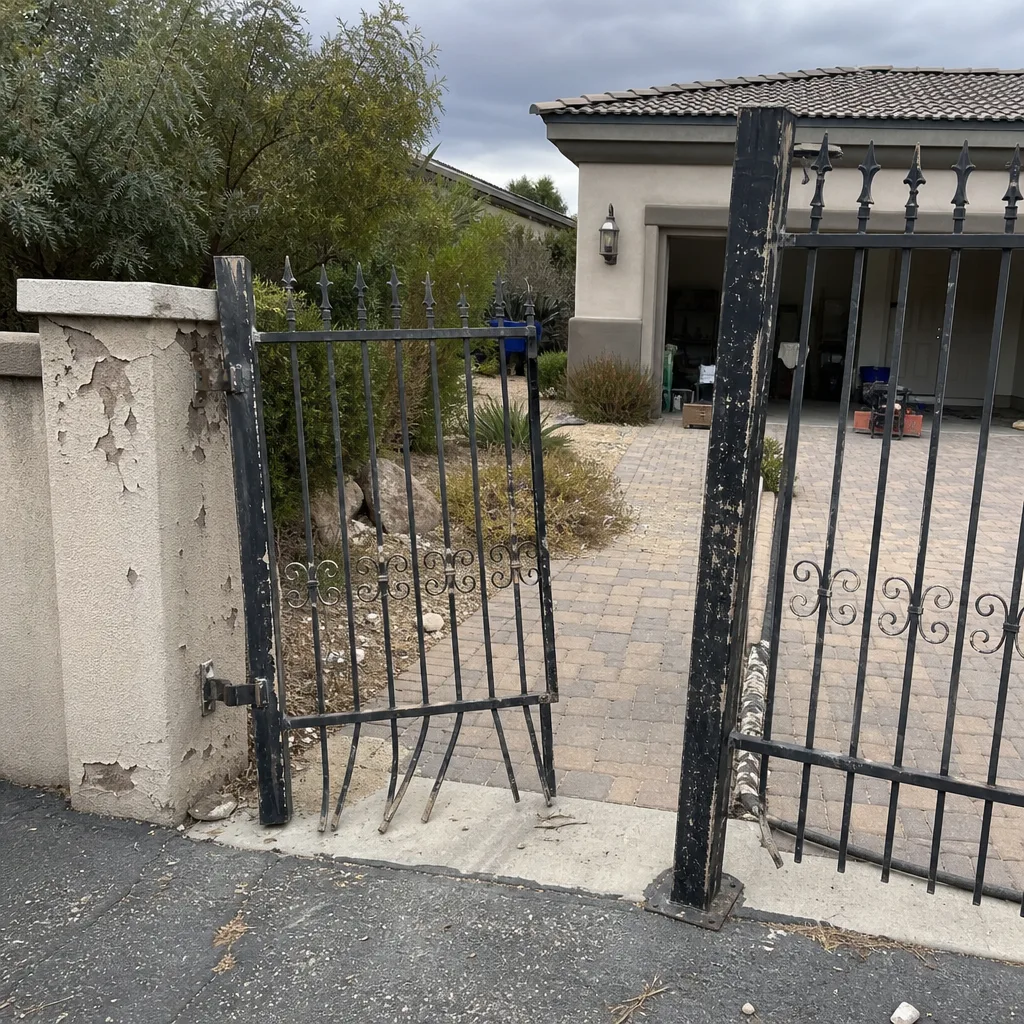 Before
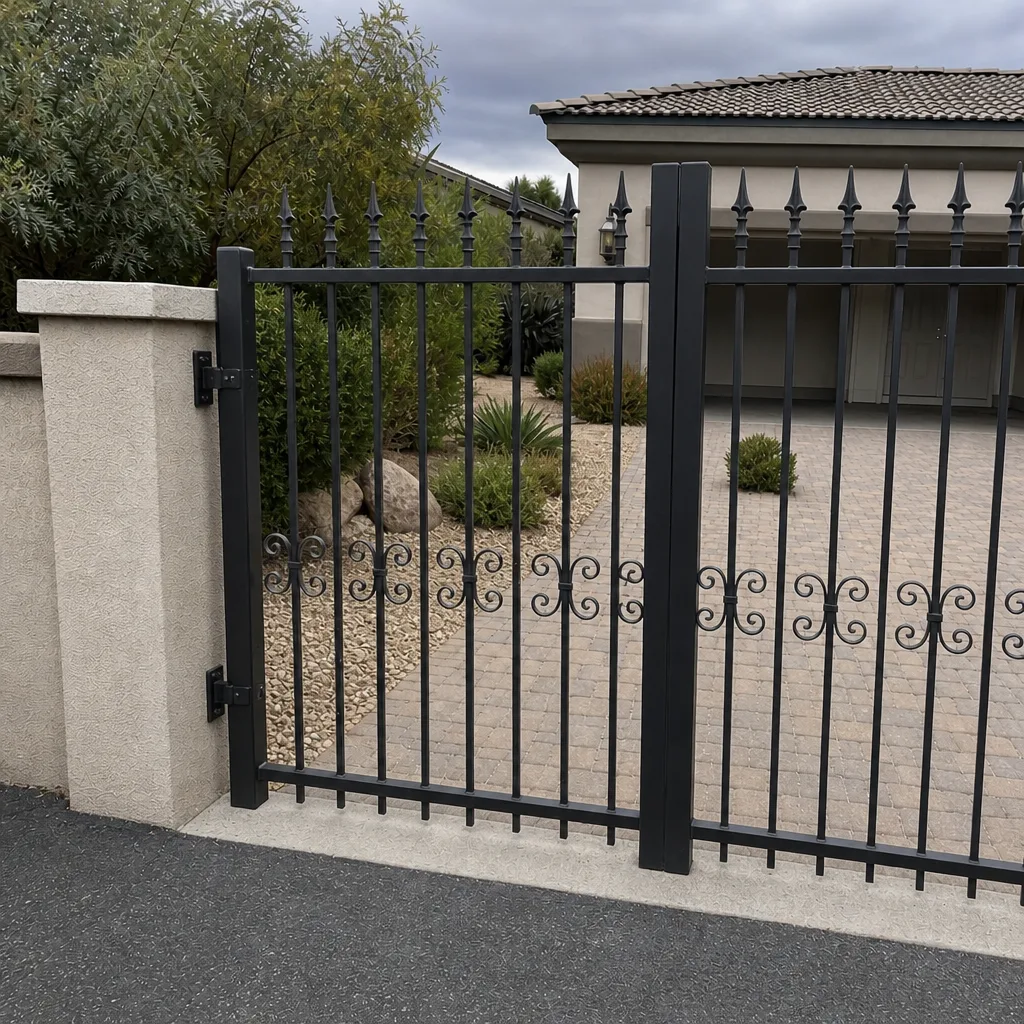 After
When to Call a Professional
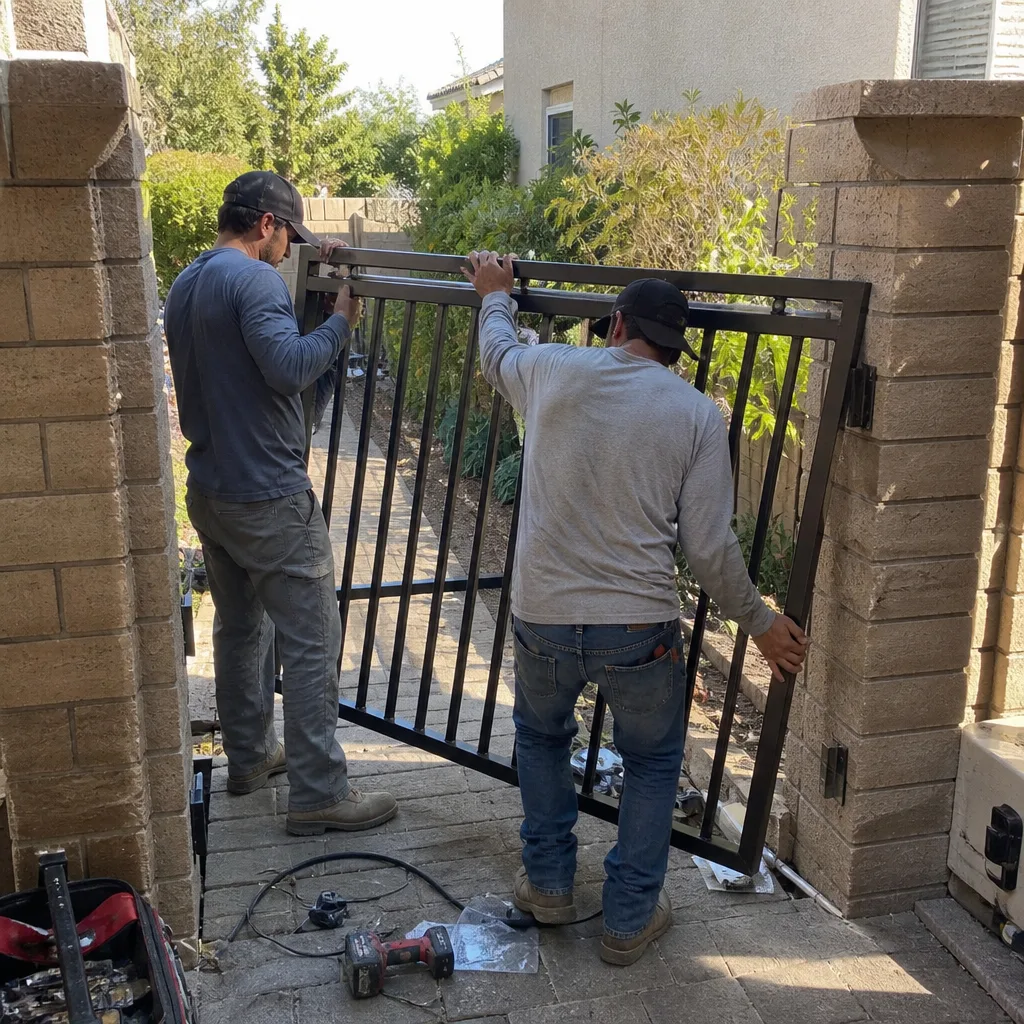
Call a professional if your gate reverses unexpectedly, won’t stop at the right position, or fails the photo-eye and safety-edge test – those are safety issues, not annoyances. Call if a post is visibly out of plumb, if the gate sags or drags, or if operation is intermittent and a loose connection is suspected. Call if your installer won’t put a fix in writing, or if the answer is “settling” with no measurement behind it. And call before you adjust force or limit settings yourself. Vance Gate Repair Summerlin offers free estimates in Summerlin – call (844) 797-2809. A live person answers at any hour, and you’ll get a written price for the fix before any work starts.
Frequently Asked Questions
The installer, when the problem is an installation defect – which covers most early failures like gates reversing, out-of-plumb posts, and exposed splices. A true product failure runs through the manufacturer’s warranty. The written scope and a documented photo record are what decide which category a fault falls into, so keep both. Call (844) 797-2809 if you need a second opinion on who’s responsible – estimates are free.
Most often the entrapment force was never calibrated to the gate’s actual weight, so wind or a minor resistance trips it. A misaligned photo-eye lens, especially one clouded by Summerlin dust, does the same thing. Both are calibration and setup issues, not motor faults. Call (844) 797-2809 for a diagnosis – estimates are free.
Usually not. Inconsistent limit positions in the first months point to mechanical movement – a post shifting – more than a motor fault. A fixed error points to a limit that was never set. Either way, it’s measured and corrected, not guessed at. Call (844) 797-2809 if you’re not sure which you have.
Put the fault in writing with dates, photos, your observations, and the specific line in the scope it contradicts, then ask for the correction at no charge. If the answer is “normal settling,” ask for a diagnostic report with the actual plumb readings and recorded settings. Call (844) 797-2809 for a free second opinion on any other company’s estimate.
We service nine major gate-automation brands, including LiftMaster, FAAC, BFT, and Mighty Mule, so we can diagnose whatever operator is already on the property rather than pushing a replacement. If the fault is in the setup, it’s repaired. Call (844) 797-2809 – a free estimate is available on every brand we cover.
Yes, for repair calls on malfunctioning gates. We take same-day and emergency work and a live person answers 24 hours a day. Call (844) 797-2809 to check availability – the written price comes before any work starts. You can also see how we handle the operator side at Gate Motor & Opener in Summerlin.
The Bottom Line
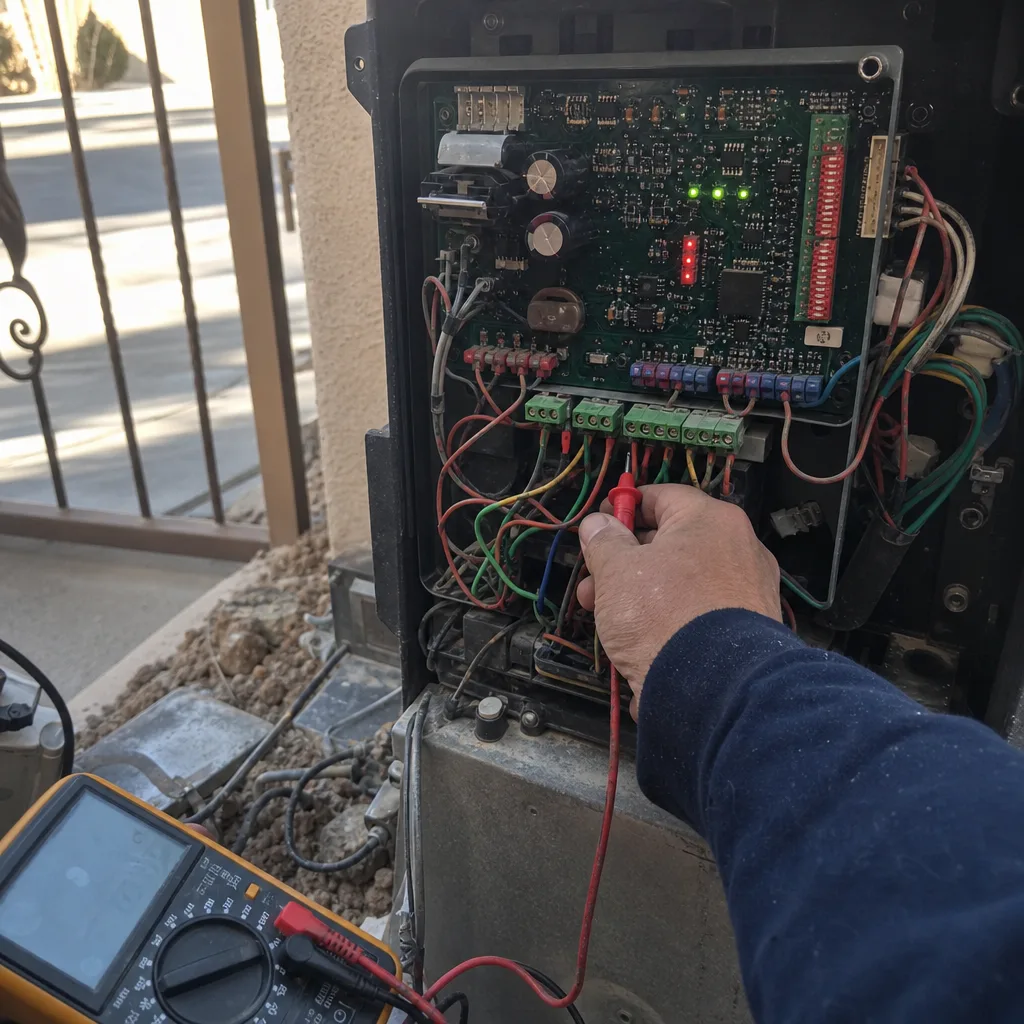
Early failures on a new gate are mostly installation defects, and reading them as quality-control data – not bad luck – tells you who should fix them and makes the fix happen. A gate that reverses usually needs its entrapment force calibrated. A gate that sags usually has a post problem. A gate that acts up intermittently usually has a splice or terminal issue. And a scope that named the settings, the footings, and the plumb tolerance gives you something to point at when it doesn’t. If your gate is showing any of these symptoms, don’t guess and don’t wait – call (844) 797-2809 for a free estimate in Summerlin. A live person answers at any hour, the written price comes before the work, and you leave with the documented record of everything that changed.
Written by the team at Vance Gate Repair Summerlin.