
Last updated November 17, 2026
 Wrought iron
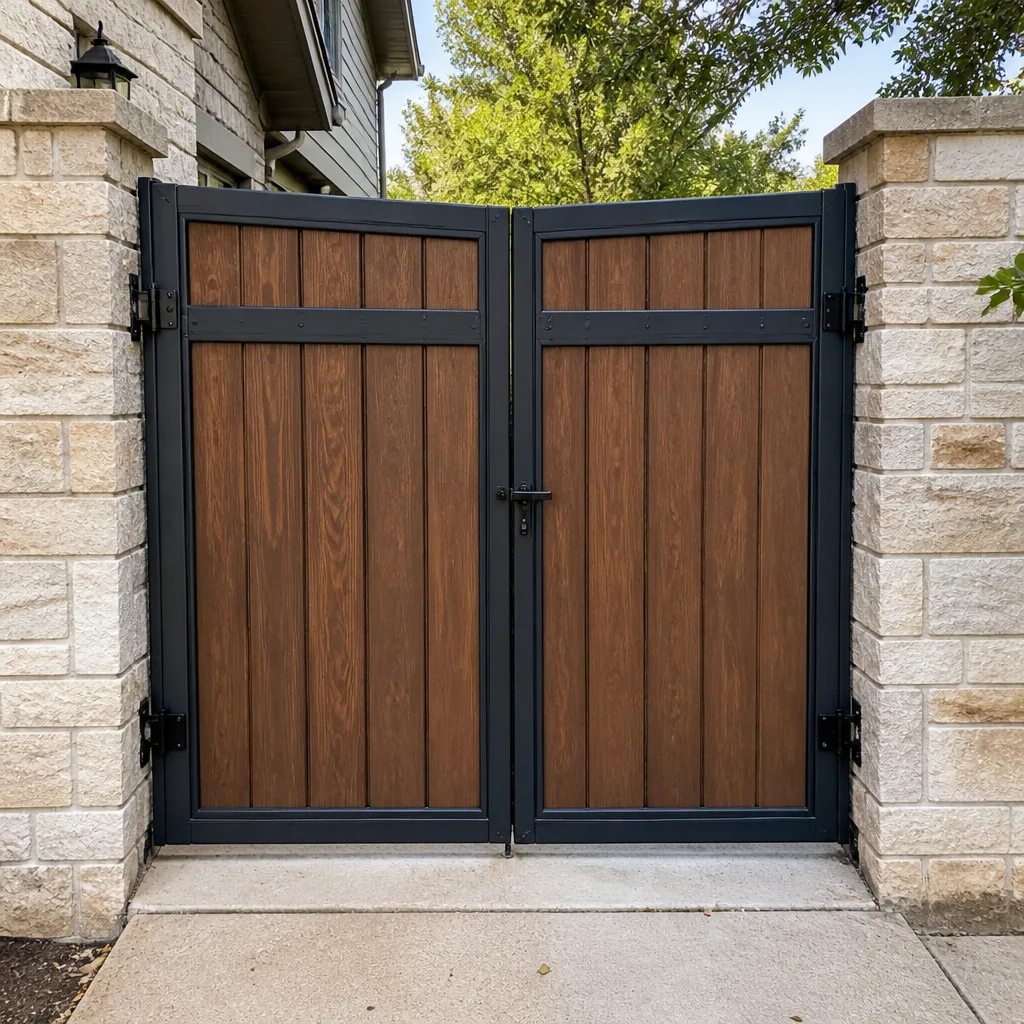 Wood & steel frame
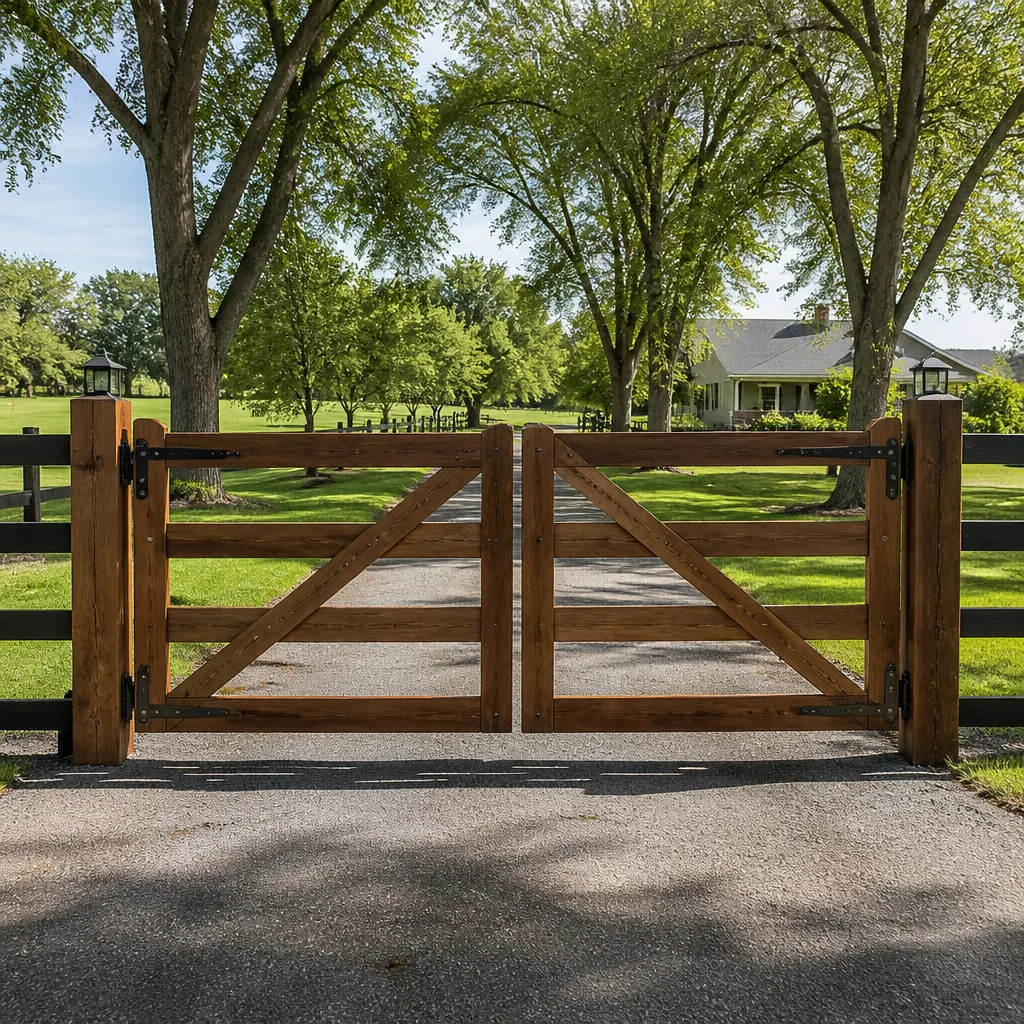 Farm & ranch
 Sliding driveway gates
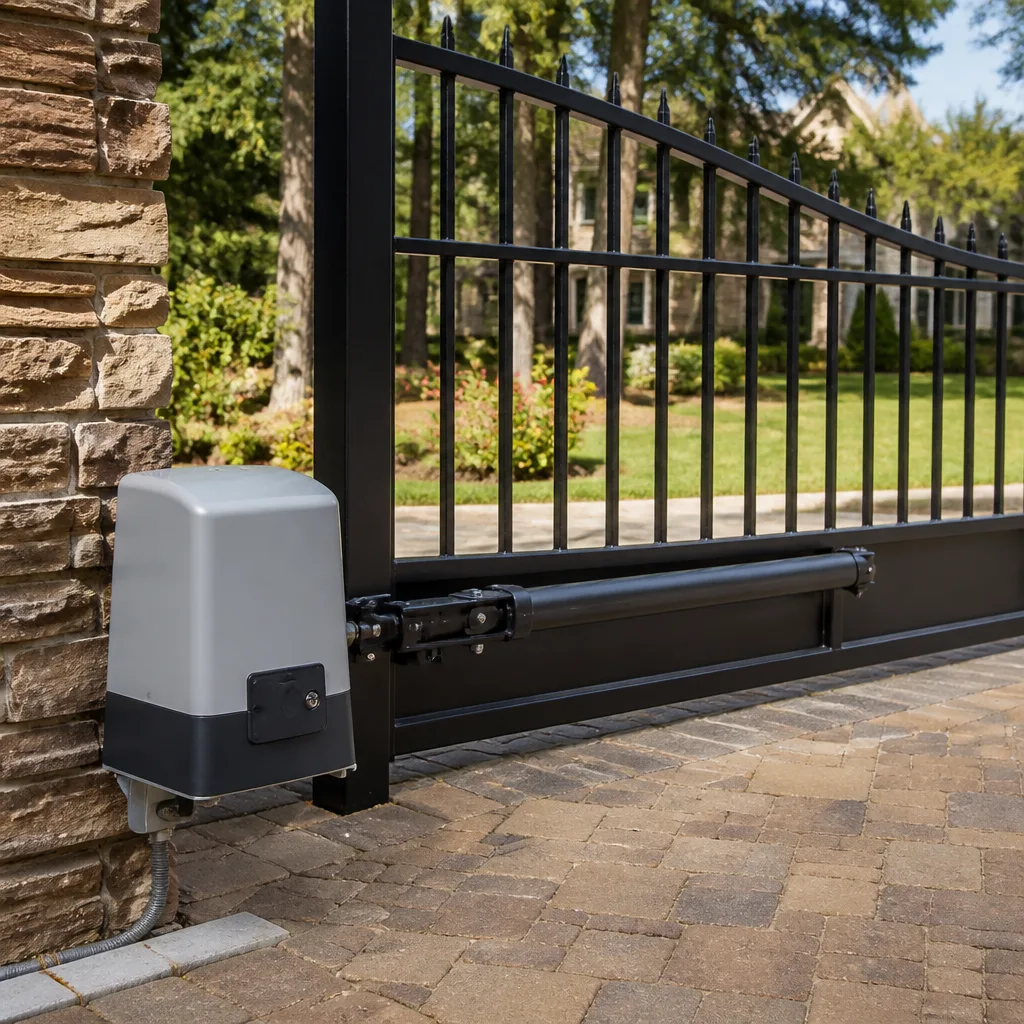 LiftMaster operators
Free on-site gate assessment - hinges, posts, and your LiftMaster or Nice gate operator checked before anything is quoted
The assessment is free and the quote is the invoice.
Get your free estimateGate Installation Warning Signs Every Homeowner Should Know
A gate that opens and closes smoothly on day one can still be installed wrong. The post depth, the conduit seal, and the limit-switch calibration are all set at installation and are all invisible once the job is “done.” That is exactly the window where most bad gate work hides: the thing works, the installer leaves, and the failure only surfaces 18 months later when a motor strains against a bad limit or a panel sags because the post footing was never deep enough. By then the original installer has usually disclaimed the problem. This guide walks you through what to inspect before the crew packs up, written from the perspective of a Summerlin gate company that has opened up a lot of these failures.
Quick Answer
The biggest gate installation warning signs are: posts set too shallow, wiring run without conduit or with an unsealed conduit entry at the motor housing, limit switches set “almost right” so the motor fights the gate, and no post-install documentation (wiring diagram, post-depth photos, limit readings) left behind. If any of those are missing, you have no baseline for future repairs and no paper trail to hold the installer accountable. Inspect within the first 90 days, before the work is impossible to prove.
Styles & brands we work with
- Wrought iron
- Wood & steel frame
- Farm & ranch
- Sliding driveway gates
- LiftMaster operators
Table of Contents
- 1. Post depth: the number one installation failure
- 2. Wiring run without conduit or unsealed at the motor
- 3. What a properly set limit switch looks and sounds like
- 4. Missing documentation: the silent warning sign
- 5. The 90-day test: what to check at 30, 60, and 90 days
- 6. Why Summerlin installations fail differently
- 7. Common mistakes to avoid
- 8. When to call a professional
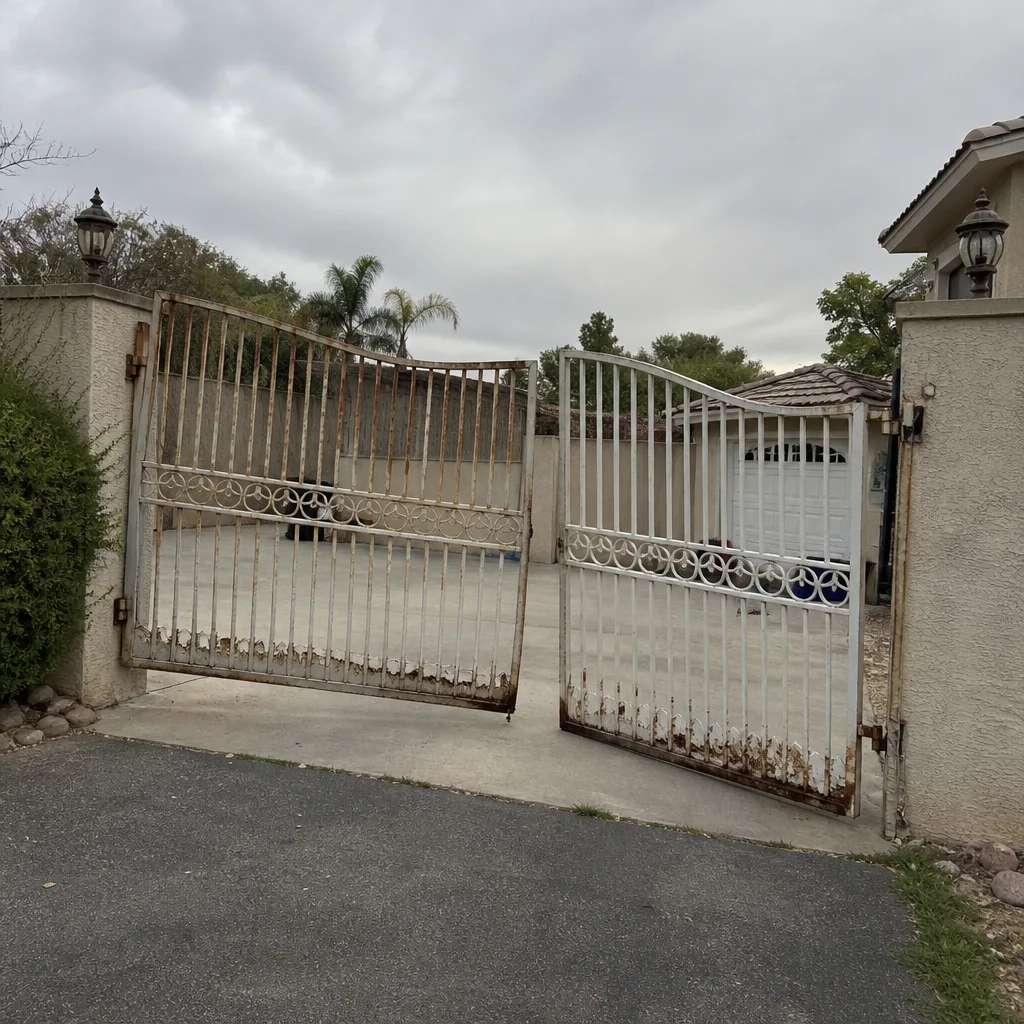 Before
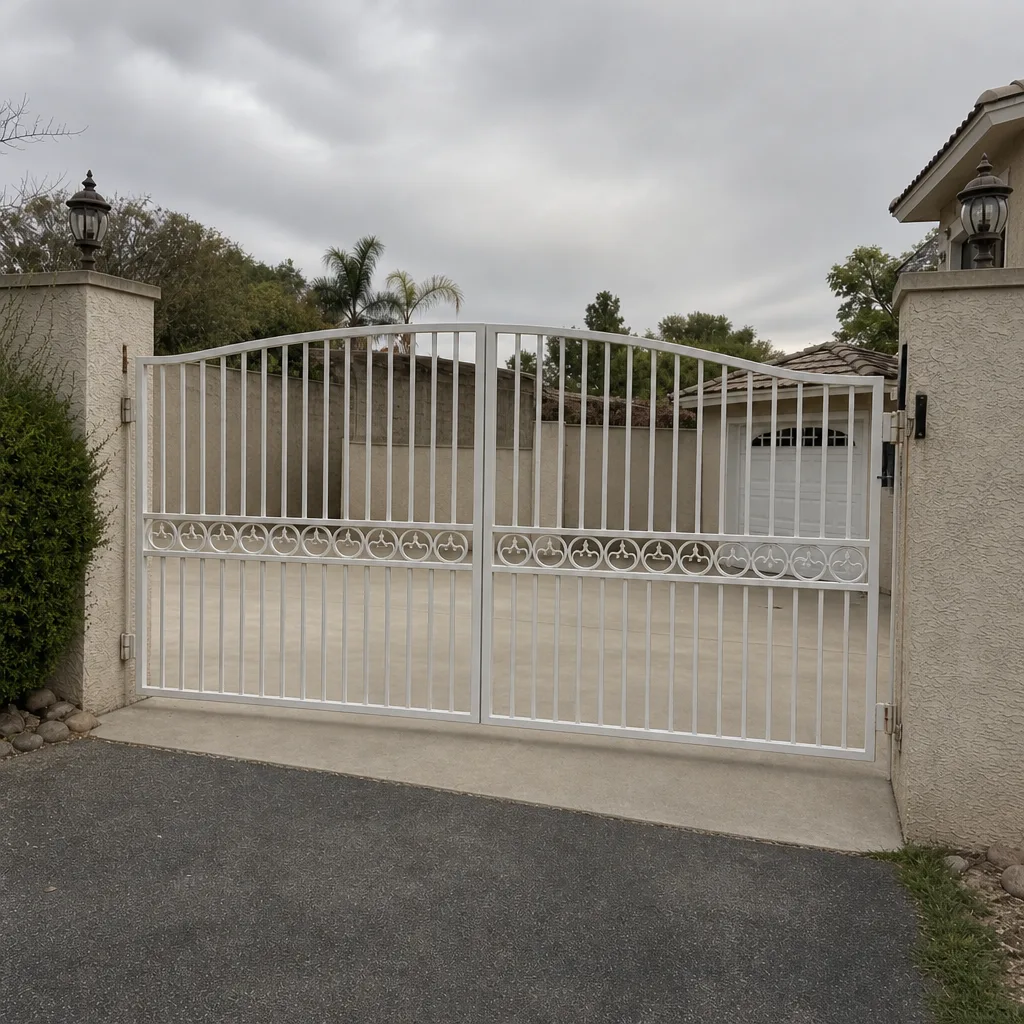 After
Post Depth: The Number One Installation Failure
Post depth decides whether your gate still hangs true in year three or pulls out of plumb by month eight. Every installer knows the number: footings for a driveway gate go deep enough to sit below the frost line where that applies and far enough into stable soil that the lever arm of a swinging leaf does not slowly tip the post. In gate installation in Summerlin, our technicians drill or dig to a set depth and, critically, photograph the auger with a tape measure against it before the concrete goes in. That photo is the whole ballgame.
Here is the problem. Once the concrete is poured and the post is capped, the depth is invisible. You cannot measure it from the surface without excavating. So the only reliable way to verify the footing was built to spec is to ask for the installation record: a photograph taken at the bottom of the hole showing the depth. If the installer cannot produce one, you have no proof the depth was met.
Why does it matter so much? A shallow post still works fine for a season. The gate swings, the operator cycles, nothing feels wrong. Then the freeze-thaw, rain, and soil movement work on a footing that does not have enough mass below grade, and the post tips a few degrees. A few degrees at the hinge becomes a huge misalignment at the latch. The motor starts working harder every cycle to overcome the added drag. That is a repair bill that arrives long after the installation conversation is over.
Under The Haven Standard, every Vance visit leaves a documented photo record at no additional charge, and that includes the footage photo on a new install. Clause 4 (Evidence on every job) is not decoration. It is the one artifact that lets you prove the depth was right, or catch it before the concrete cures.
How to verify post depth without digging
- Ask for the auger-depth photo taken during installation. A reputable crew takes one as a matter of course.
- Confirm the tape measure is visible and the reading is legible. A photo of a hole with no measurement proves nothing.
- Ask what the target depth was and why. A specific answer tells you the installer actually planned the footing.
- If the photo cannot be produced, schedule an inspection at the one-year mark to check post plumb with a level.
Wiring Run Without Conduit or Unsealed at the Motor
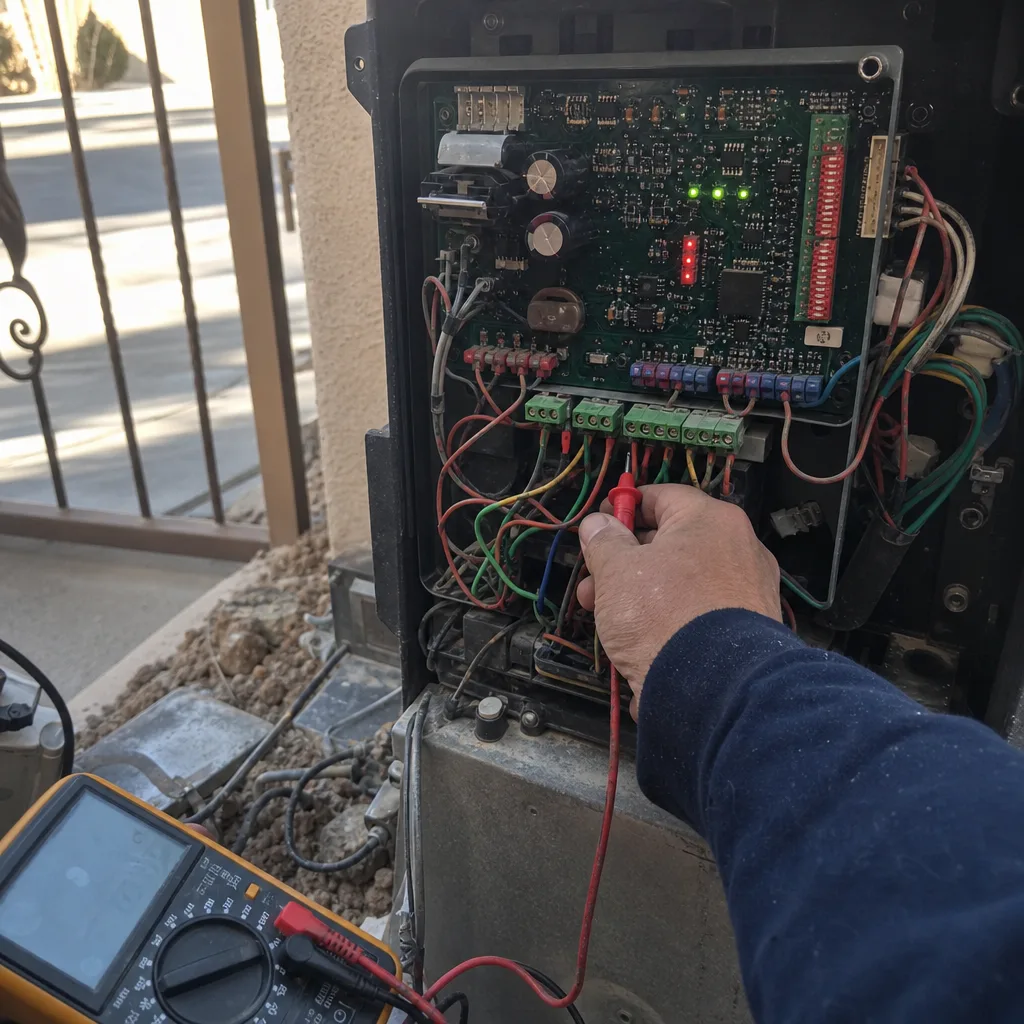
The wire that feeds your gate operator is exposed to weather, insects, and, in Summerlin, fine desert dust that works its way into every opening. A proper installation runs that wire inside conduit, and seals the conduit entry at the motor housing so water and pests cannot follow the wire back into the equipment. Skipping the conduit, or running conduit but leaving the fitting at the housing unsealed, is one of the most common shortcuts we open up on residential gates.
What does an unsealed conduit entry look like six months later? You may see a small gap around the wire where it enters the housing, insect debris inside the control box, or corrosion on the terminal strip. The motor itself might still run. But an ant colony or a winter rain event can take out a control board that costs many times what the seal would have cost.
The fix is cheap at installation time and expensive after the fact. Ask directly whether the low-voltage run is in conduit from the source all the way to the operator housing, and whether the entry point is sealed. On a LiftMaster or Ghost Controls system the control box is exposed on the post, and that entry seal is the first thing we inspect when a board comes back wet.
This is a place where the trade’s real vocabulary helps you ask better questions. A “low-voltage run” is the control wire from the keypad, exit wand, or safety edge back to the operator. A “photo-eye” is the infrared beam that stops the gate if something crosses the path, and its wiring runs through the same conduits. If the conduit is missing on any of those runs, you have a warning sign worth photographing before the crew packs up.
What a Properly Set Limit Switch Looks and Sounds Like
The limit switch is the component that tells the operator the gate has reached full open or full close. Set it correctly and the motor stops precisely at the end of travel, with no strain. Set it to “almost right,” which is what happens when an installer is in a hurry, and the motor continues to push against a gate that cannot physically go any further. That is the sound of a motor slowly wearing itself out.
Here is how a properly calibrated limit announces itself: when the gate reaches the end of travel, the motor stops crisply and you hear nothing but the gate settle. When the limit is off, you hear the motor labor for a beat or two after the gate has stopped, or you see the gate reverse a few inches before it comes to rest. You might also hear a clunk at the end of each cycle, or notice the operator surging at mid-travel as it fights the drag. Those are the audible signs.
The visual side is just as telling. A correct limit end position leaves the gate flush with the post or aligned with the stop, not a hand’s width short of it. On a dual-leaf swing gate the two leaves should meet cleanly at close. If one leaf closes and the other stops a few inches short, one limit is set wrong and the operator is fighting to compensate.
- Crisp stop at end of travel: correct limit, motor stops cleanly.
- Laboring hum after the gate stops: limit set past travel, motor under constant load.
- Gate reverses a few inches before resting: limit set too tight, or obstruction sensor tripping.
- Clunk or clank at full open or close: limit set well past travel, arm or hinge taking the load.
- Leaves not meeting evenly at close: one limit miscalibrated, the operator compensating with strain.
When we service a gate motor & opener in Summerlin, the limit-switch reading goes in the written record along with the photo of the new position. If the last installer never left you those readings, you have no baseline to know when the motor has drifted out of calibration, only that it sounds wrong and something is probably about to fail.
Missing Documentation: The Silent Warning Sign
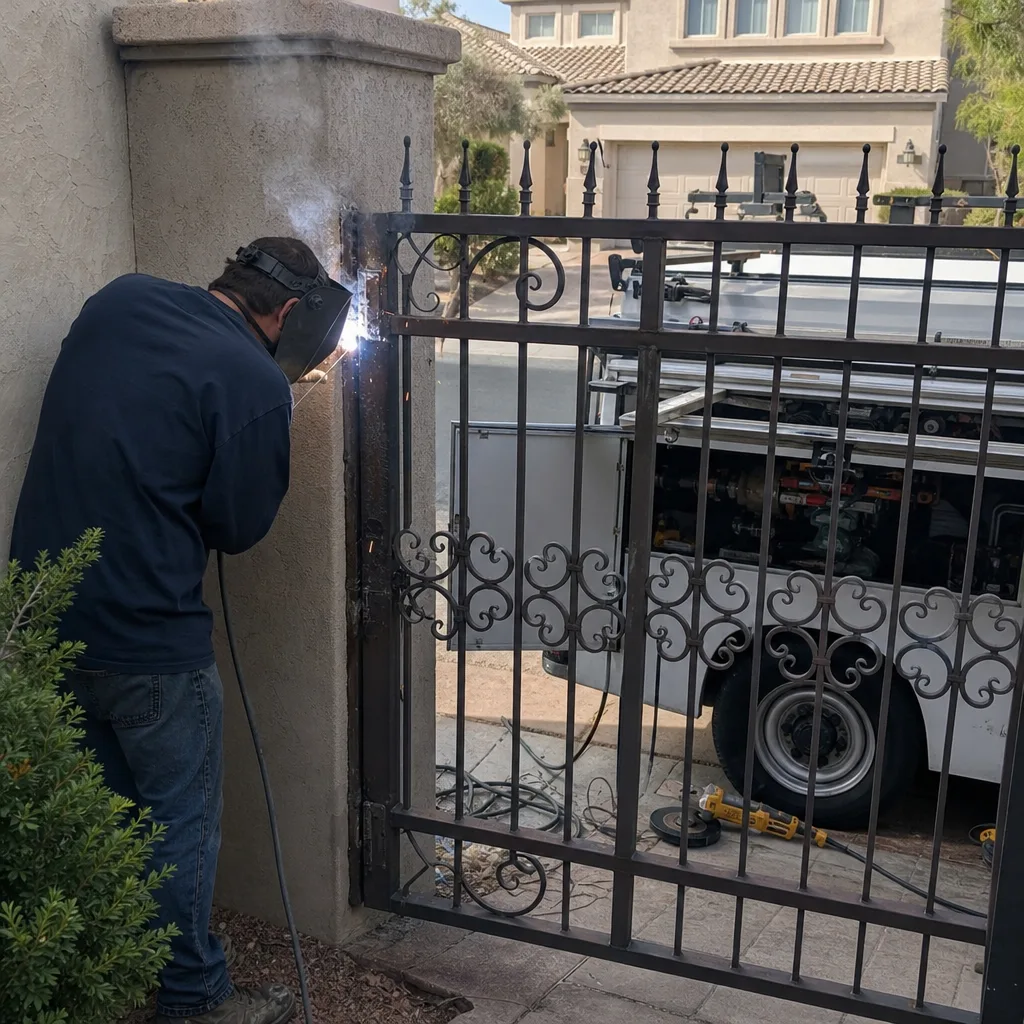
If you never received a wiring diagram, a set of post-install photos, or the limit-switch readings for your gate, you have a warning sign bigger than any single physical defect. Documentation is what makes every future repair possible without guesswork. The next technician, whether that is us or anyone else, walks up to a gate with no wiring diagram and has to trace every conductor by hand before they can safely do anything. That is time you pay for and risk you take on a circuit nobody has mapped.
What should be in your hands at the end of an installation? A wiring diagram of the low-voltage control circuit. Photos of the post footings at depth. A photo of the limit-switch positions, ideally with readings. The part numbers of the operator and any access-control hardware installed. A written scope of what was done and what was not. All of it under one cover, in a form you can hand to the next company when you need work done.
Vance delivers exactly that on every visit, because the wiring-diagram habit carried over from commercial access-control work into every residential gate the company touches. If an installer handed you a verbal “all done, you’re good to go” and drove off, that is the point to schedule an inspection and get a written record before something fails and you have nothing to show for the original job.
The 90-Day Test: What to Check at 30, 60, and 90 Days
Most installation defects surface in the first 90 days if you know what to look for. This is the window where a bad footing starts to shift, a bad limit starts to show as uneven travel, and a bad conduit seal starts to let water in. Run these checks and you catch the problem while it is still a warranty conversation rather than a replace-the-whole-thing conversation.
At 30 days
- Listen to the operator at full open and full close. Any laboring hum, clunk, or reversal after the gate has stopped is a limit-switch issue.
- Run a level against each gate post. Any visible tilt at 30 days is a footing problem, not a settling problem.
- Open the control box briefly and look for moisture, insect debris, or loose wire nuts. If you can see daylight through the conduit entry, it is not sealed.
- Check that the gate closes flush at the latch and that dual leaves meet evenly.
At 60 days
- Open and close the gate five times in a row and note any change in the sound. A well-installed operator sounds the same on cycle five as cycle one.
- Test every safety device by hand: the photo-eye, the safety edge if present, and the obstruction sensor. If any of them fail to stop or reverse the gate, that is a call-today finding.
- Re-check post plumb. A post that has moved since the 30-day mark is a hard warning sign.
- Inspect the conduit entry once more for water or insect intrusion.
At 90 days
- If you have not received the installation documentation yet, request it in writing. If it cannot be produced, schedule an inspection and have a photo record made.
- Have the limit-switch positions verified against a fresh reading. A limit that has drifted from its install setting within 90 days indicates the operator was never truly calibrated.
- Look at the hinge plates and the arm bracket for stress marks or hairline cracks. These are the parts that take the load when a limit is set wrong.
- Ask for a written inspection record, dated and photographed, so you have a second baseline on top of the installation record.
Any single failure above is worth a call. Two or more together is a clear signal the installation had shortcuts, and it is time to bring a professional in to review the whole system.
Why Summerlin Installations Fail Differently
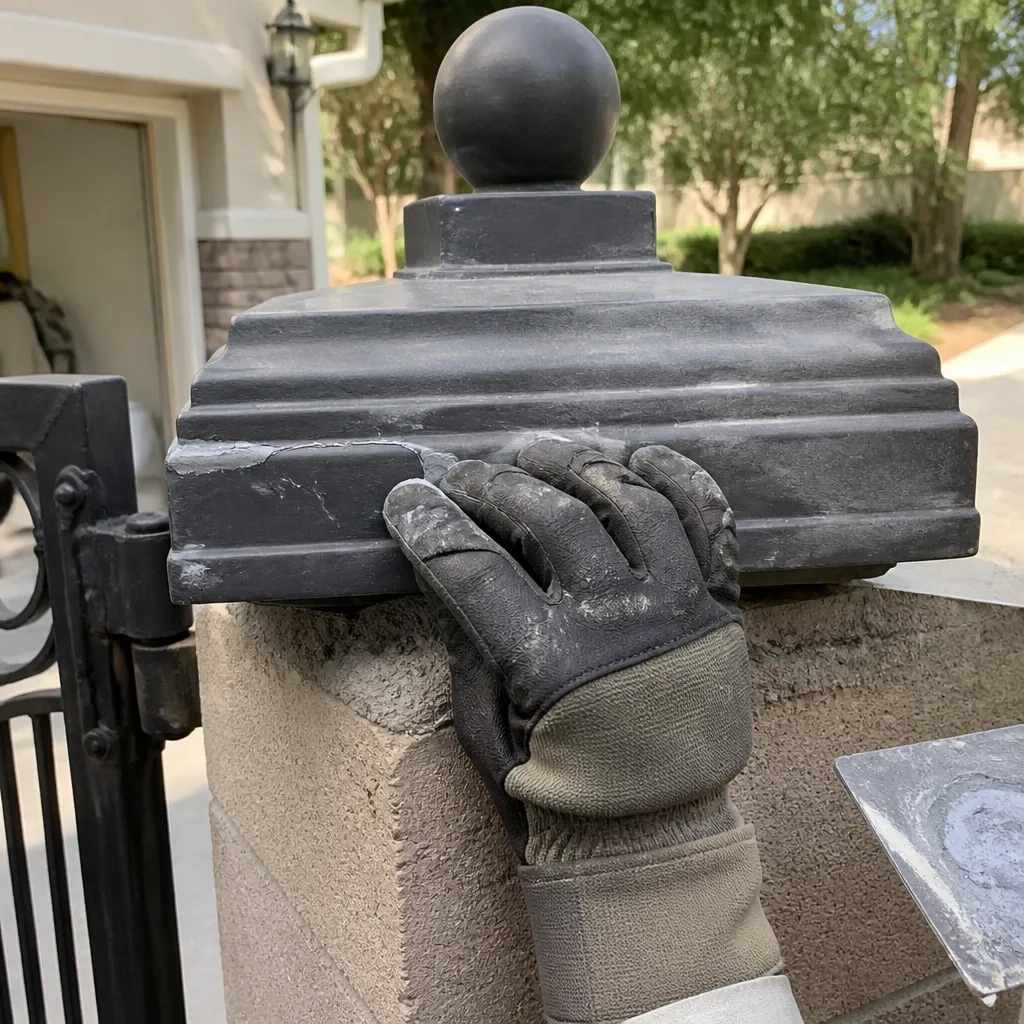
Summerlin sits on desert soil that expands and contracts with irrigation cycles and dries hard in the summer heat. That soil movement is exactly what punishes a shallow post footing, which is why post depth matters more here than it might in a wetter, cooler climate. A gate on a Summerlin lot irrigated heavily around the driveway edge will see more soil movement at the base of the post than one on a drier property, and a footing set at the minimum depth has less margin to handle that movement without tipping.
The heat and dust also hit the wiring differently. Conduit that is run properly and sealed at the motor housing keeps the fine dust out of the control box. A conduit entry left open pulls desert grit into the terminal strip on the afternoon wind. That is why, when we open a control box on a Summerlin gate, the first thing we look at is the entry seal, and why an unsealed conduit is one of the fastest failure modes we see on BFT and Linear operators in this part of the valley.
Summerlin’s homeowner associations add another layer. Exterior modifications, including gate and access-control hardware, often need HOA review, and the installation record (spec sheets, photos, scope) is frequently what the HOA wants to see when it comes time to approve or dispute the work. If you never received that record from your installer, you may be missing documentation the HOA needs, not just the technician. That is a real Summerlin-specific reason to insist on the paper trail from day one.
Common Mistakes to Avoid
- Accepting a verbal “all done.” A gate that cycles on the day does not prove the footing depth, the conduit seal, or the limit calibration. Insist on the written record before the crew leaves the property.
- Skipping the auger-depth photo. Once the concrete is in, the only way to know the post went deep enough is the photo taken at the bottom of the hole. Ask for it at sign-off, not next year.
- Assuming open conduit is “ventilation.” An unsealed entry at the motor housing is how moisture and insects get into a board that runs many times the cost of a proper seal.
- Ignoring a laboring motor at the end of travel. That hum after the gate has stopped is the operator fighting a limit set past travel. It is a $0 fix that becomes a motor replacement if left long enough.
- Waiting past 90 days to inspect. The install defect window closes fast. Run the 30/60/90 checks and you catch the problem while it is still provably the installer’s to fix.
- Not getting the wiring diagram. Every future repair starts with tracing the control circuit. No diagram, no baseline, and you pay for the trace on every service call.
- Assuming an HOA will accept photos later. In Summerlin, exterior gate modifications often need HOA review, and the install record is what you present. Missing documentation is an HOA problem, not just a repair problem.
See the difference
BeforeAfter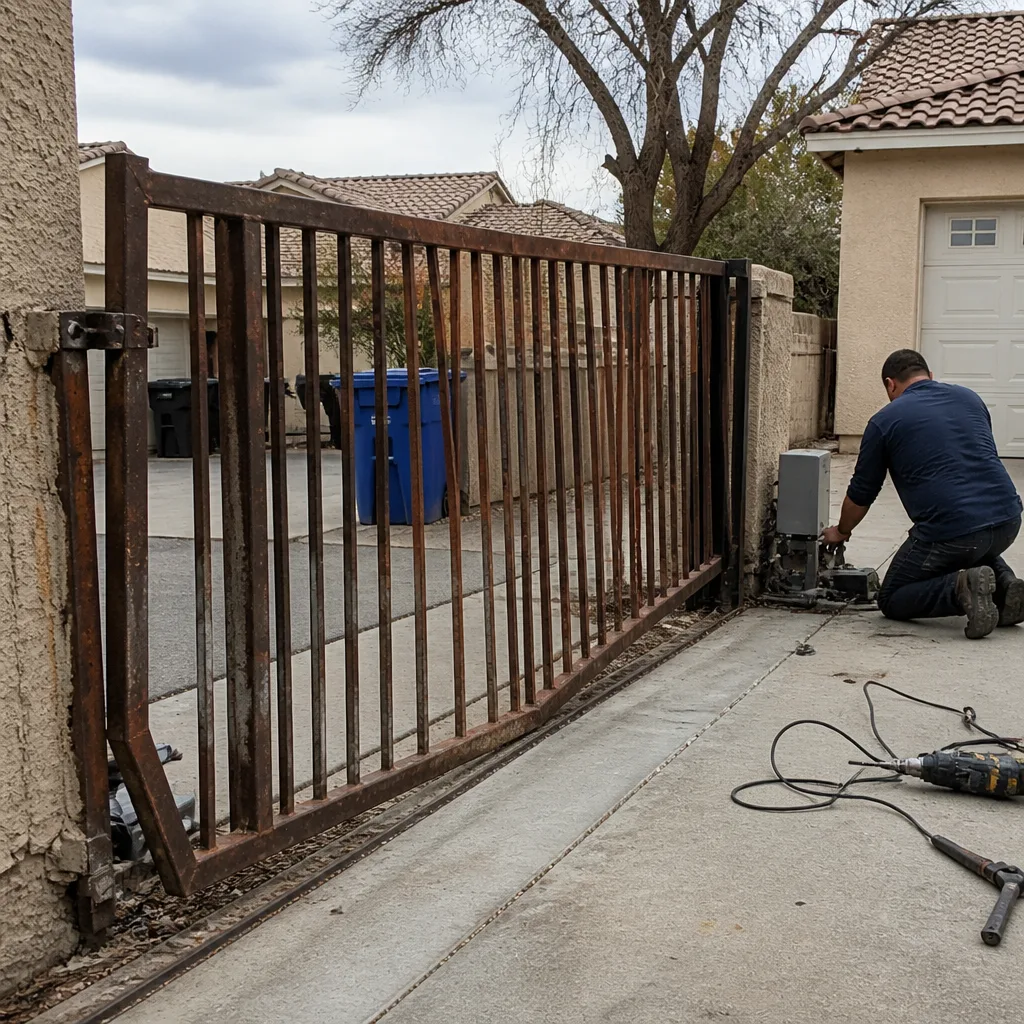 Before
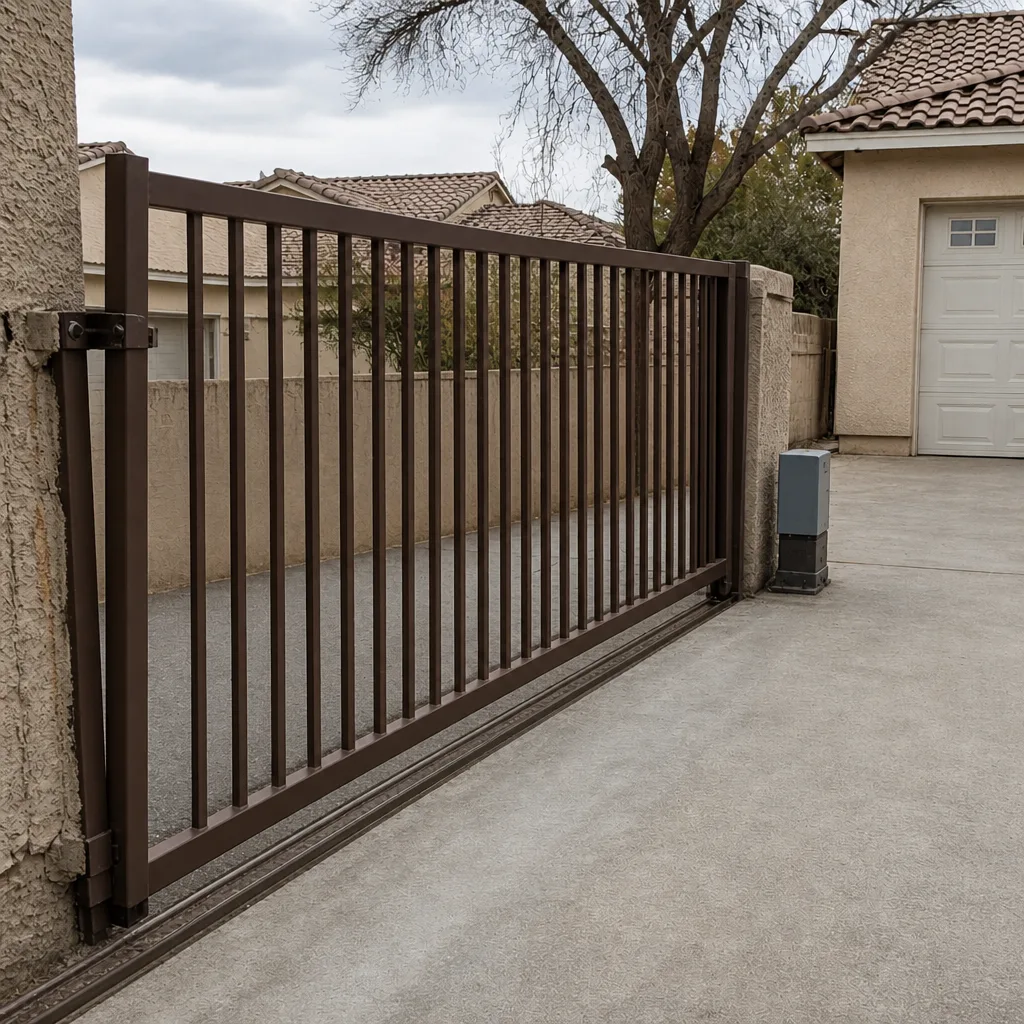 After
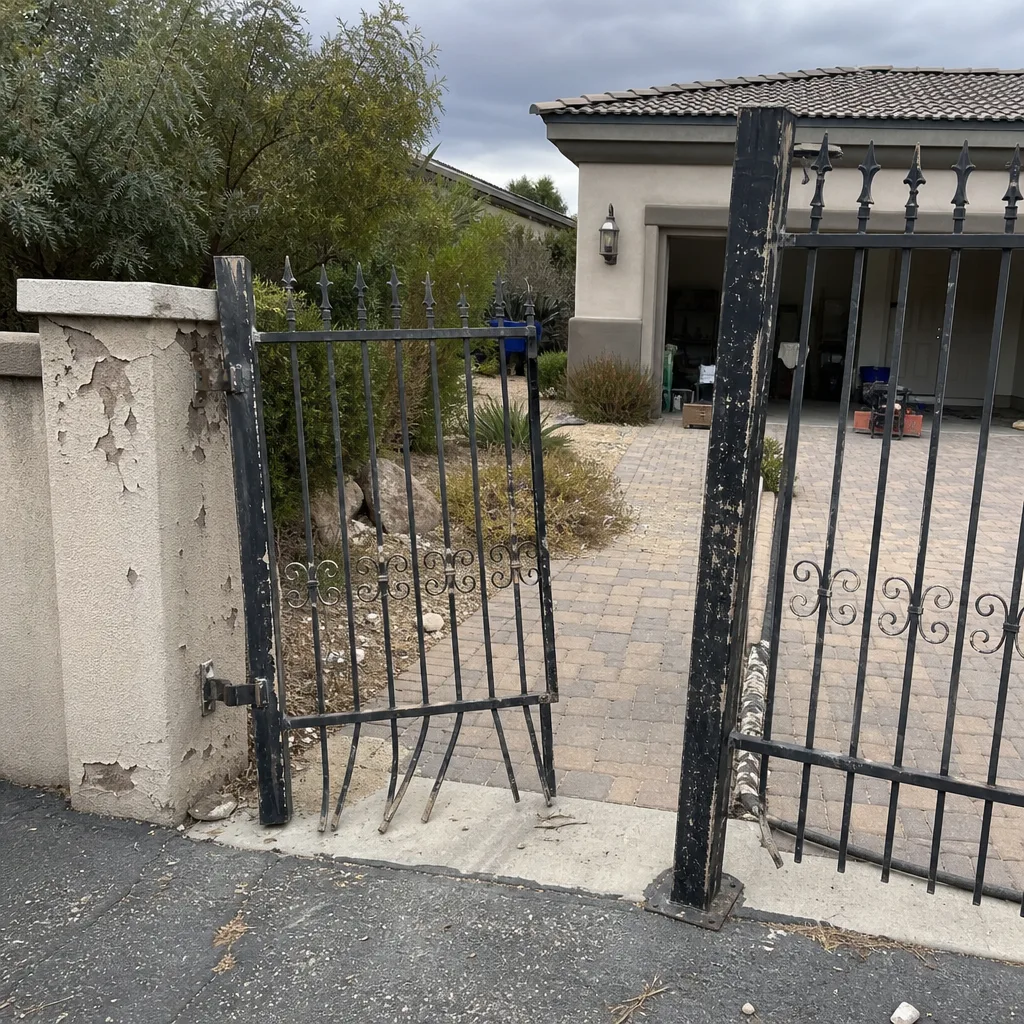 Before
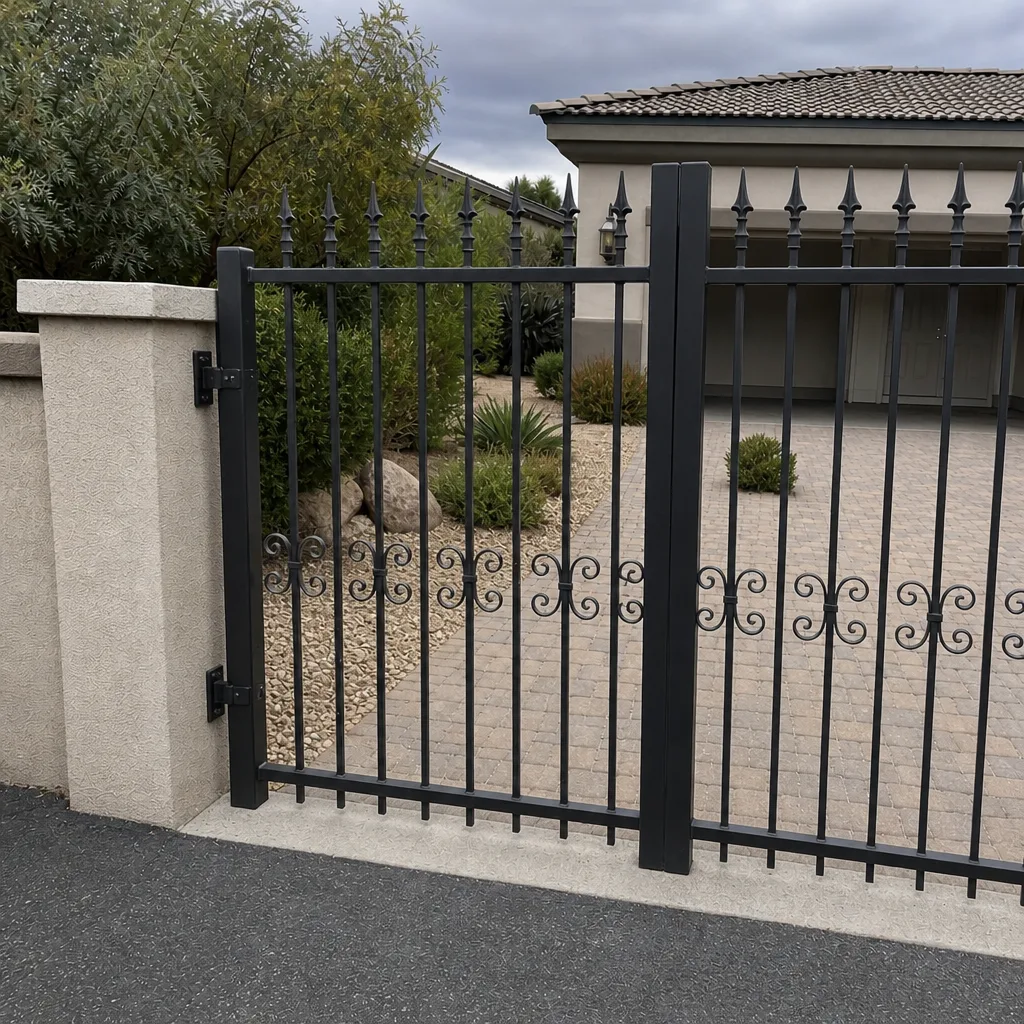 After
When to Call a Professional
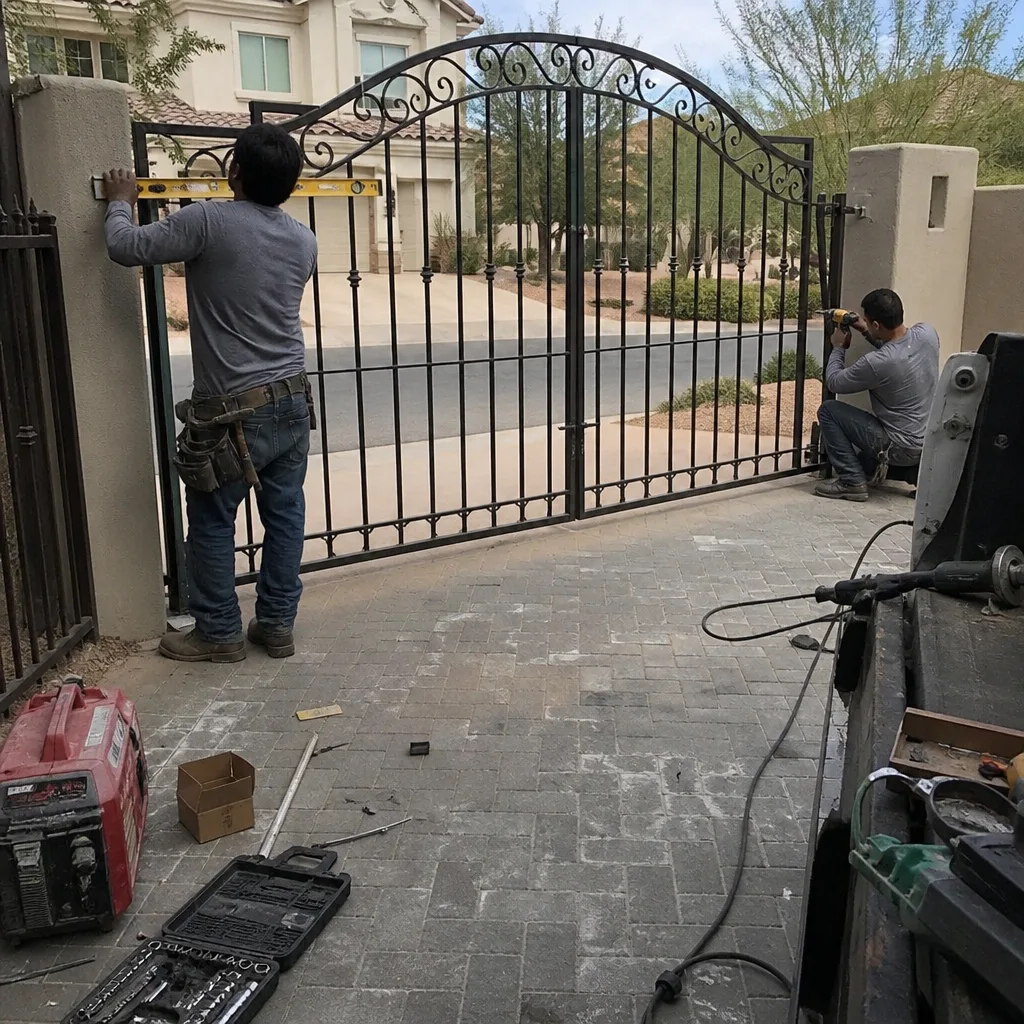
Call a professional gate technician if a gate post shows any visible tilt in the first year, if the operator hums or clunks at the end of travel, if you can see the conduit entry is unsealed at the motor, or if you never received a wiring diagram and installation photos. Those are the warning signs that turn expensive if left alone, and they are the ones worth catching while the installation is still provably recent. If your safety edges or photo-eyes fail to stop the gate during a hand test, call that day; a gate that does not reverse on obstruction is a hazard, not a nuisance. Vance Gate Repair Summerlin offers free estimates in Summerlin; our technicians have up to 12 years of experience across nine major automation brands, and every visit ends with a documented photo record and the 365-Day Done Right Promise. Call (844) 797-2809 to schedule an inspection or a free second opinion on a written estimate from another company.
If the check turns up a repair rather than an install problem, our gate repair in Summerlin team handles the fix under the same written-price rule. If the gate needs to be brought up to a proper install spec from scratch, the gate installation service starts with a free measure and a written scope. You can start from the Vance Gate Repair Summerlin home page for everything else the company covers.
Frequently Asked Questions
You cannot verify it by looking at the surface. The only reliable proof is the auger-depth photograph taken during installation, with a tape measure visible against the hole. If your installer cannot produce that photo, schedule an inspection at the one-year mark and have post plumb checked with a level; a post that has moved at all in that window is a footing concern. Call (844) 797-2809 for a free estimate on an inspection.
An unsealed conduit entry lets water, dust, and insects follow the wire into the control box, where they can corrode terminals and short the control board. It is one of the most common shortcuts we find on Summerlin gates running BFT and Linear operators. The fix is cheap at installation and can be a board replacement later, so seal it before the crew leaves. Call (844) 797-2809 for a free estimate if you suspect yours is open.
A correctly set limit stops the motor crisply at the end of travel with no strain or hum afterward. A limit set “almost right” leaves the motor laboring for a beat or two after the gate has stopped, or the gate reverses a few inches before coming to rest. Both are signs the limit is set past travel and the operator is fighting the gate. Call (844) 797-2809 for a free estimate to have the limit re-calibrated and documented.
Yes. Without a wiring diagram and post-install photos, you have no baseline for any future repair, and the next technician has to trace every conductor by hand at your expense. The diagram and photos are also what your Summerlin HOA may want to see for exterior modification records. Request them in writing before you sign off. Call (844) 797-2809 for a free estimate on a documentation visit.
Practically, the first 90 days are the window where most installation defects surface. Post movement, limit drift, and conduit intrusion all show up within that timeframe if you run the 30/60/90 checks. After that, proving the defect traces to the original install gets harder every month. Call (844) 797-2809 for a free estimate on an inspection inside the window.
At 30 days, listen for a laboring motor, check post plumb with a level, and look for moisture inside the control box. At 60 days, hand-test every safety device and re-check plumb, since any post movement in that window is a warning sign. At 90 days, request the full installation record if you still do not have it, verify the limit readings, and inspect the hinge plates and arm bracket for stress. Call (844) 797-2809 for a free estimate on any item you are unsure of.
The Bottom Line
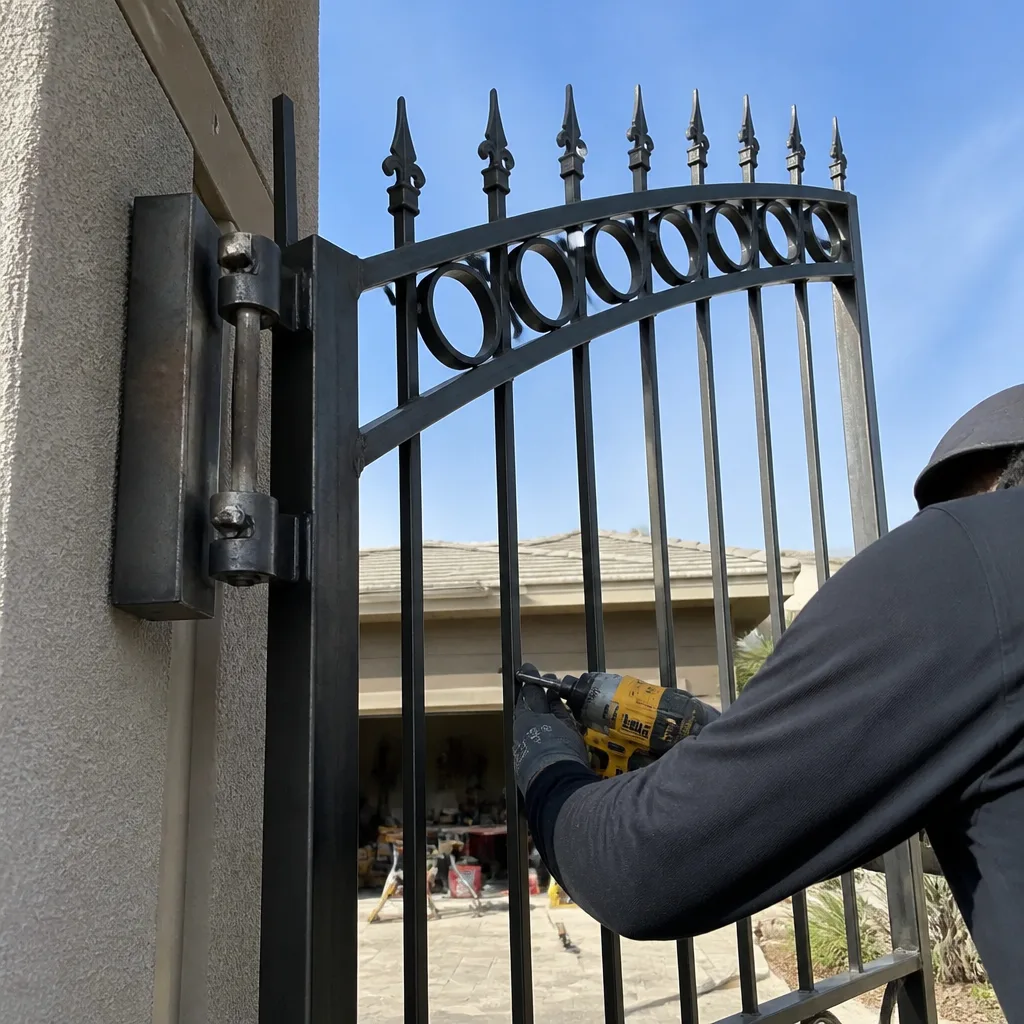
The install defects that cost the most are the ones that are invisible on day one: shallow post depth, unsealed conduit, a limit set to “almost right,” and no documentation left behind. All four are cheap to catch before the crew leaves and expensive to fix once the original installer has disclaimed them. Run the 30/60/90 checks. Insist on the auger photo, the wiring diagram, and the limit readings. And if any of it is missing, get a professional inspection before the warranty conversation goes cold. A gate that opens today was not necessarily installed right for tomorrow.
Prior to any work starting, we hand you a written flat price and the scope of what will be done, so there is no surprise invoice at the end. Every Vance visit includes a photographed record of what was found, what was adjusted, and what was replaced, filed in your job record and left with you. That evidence is your protection when the next company walks up to the gate.
If you have an unresolved warning sign on a Summerlin gate, call Vance Gate Repair Summerlin at (844) 797-2809 for a free estimate. We answer the phone 24 hours a day, seven days a week.
Written by the team at Vance Gate Repair Summerlin.